Dinner Rolls
 Taneasha
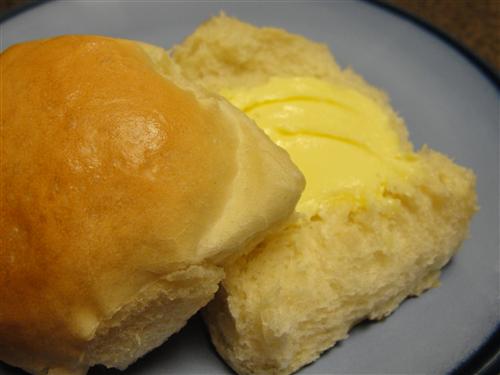
Dinner rolls. They couldn’t really have a more mundane name, but in reality, they are anything but. There aren’t many things in life better than a fresh, hot, roll. You can spread butter on them, or eat them with soup, or pile on some of your fresh baked Easter ham to make fabulous little sammiches. I grew up eating my mom’s homemade rolls. They were always the best, and we all loved them. She usually makes potato rolls, though, which call for things like mashed potato and scalded milk. Well, I’m way too lazy for that, so here is my simplified version.
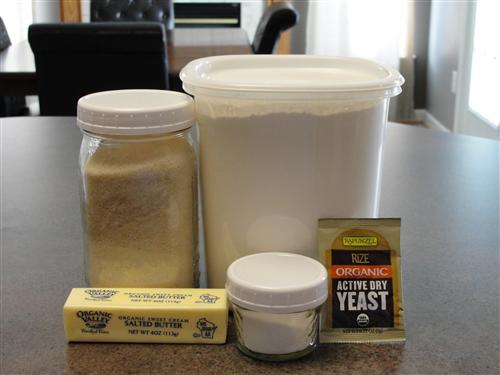
Here’s what you’ll need:
- 1 ½ cup warm water
- 1 Tablespoon sugar
- 1 pkg yeast
- 3 ½ cups flour
- ½ teaspoon salt
- 3 Tablespoons butter
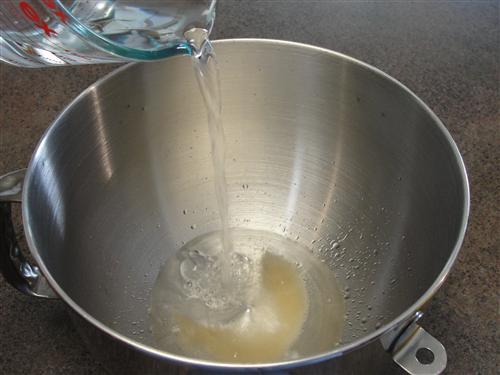
Place the sugar in your mixing bowl and pour over the water. The temperature of the water should be about like a nice warm bath would be.
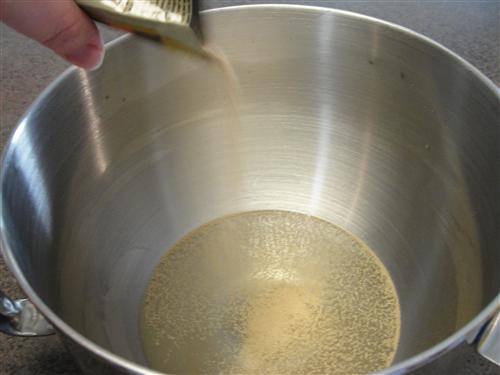
Swirl that around to dissolve the sugar, and then sprinkle on the yeast.
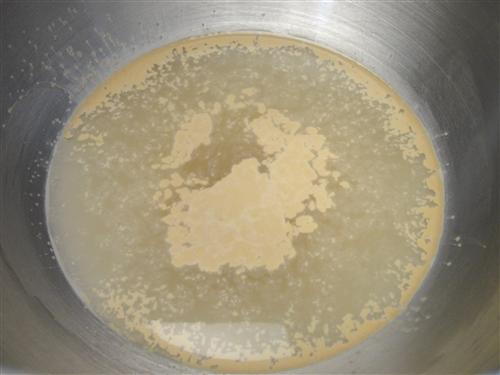
Walk away for 5 – 10 minutes, or until you start to see active signs of life.
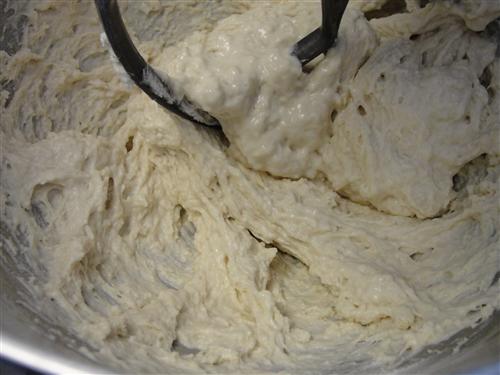
Add 2 cups of flour to the water.
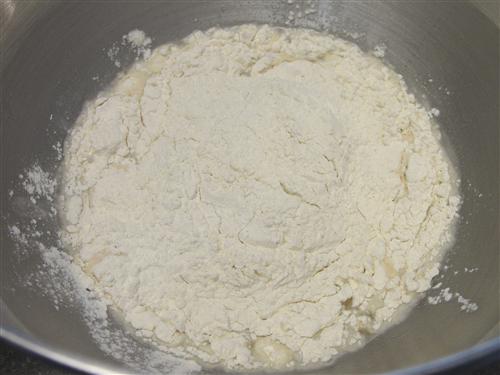
Mix that until it just comes together.
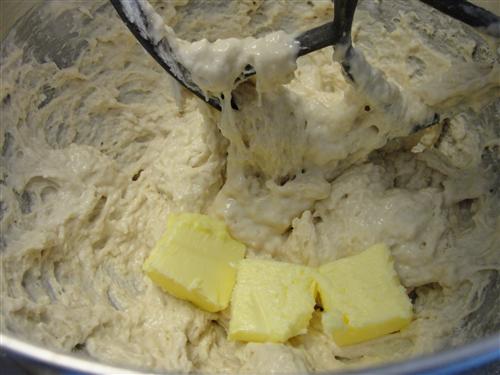
Add the butter, and mix for about a minute or so.
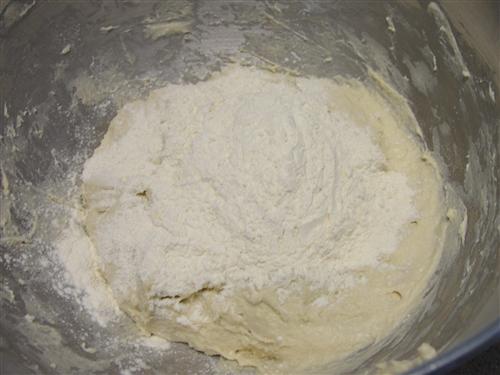
Add the remaining flour, as well as the salt, and switch to the dough hook. (if you’re using a stand mixer) If you’re not using a stand mixer, work the flour in as best you can with a wooden spoon, and then switch to kneading by hand. If you are using a mixer, allow it to knead the dough on medium low speed for 5 minutes or so.
While that’s doing its thing, go ahead and butter a large bowl.

If you happen to have a butter wrapper on hand, it is the easiest way to do that. My friend Elise just passed on a little tip. She says you can stack them in the freezer, and then just pull them out when you need them. That’s a great tip, but with my brain, I’m likely to remember it just after I’ve dropped the butter wrapper in the trash.

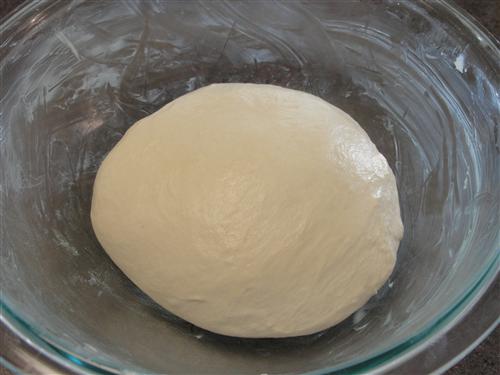
At this point your dough should be nice and smooth, but still a bit sticky.
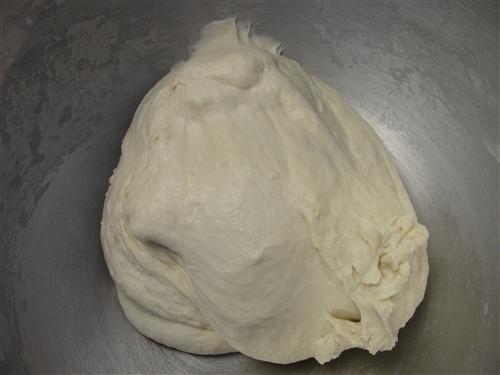
Flour your hands, and then move it to the bowl, flipping it over so that both sides have butter on them.
Cover that with a damp kitchen towel and leave it to rise.
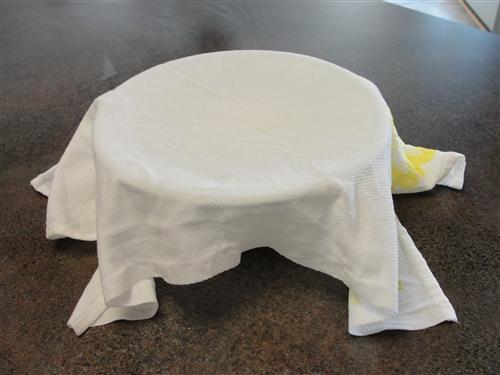
Depending on the temperature of your house, it will probably need somewhere between 45 and 90 minutes. Most likely, it’ll take about an hour. You want it to basically double in size.
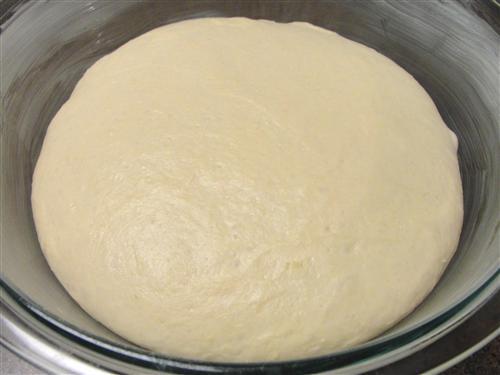
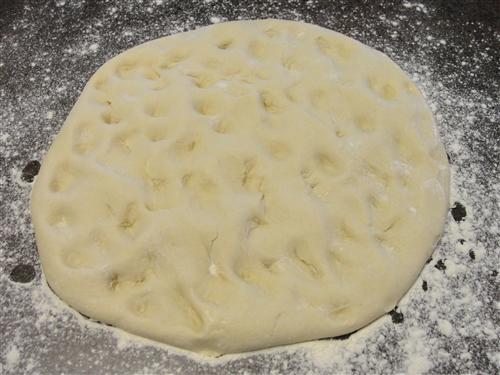
Dump the dough out onto a floured surface and poke it with your knuckles to get rid of the largest bubbles.
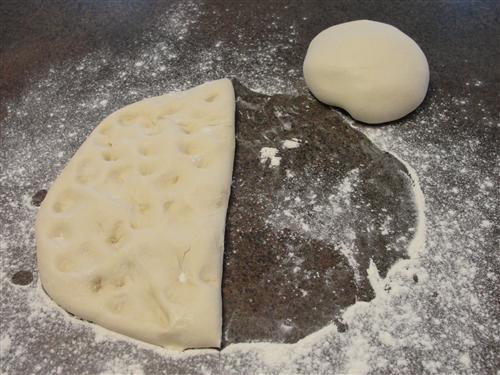
Divide the dough in half and set one piece aside.
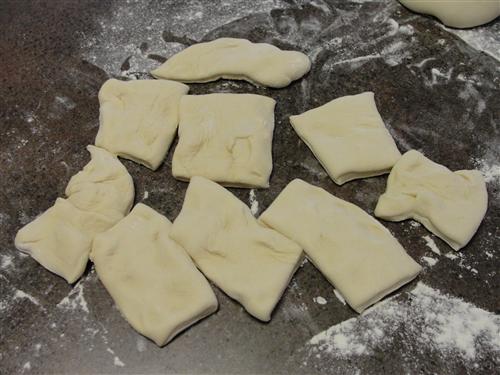
Cut the half you’re working with into 9 equal-ish pieces.
Flatten each piece into a disc shape.
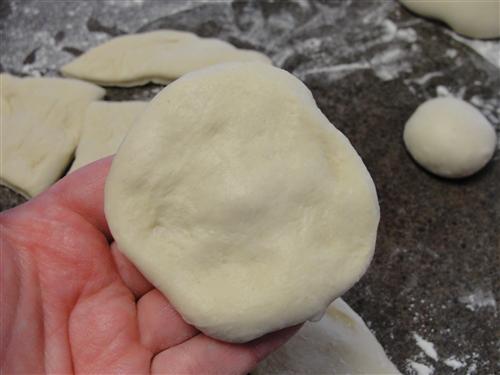
Then fold all the edges into the center to form something resembling a ball.
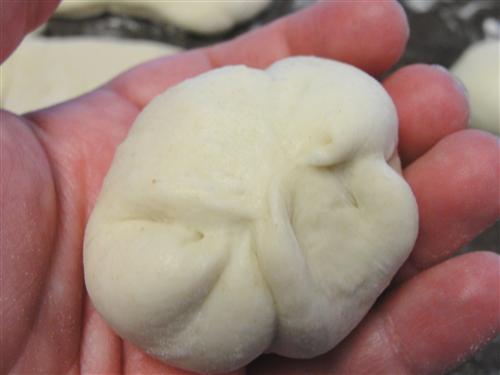
Put it down on the work surface, place your hand loosely over the top like a cage, and move it in small circles. This will pull everything tight and make a nice ball.

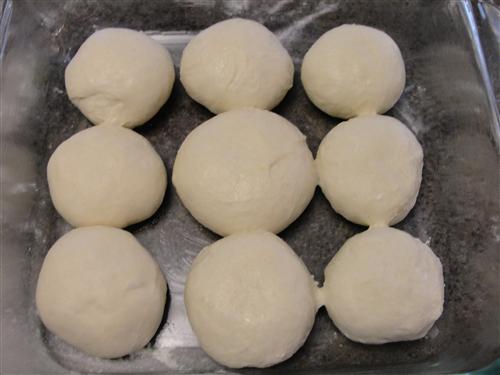
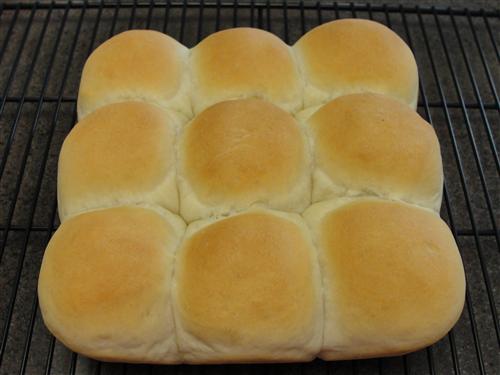
Place the ball into the prepared pan and repeat with the rest of the dough pieces.
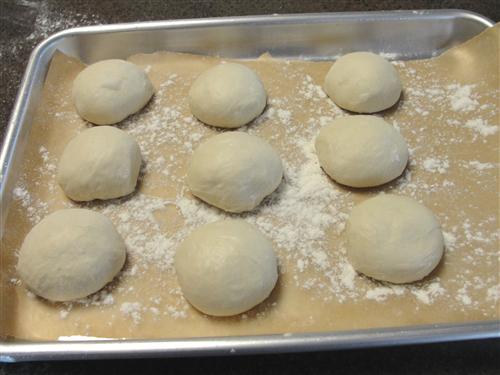
If you need more than 9 rolls now, go ahead and do the same with the other half. Personally, I’d prefer to save them for another night to save me some time. In that case, roll them into balls the same as you did the others, but place them with a bit of space between them on a floured, parchment lined, sheet pan, then pop that into the freezer for a few hours. When they’re frozen solid, go ahead and drop them into a freezer bag. Then when you’re ready, go ahead and continue from this point. Just remember it will take a bit longer because they have to thaw before they’ll rise.
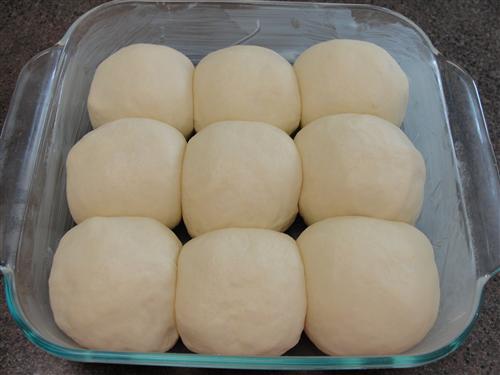
Allow the rolls to rise until they’re nice and puffy. Probably another hour or so. When they’re getting close to that size, go ahead and preheat the oven to 350°.
When they’re ready, bake them for about 25 minutes. They should be nice and golden on top and if you tap on them, they’ll sound hollow.
Remove them from the pan immediately. If you want them to be pretty, brush them with a little butter, and they’ll be shiny and gorgeous.
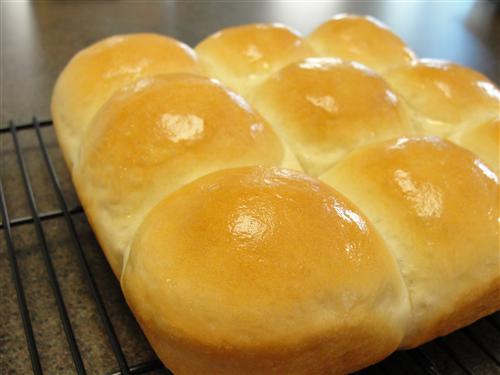
They really do need a better name. Look at that beauty!
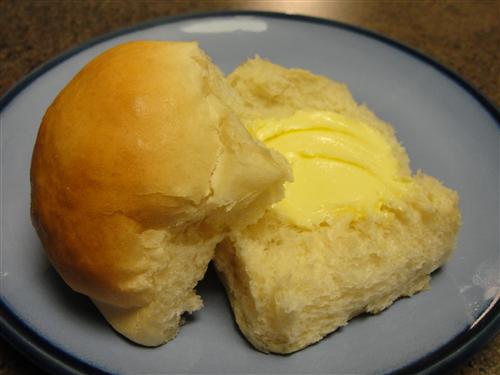
What’s your favorite thing to do with a roll?