Easy Peasy Peanut Butter Cookie Bars
 Taneasha
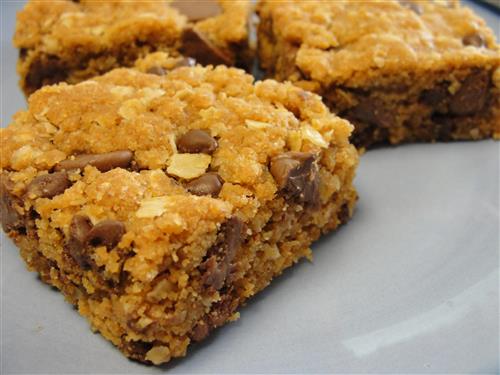
If you like peanut butter and chocolate, you’re going to love this recipe. It’s super easy. I actually had to make it twice because the first time I was just throwing stuff into the mixing bowl and didn’t keep track of any measurements. They were so good that I just had to share. That meant making them a second time so I could put together an actual recipe for you. I really didn’t mind, though.
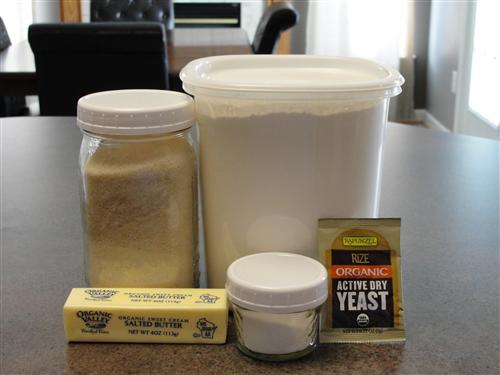
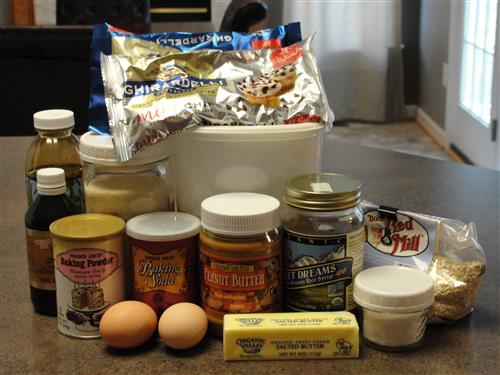
Here’s what you’ll need:
- 1 ½ cups peanut butter (something natural)
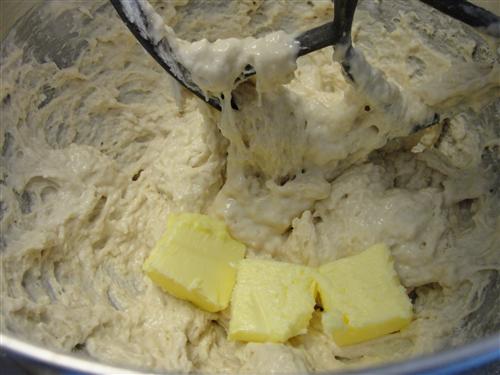
- 3 Tablespoons butter
- 1 ½ cups sugar*
- ¼ - ¾ teaspoon salt
- 1 teaspoon molasses*
- 1 Tablespoon brown rice syrup (or other syrup)
- 1 teaspoon vanilla
- ½ teaspoon baking powder
- ¼ teaspoon baking soda
- 2 eggs
- 2 Tablespoons flour
- 1 cup oats (I used quick oats, but old fashioned are also fine)
- 1 cup milk chocolate chips
- ½ cup mini semisweet chocolate chips
- *If you prefer, you can use brown sugar in place of the sugar and omit the molasses.
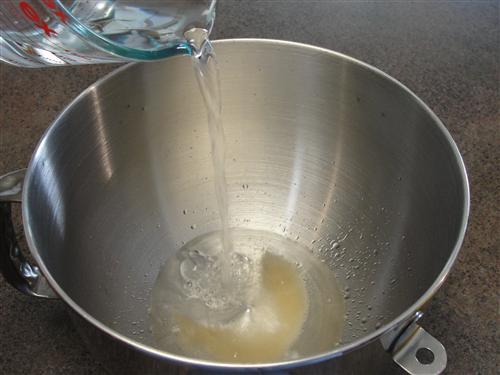
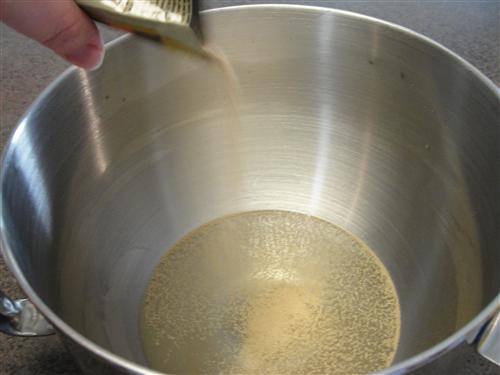
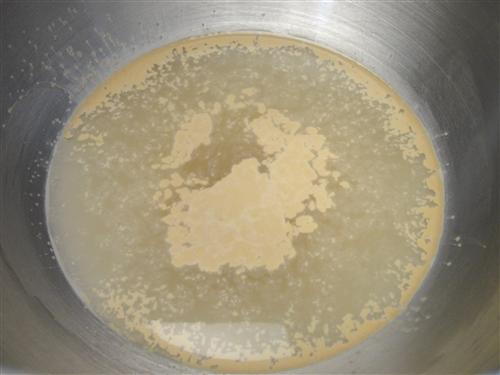
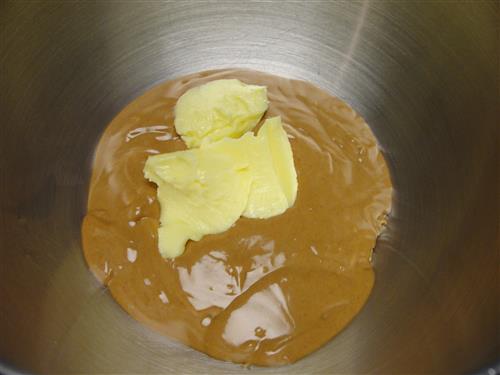
Go ahead and preheat the oven to 350°. Butter a 9x13 pan and set it aside. Then, into your mixing bowl go the peanut butter and butter. (As always, the ingredients should all be at room temperature.) The peanut butter I’m using is made from unblanched peanuts which is why it has such a dark color.
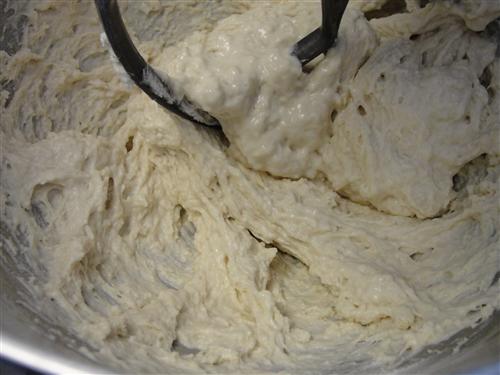
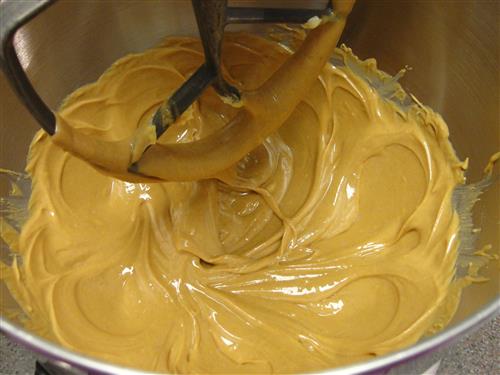
Mix them together until they are thoroughly combined.
Add the sugar.
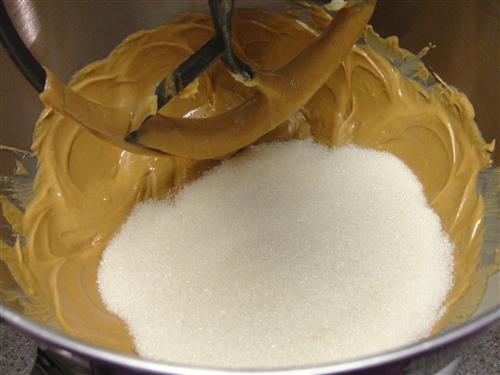
Mix.
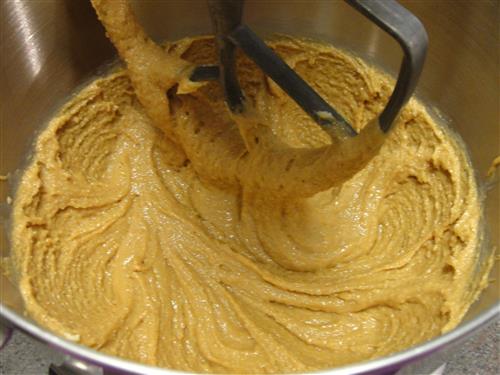
Add the molasses, rice syrup, vanilla, and ¼ teaspoon salt.

Mix. (I did mention these are really easy, right?) This is a good time to taste the mixture for saltiness. I like my peanut butter stuff to be pretty salty, but it’s a personal thing. If you like it at that point, leave it. If it needs more salt, go ahead and stir some in.
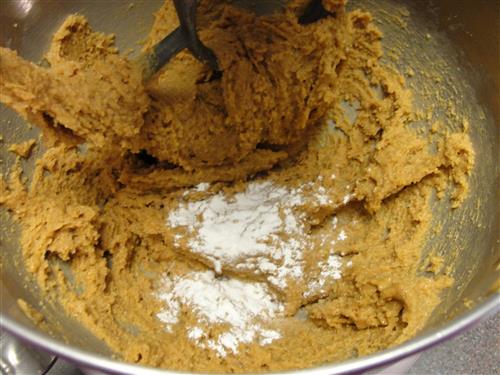
Add the baking soda and powder. Mix them in thoroughly, scraping the bowl down in the process.
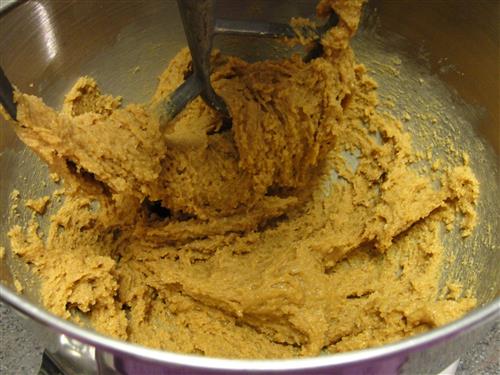
Next up are the eggs. Go ahead and throw them both in.

As you mix them in, you’ll see your stuff get stiff. *ahem* To be honest, I’m not sure why that happens with peanut butter cookies, but that’s the reason the eggs don’t go in until now.

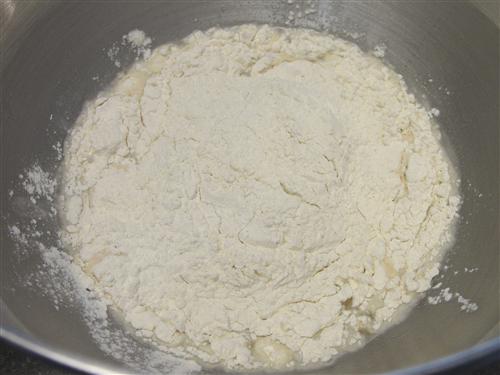
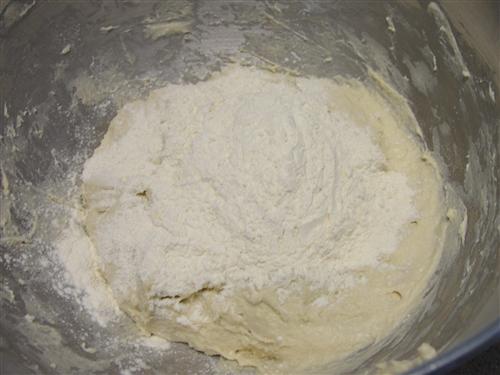
Add the flour and oats.
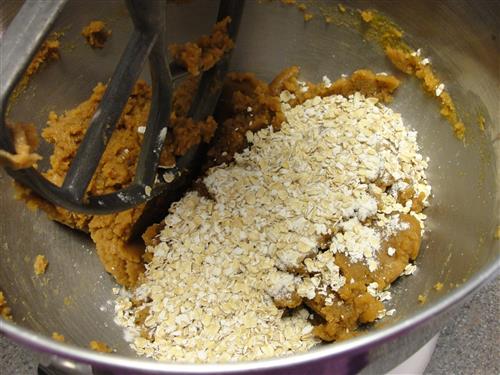
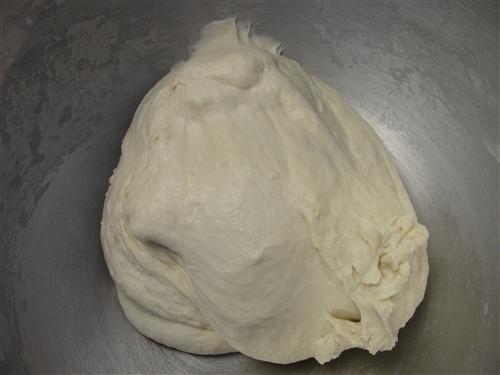
Stir just enough to bring everything together. It’ll be a bit crumbly,
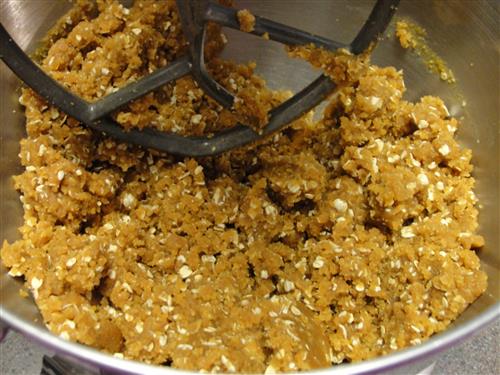
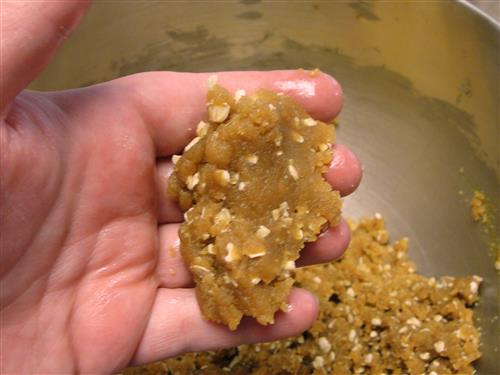
But if you squeeze some of it in your hand, it will hold together nicely.
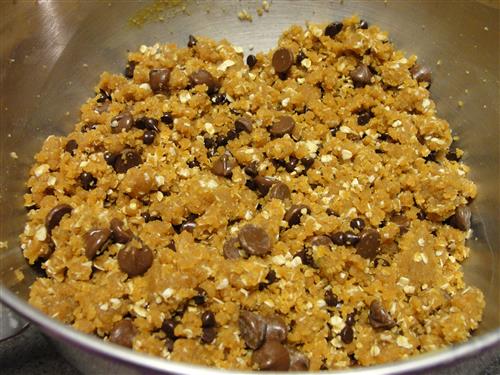
Add the chocolate chips. I used a combination of milk chocolate and mini semisweet ones, and although you can really use whatever you want, I highly recommend that particular pair for this application.
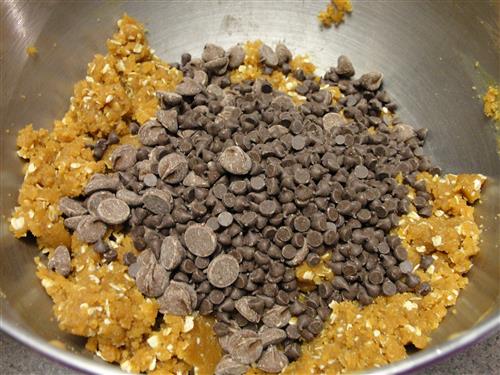
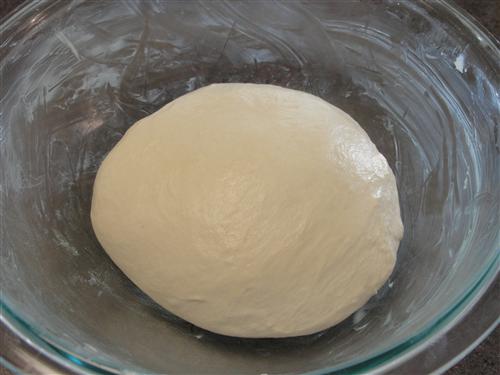
Stir them in so they’re evenly-ish distributed.
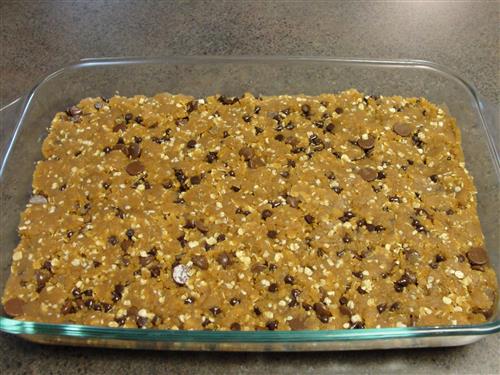
Dump the whole thing into your prepared pan and press it down firmly so that it’s an even thickness.
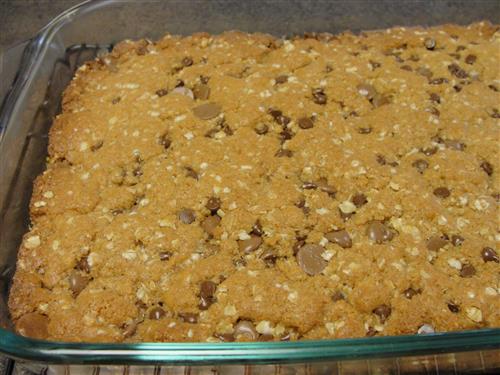
Bake for 25 - 30 minutes. It will look dry on top and will be browning nicely around the edges.
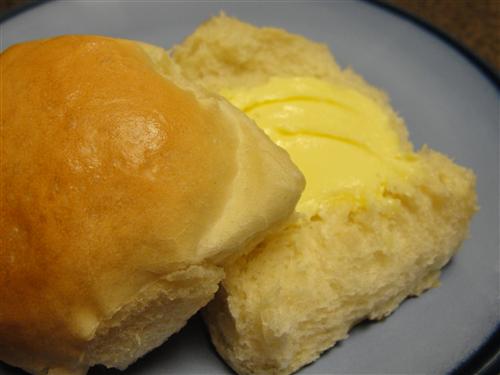
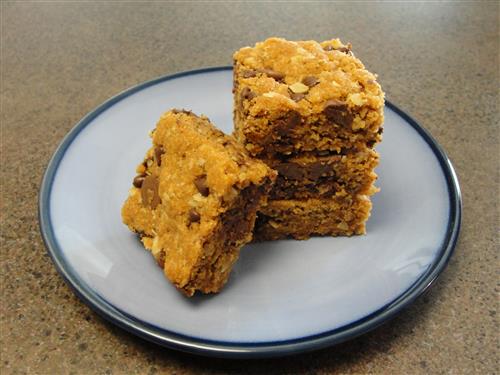
Cool completely (yeah right. Good luck with that) and cut into squares. The salty peanut butter combined with the sweetness of the chocolate and the chewiness of the oats brings together all of your favorite cookies into one fabulous bar.
What's your favorite cookie bar?