The Colorful Cookie Conundrum...
 Taneasha
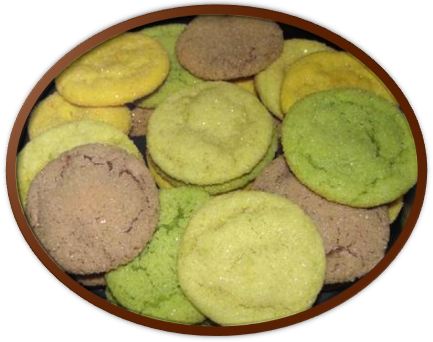
As you probably know, artificial dyes have had quite a place in the news lately for a few of their more common side effects, most notably increasing hyperactivity in children. Even before all the latest findings I avoided artificial stuff, but now they are officially banned in my house. Well, with Easter coming up and spring in the air, I want some fun colored goodies. Sounds like it’s time for a little experiment. Using nothing but things created by Mother Nature, herself, I set off to create a recipe for beautiful, and tasty, cookies.
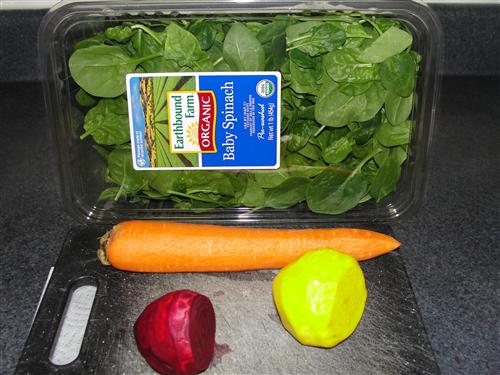
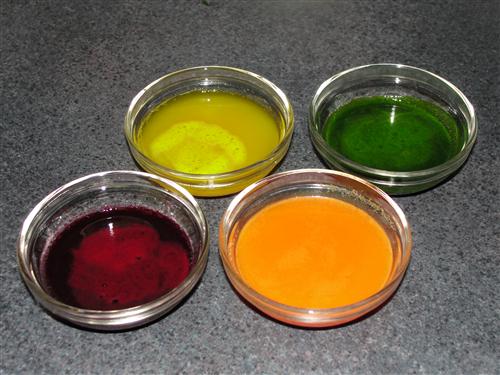
First things first, we have to get the juicing out of the way. I’ve chosen to use red beet, yellow beet, carrot, and spinach.
No, this is not my attempt to make healthy cookies. I promise they won’t taste like vegetables by the time we’ve finished.
Ok, juicing… I happen to have a really awesome juicer, which definitely helps for this process. In goes veggies, out comes very brightly colored juice.
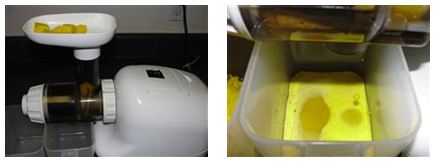
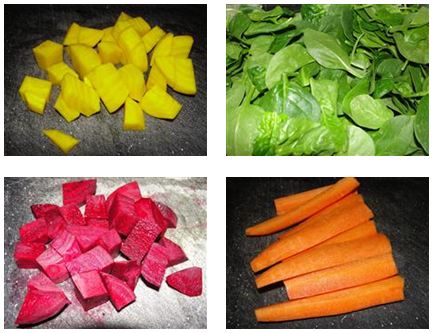
Chop your vegetables so they’ll fit through the chute. Notice I’m using my ugly, old, black cutting board? That’s because these things will stain. Be careful not to get them on your clothes, especially. Unfortunately, you will have to wash the juicer between each to prevent a mixture of colors, but it’s worth it.
See how pretty?
Now, set those aside and we’ll start on the cookie dough. Since you can’t divide an egg into four equal parts very easily, I think it best to make a cookie dough ‘starter’, if you will, and then divide that. Here’s what you’ll need for the cookie dough.
1 cup butter (2 sticks)
1 ⅓ cups sugar
1 Egg
1 teaspoon vanilla
1 teaspoon distilled vinegar
2 ⅔ - 3 cups all purpose flour
½ teaspoon salt
½ teaspoon baking powder
1 teaspoon baking soda
(If this recipe looks familiar, it’s because I used the same dough for my Valentine’s Day Cookies.)
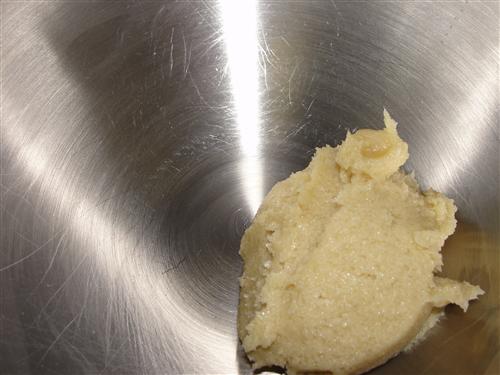
In a mixing bowl, whip your butter until it’s soft and fluffy.
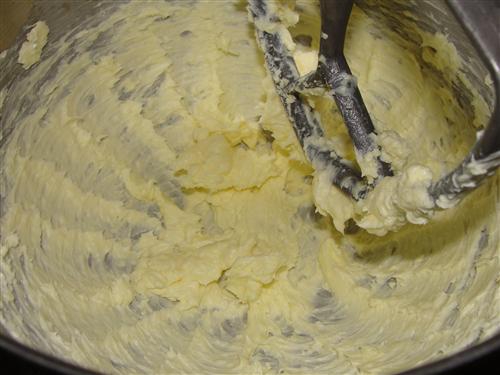
Add the sugar and whip for another minute or so.
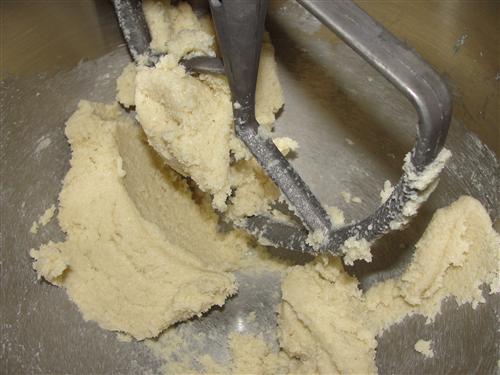
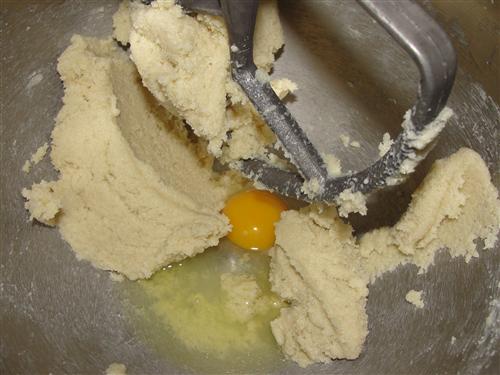
Mix in the vanilla, salt, and vinegar, followed by the baking powder and soda. Finally, add the egg and mix until completely incorporated.
Separate the batter into four ½ cup portions, and return one of them to the mixing bowl.
Here’s where you have to get a bit creative. I decided that I would not only add different colors to each portion, but different flavors as well. Now is when you’ll want to add those as well. This is how it went for me:
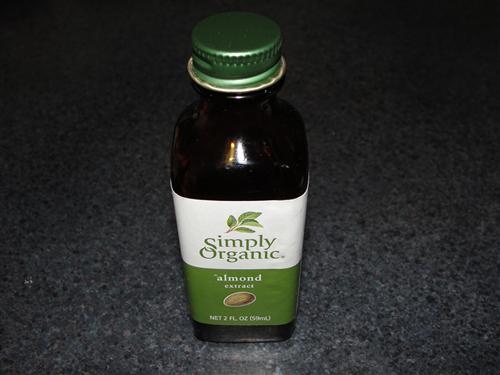
Green – 1 ½ teaspoons spinach juice and ½ teaspoon almond flavor
Yellow – 3 teaspoons yellow beet juice, ½ teaspoon lemon flavor, and 1 teaspoon lemon zest

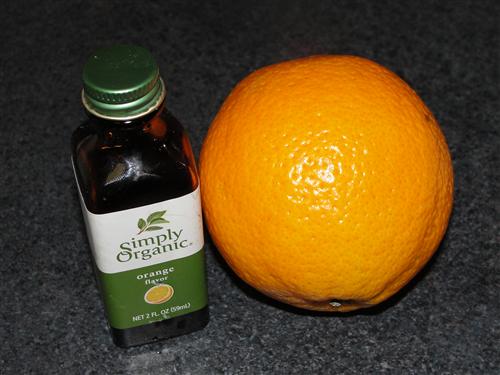
Orange – 3 teaspoons carrot juice, ½ teaspoon flavor, and 1 teaspoon orange zest
Pink/purple – 1 teaspoon red beet juice and ½ teaspoon vanilla (oops, no vanilla picture)
Yes, I am aware that they sell natural food coloring, similar to the flavorings I’m using there, but what fun would that be?
Now, add your desired color and flavor combination to the mixing bowl.
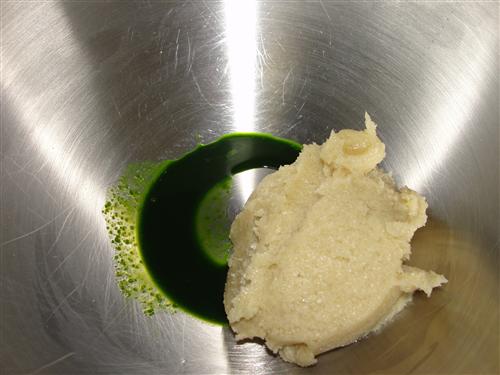
When it’s mixed in, it should look something like this.
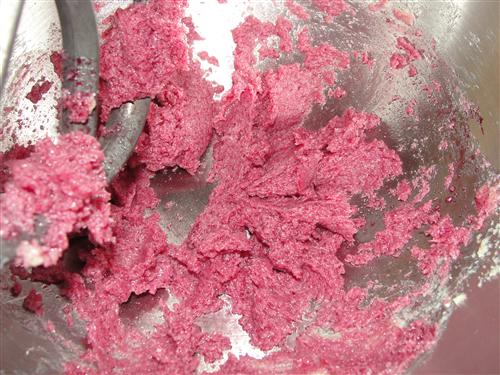
Not sure why I didn’t take two pictures with the same color, but you get the idea.
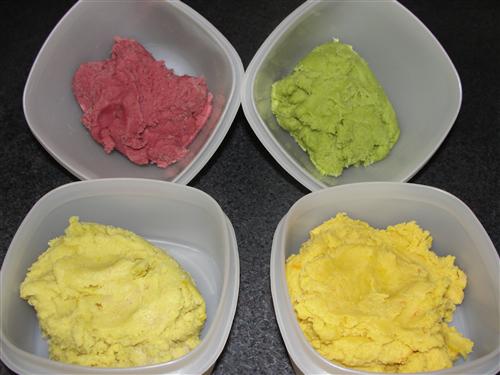
Next comes the flour. Start by stirring in ⅔ of a cup. That should get you pretty close, but in the yellow and the orange, I had to add another tablespoon. You’re going for a soft, play dough like consistency. If it’s still sticky, add flour, one tablespoon at a time until it just loses that stickiness. When you’ve finished with all your different colors, it’ll even look like you’re playing with play dough. How cute is that?
Here’s a good place to preheat your oven to 350°.
Now, roll the dough into balls about the size of a quarter and drop them into a little bowl of sugar.
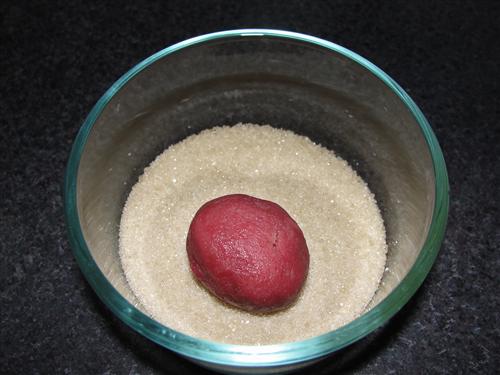
Shake them around until they’re coated all the way around and then place them on a parchment lined cookie sheet, leaving about two inches between them. (I had to put mine closer together for the picture. Leave more space than this)
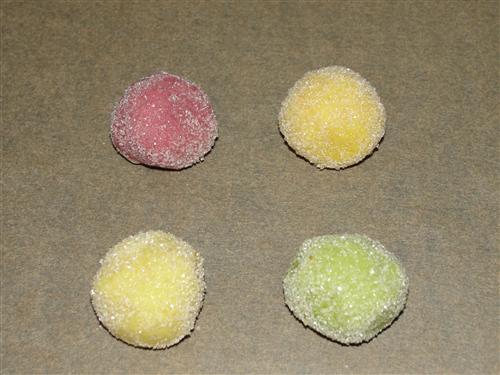
Bake at 350° for 8-10 minutes, or until the edges just start to brown.
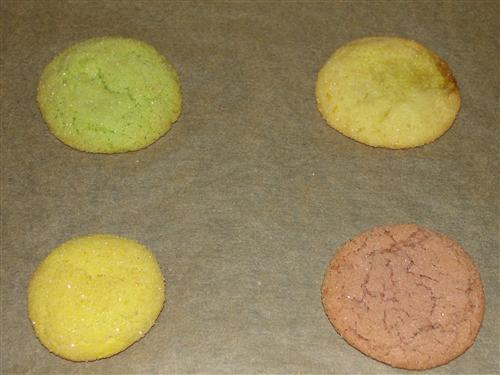
Not sure why the top right one went a little wonky. I did mention this was an experiment, didn't I? The ones that came after these were all perfectly beautiful.
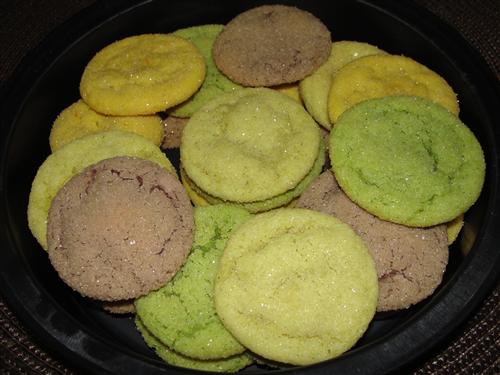
Cool them for a minute or two on the pan, and then remove to a cooling rack. When they’re all baked and cooled, taste one of each flavor (yes, I just told you to eat four cookies) and marvel at how good they are! Then take a picture of the results of all your hard work and show all your friends how talented you are and brag about how you only used vegetable juice to make such beautiful, fun cookies. (I may or may not have done this)
Last, but not least, pack the majority of them into a container and send them to work with your husband so you don’t sit around and eat every last one.
Now, I realize not everyone has a juicer on hand, and I don’t really expect a large number of people to follow this recipe to the letter. My intent, rather, is to get your creative ‘juices’ flowing, to get you to think outside of the box and look for a more natural alternative to artificial dyes. I've shown you the things I used in mine, but if you don’t have a juicer, you could probably try blood oranges, or even bottled juice like pomegranate or carrot. Have fun with it! That’s what baking is supposed to be about.


