Search
Categories
Have a request?
This form does not yet contain any fields.


    Entries in things inside other things (28)

    Monday
    May132013

    Pear Mayhem!

    Oh, it's Mayhem alright.

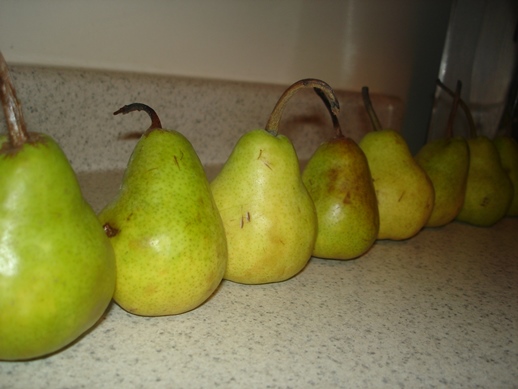
    I bought a bag of pears a little while ago and they are delicious and just the right size for taking to lunch for afternoon snacks, but the trouble with a whole bag of pears is that they all ripen at the same time. And then you have a bag of super-ripe pears and way more afternoon snacks than one person can eat in three days.

    Fortunately, you also need something to take for breakfast. Or eat at home for breakfast. Or dessert. But really, this is more of a breakfast cake.

    Cake for breakfast! Mayhem!

    Oh, and once again, I'm winging it. Because, I laugh in the face of Mayhem!

    It laughed back at me.

    Pear Upside Down Cake
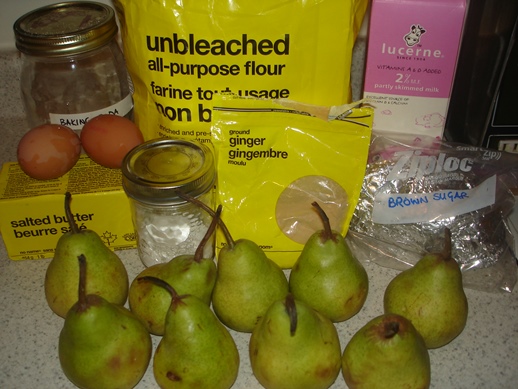
    • 3-4 pears
    • 1/4 cup melted butter
    • 1/2 cup brown sugar
    • 1/2 cup butter
    • 1/2 cup sugar
    • 2 eggs
    • 2 tsp ground ginger
    • 3/4 cup milk
    • 1 1/2 cups flour
    • 1 tsp baking powder
    • 1/2 tsp baking soda
    • 2 pears, grated

    Preheat the oven to 350 and bring all the ingredients to room temperature. 

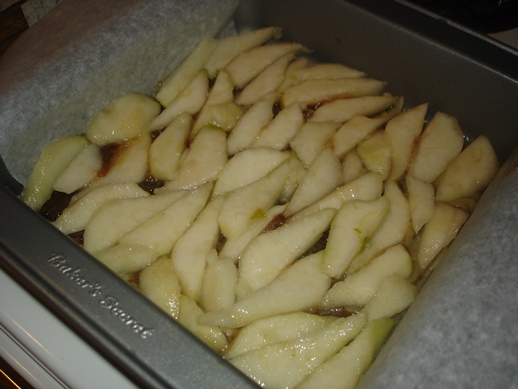
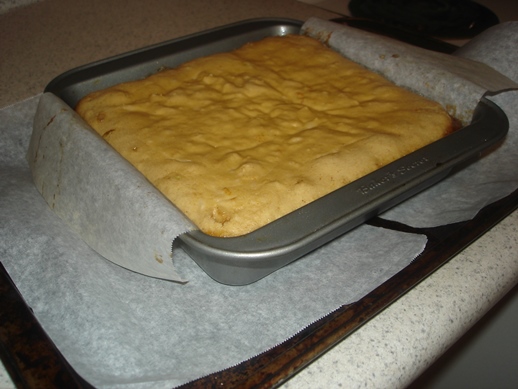
    Butter and line an 8 inch square pan with parchment.

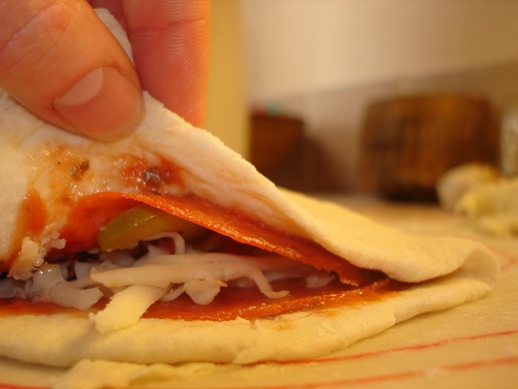
    Pour the melted butter into the pan, sprinkle over the sugar, and lay in the pears. If you plan on presenting this for some kind of fancy breakfast, you could arrange the pears artfully. Me, I wanted to use as many as possible, so I crammed 4 pears into the bottom of the pan.

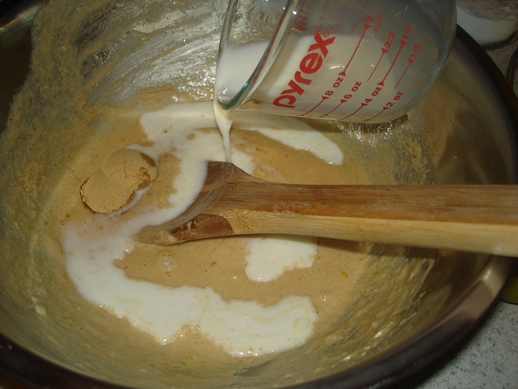
    Cream the butter and sugar together, then add the eggs.

    If you ever get eggshell in your batter, the best thing to take it out is another eggshell.

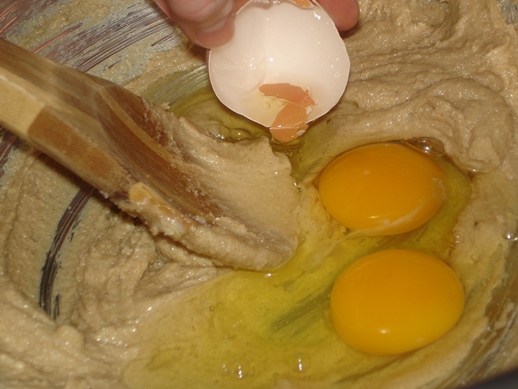
    Beat in the eggs, and then the ginger and the milk.

    Mix in the dry ingredients. If you'd like to sift the baking powder and baking soda into the flour first, go right ahead, but this is a quick cake, and if you just give the dry stuff a bit of a stir as it sits on top of the wet before mixing the two together, that's just fine.

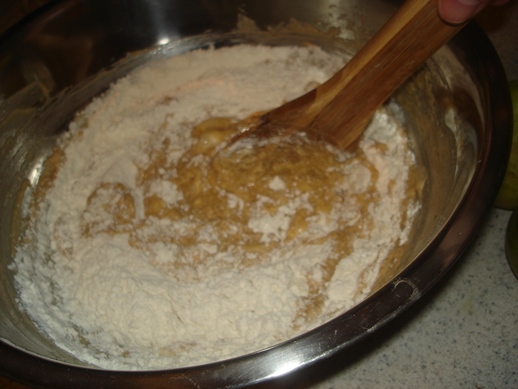
    If the pears you're grating in aren't super ripe and juicy, you may want to add anothe 1/4 cup of milk or pear juice. However, I recommend using ridiculously ripe pears.

    Pears seem to be classed as a "hard" fruit most of the time, treated much like apples are, but a nice ripe pear is not crisp like an apple is. A perfectly ripe pear will crush in your hand the same way a peach does.

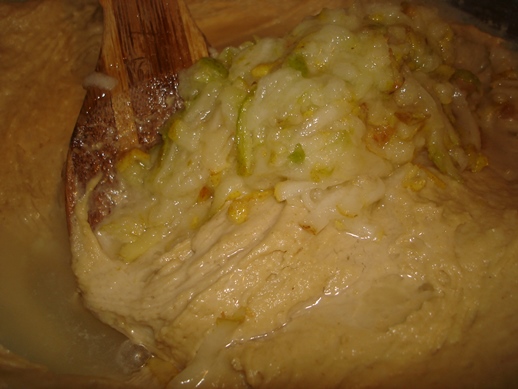
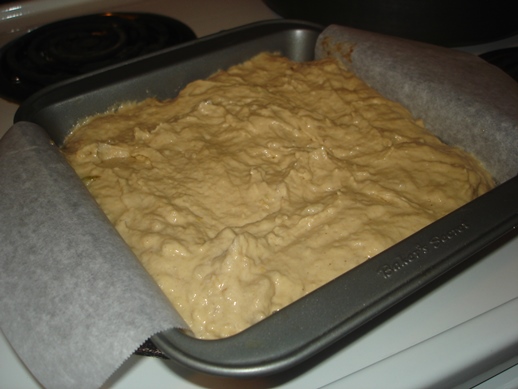
    Mix in the pears and spread the batter over the sliced ones on the bottom of the pan.

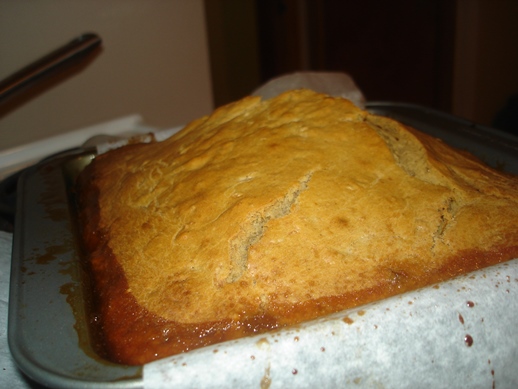
    Hm. That's a really full pan.

    I however, am not anywhere near as smart as Taneasha, and I didn't put mine onto a baking sheet.

    Instead I popped the pan in the oven and set the timer for 40 minutes.

    10 minutes later, the cake started sending me smoke signals out of the vent. I opened the oven. And then I opened every window in my apartment and the front door.

    The sugar at the bottom of the pan had bubbled up and overflowed onto the bottom of the oven.

    I yanked the cake and put it on a sheet covered with parchment, then shoved it back into the oven.

    I had to vent the smoke every few minutes for the next 15 minutes, but eventually it cleared.

    I've been thinking for a while that I should clean the oven. I guess I really have to now.

    Um, okay, apparently rising was not an issue this time.

    Crap, I'm supposed to flip this thing upside down to let the pears out.

    A bread knife, horizontal, and that wacky peak is taken care of. This trick works well for levelling out the bottom half of a layer cake too.

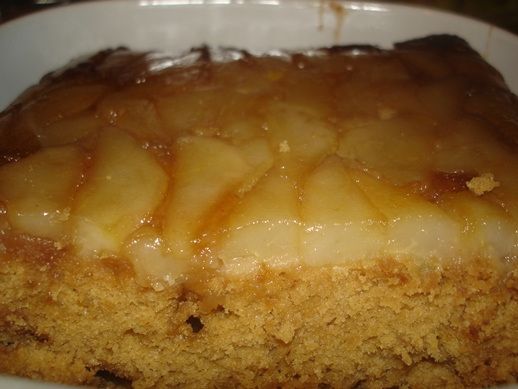
    And since I don't have a square plate, or a round platter big enough for this thing, and since I need something to store it in, I flipped it into my 9 inch square Corningware pan.
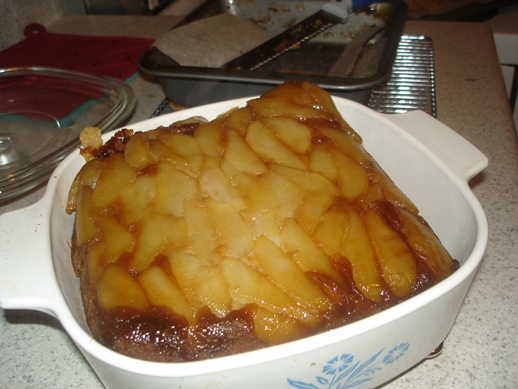
    Nailed it.

    I'll just trim the edge off to make it fit.

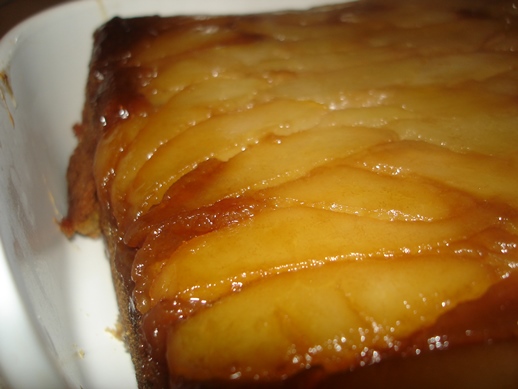
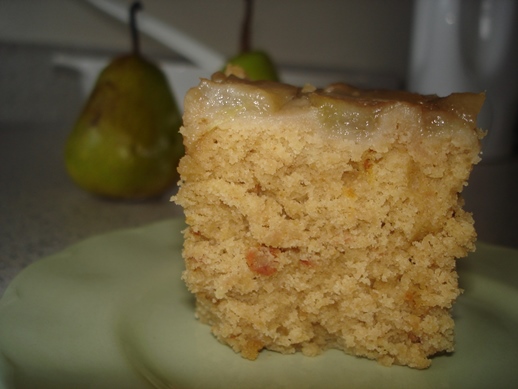
    The taste of this is just fabulous. I know there's nothing in there but ginger, but that's the point. The ginger gives the soft cake a nice bite that perfectly offsets the smooth pear.

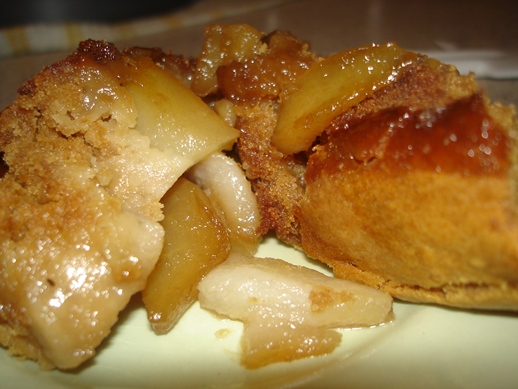
    And the caramel! Holy cow.

    I think next time I may add a bit of ginger to the sugar-butter mixture that makes up the caramel.

    What would you add ginger to?


    Monday
    Mar042013

    There's pizza in there!

    Up here in the frozen north, we have something called a "pizza pop." And despite the ridiculous cold and perpetual snow, a pizza pop is not a pepperoni flavoured ice cream treat.

    Why they're called pops we'll probably never know, since they're really more of a calzone. But they are a staple junk food on this side of the 49th and unbelievably easy to replicate.

    Home Made (is best) Pizza Pops

    • 1 batch of biscuit dough
    • 1/2 tin of plain tomato sauce
    • 1/2 tsp garlic powder
    • 1/2 tsp marjoram
    • 1/2 tsp oregano
    • pepperoni
    • mozza
    • other stuff you like on pizza
    • an egg and a bit of water

    A note on the cheese: while a soft squishy mozza is nice, it doesn't work well in these. It liquifies too much, and escapes out of the pop to make a lovely cheesey mess all over the baking sheet. I strongly recommend a firmer, drier mozza for these.

    I used the garlic salt in the biscuit dough (in place of the regular salt, which is in the picture, but which I didn't use), and then I found the garlic powder (not pictured) in the cupboard and so used it instead of the fresh garlic. And there's no egg. Or biscuit dough. This picture is all kinds of fail.

    So, first thing you have to do is make your biscuit dough. I know, I know, it's not pizza dough and calzones are usually made with pizza dough. I don't care. Biscuits are fast, easy, and do not contain yeast. I am really not good with yeast. I seem to kill the poor things with my bare hands. I swear I can feel them dying as I knead.

    So, I used biscuit dough, and frankly, it's more like the pop dough anyway. And I'm making pizza pops here.

    The pizza sauce is probably the toughest part of this... Put it all in a bowl. Stir. Holy hell, I'm exhausted and I need to sit down for a few minutes.

    So, you can either roll out the dough into one big blob and cut circles out of it, or you can roll small blobs of dough into circles. I've done it both ways, and I find that the big blob works best for smaller ones and small blobs work best for larger ones.

    Since I was at Recipe Guy's house and making insta-lunches to stock his freezer with, I opted for small blobs to make big pops.

    Roll the dough to no more than 3 mm thick (metric, Canadian, plus, looks better than 7/64 inches) and spread it with pizza sauce, leaving about a 1/4 inch (about 6 mm if you're playing along at home) edge all the way around.

    Lay on the pepperoni. I only used one layer in this batch, but I think two would be okay. Make a small pile of cheese on one half. Add whatever other toppings you like, and then another small drizzle of sauce.

    Fold the non cheese side over the cheese side and proceed with some form of joining of the edges.

    Me, I like to roll it by folding the bottom layer up over the top layer. If you prefer to press, (edges of pizza pops are pressed with a fork-like indentation) I suggest you use some kind of fastener, like water, or a bit of egg wash. You're going to have to make the egg wash (beat the egg with the bit of water) anyway, and it makes a pretty decent pastry glue.

    Brush them with egg wash and poke the top a few times with a fork. If steam can escape this way, it won't try and bust open an edge to get out.

    I baked these at 400 for about 17 minutes.

    The pastry is flakey, and handles both the freezer and the microwave well, and the filling is just enough pizza for a quick lunch. You could even eat it one handed.

    What else should I stuff my biscuits with?