Eggnog Meltaway Cookies
 Taneasha
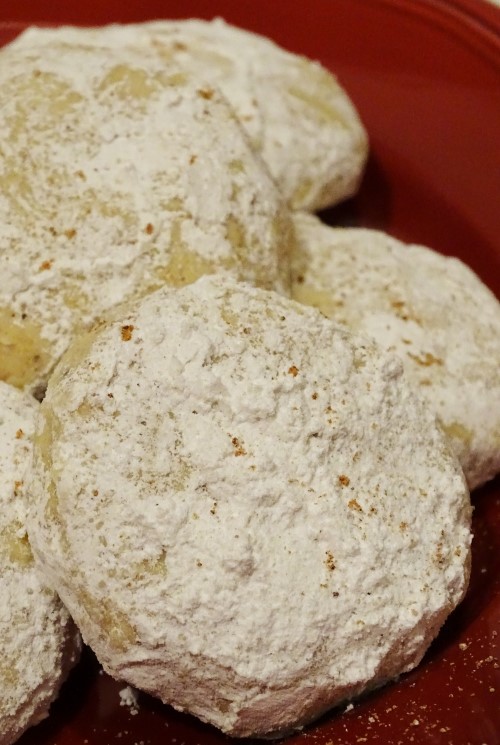
As you probably know from past posts, I love eggnog. I’ve made homemade eggnog, eggnog fudge, and eggnog cinnamon swirl scones that are to die for. Well, for this year’s second holiday cookie, I wanted to incorporated eggnog. I also wanted to try something I haven't made before. The answer… Eggnog Meltaway Cookies!
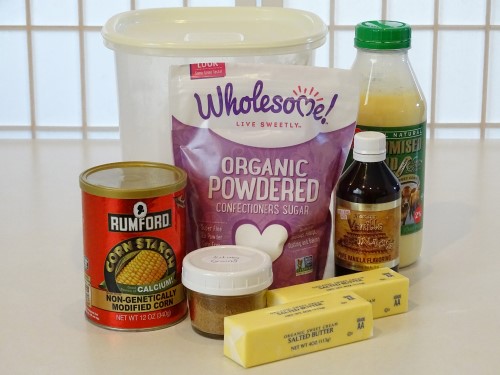
Here’s what you’ll need:
- ¾ cup butter (1 ½ sticks)
- 1 cup powdered sugar (divided)
- 1 teaspoon nutmeg (divided)
- 2 Tablespoons eggnog
- 1 Tablespoon vanilla
- 1 ¾ cups flour
- 2 Tablespoons cornstarch
- ¼ teaspoon salt
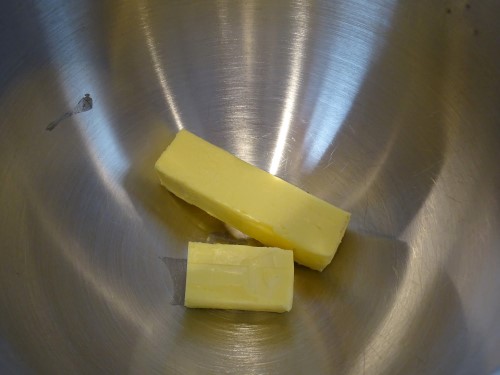
Make sure your butter and eggnog are room temperature before you get started, and preheat your oven to 350°. Place the butter into your mixing bowl.
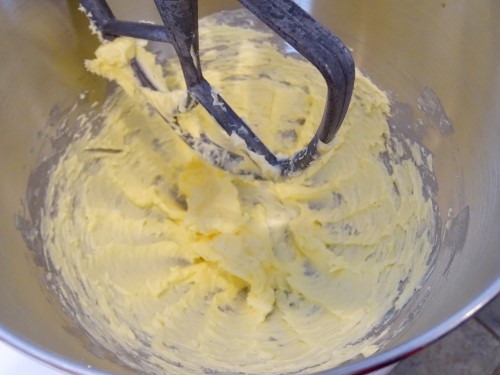
Mix it for a minute or so until it’s nice and soft and creamy.
While that’s going, sift your powdered sugar.
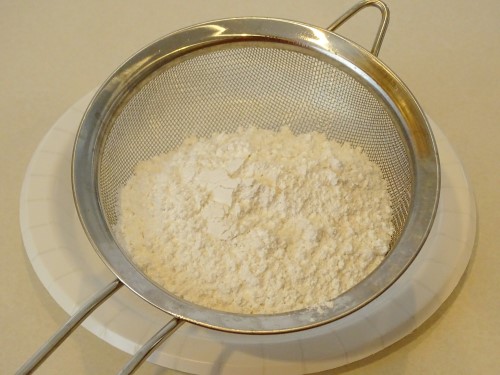
Add ⅓ cup of the sifted sugar to your butter and set the rest aside for later.
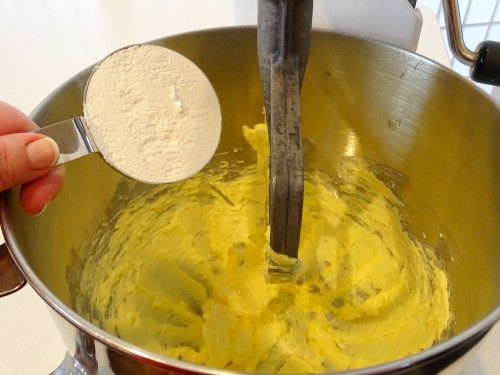
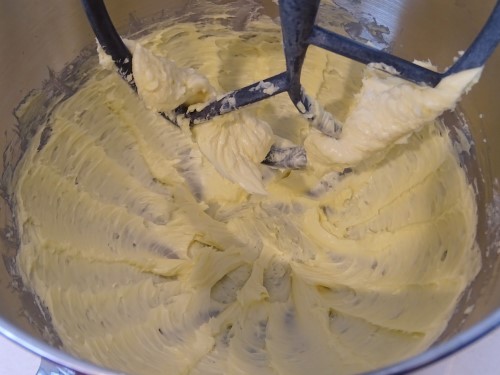
Allow that to mix for a good two minutes. It should become a lovely pale color and look somewhat fluffy.
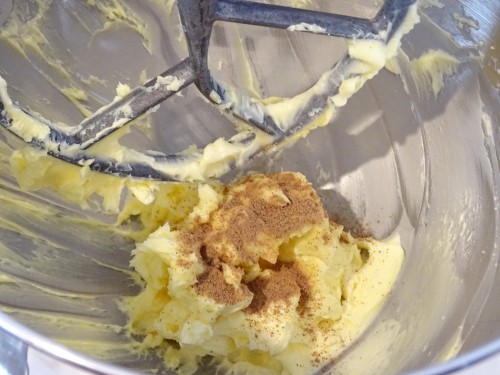
Scrape everything down and add ½ teaspoon of the nutmeg. Now usually, I would insist that it needs to be freshly grated. I just bought a fresh bottle of already ground stuff from Penzeys, though, so that what I used this time. If you don’t want to grate your own, at least get some that’s fresh. Nutmeg loses its lovely flavor very quickly.
Mix that in and add the eggnog.
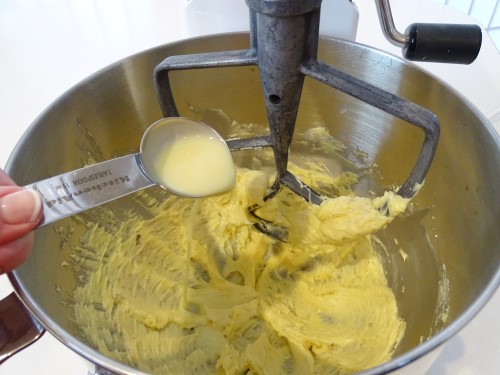
And then the vanilla.
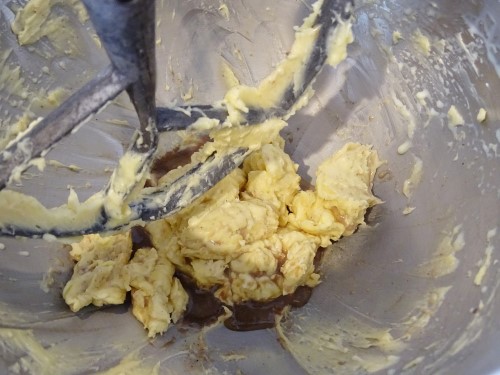
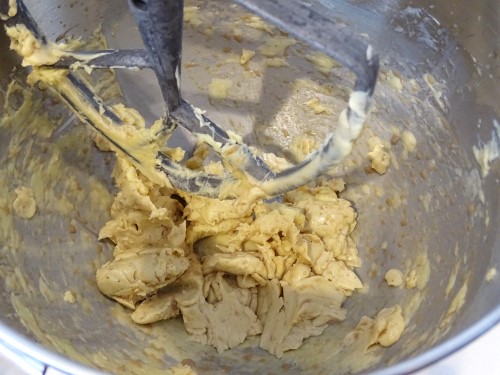
This is where things got a little scary for me. Let’s be honest, this just doesn’t look promising. Having never made meltaways before, I wasn’t sure if this was a problem. Well, I can now assure you that it is not.
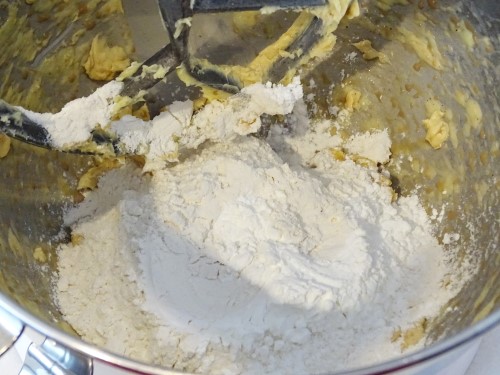
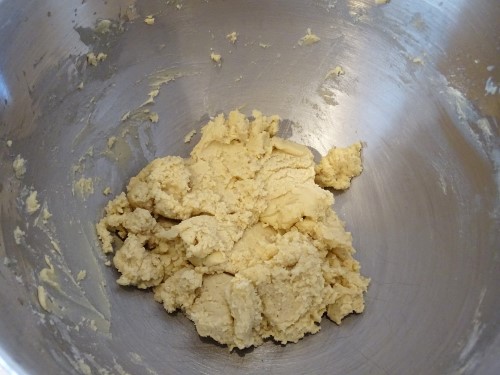
Go ahead and add the flour, cornstarch, and salt, and mix just until everything is incorporated.
The dough should be slightly firm, but have a smooth, velvety texture.
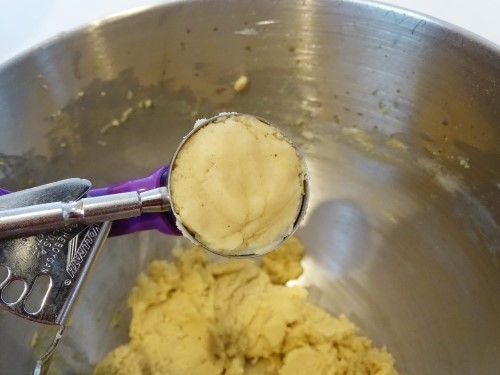
I used my smallest scoop, which is about 1 ½ Tablespoons, to scoop the dough. (I love these scoops btw)
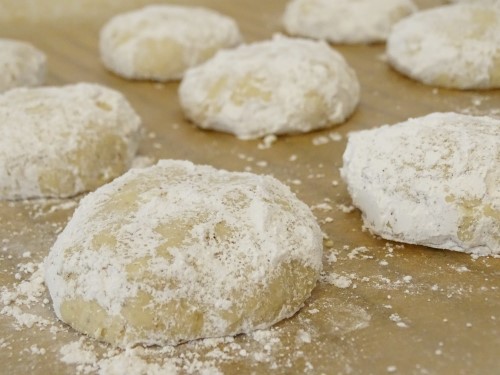
Place the dough on a parchment lined sheet pan or cookie sheet and press it with your fingers or palm.
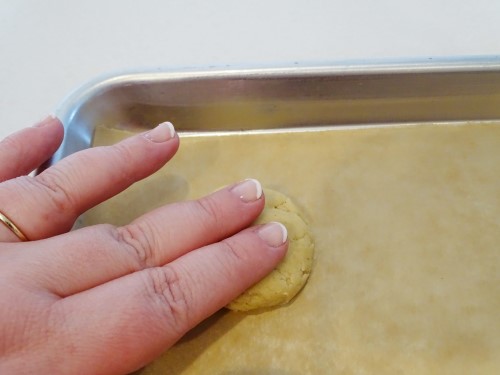
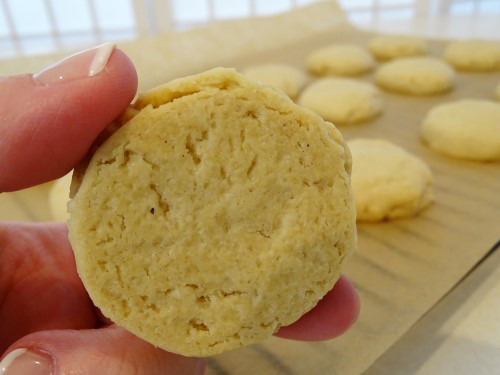
You should end up with rounds that are something like 1 ½ inches in diameter and ½ inch thick. They don’t need a whole lot of space between them because these cookies won’t really spread.
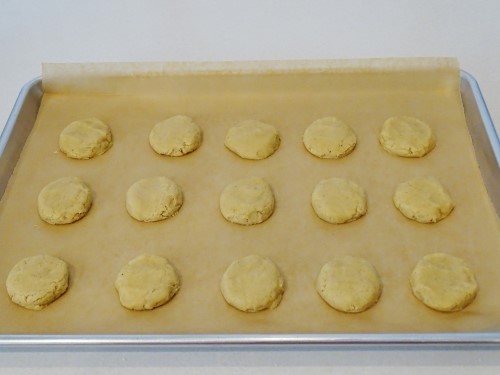
Into the 350° oven for 15-16 minutes. They’ll look dry on top, but won’t be browned at all.
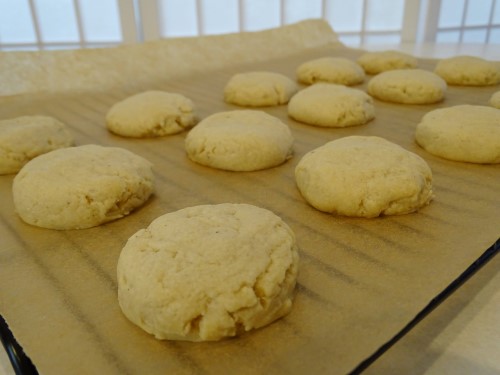
Mine weren’t even browned on the bottom yet.
Move them, parchment and all, to a rack to cool for 10 minutes. While they’re cooling, put the remaining powdered sugar and nutmeg into a large zip top bag.
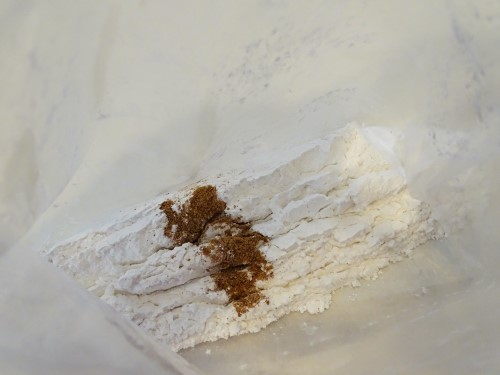
Mix those together, and when the cookies have had 10 minutes or so to cool, go ahead and drop them into the bag a few at a time.
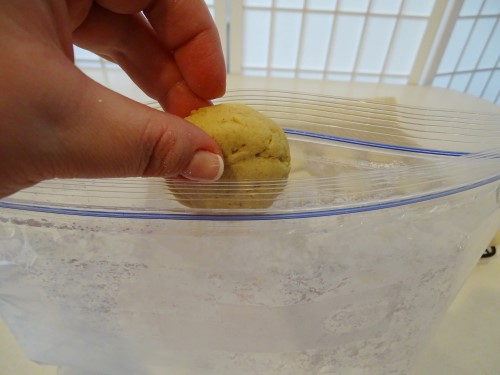
Shake them gently until they’re completely coated.

Brush/shake off the excess and return them to the rack to finish cooling.
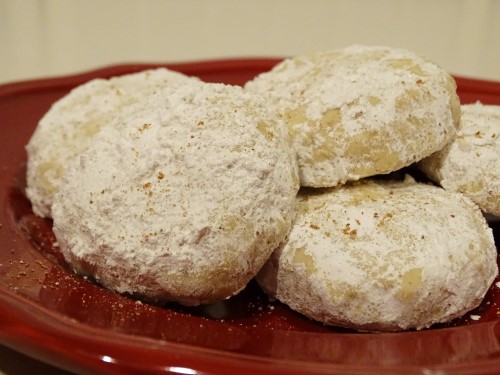
Aren’t they pretty? I was very pleased with the result. True to their name, they melt in your mouth as you eat them. The eggnog flavor is there, but it is quite subtle, which I thought was perfect for these delicate, little cookies.

I topped them with just barely a sprinkle of nutmeg, for a little contrast and a touch more spice.
What is your favorite holiday flavor? Eggnog? Peppermint? Gingerbread
Taneasha, baked goods, dessert, holiday 


