Thai Chicken Sliders
 Taneasha
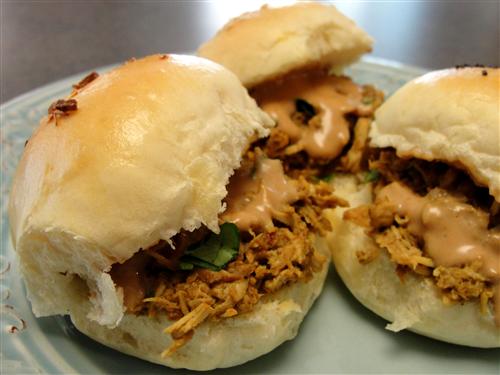
So last week I showed you how to make fabulous slider buns. This week, a filling that’s worthy of them. Thai chicken with peanut sauce. If you’ve ever had chicken satay in a Thai restaurant, the flavor will be very familiar to you. Not only is it absolutely delicious, but it’s made in the slow cooker, which is becoming my best friend in the summertime. My a/c has a hard enough time keeping up without my oven adding to the heat.
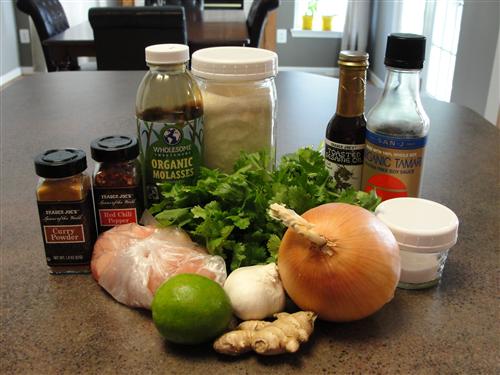
Here’s what you’ll need:
- 2 chicken breasts
- 1 onion
- Juice of a lime
- 2 Tablespoons soy sauce*
- 1 teaspoon molasses
- 1 Tablespoon sugar
- 1 teaspoon toasted sesame oil
- 2 Tablespoons curry powder
- ¼ - ½ teaspoon red pepper flakes
- 2 teaspoons fresh ginger
- 2 cloves garlic
- 1 Tablespoon chopped, fresh cilantro
*Traditionally satay uses fish sauce as well, but hubby is allergic to fish. If you want to use it, simply replace one of the tablespoons of soy sauce with fish sauce.
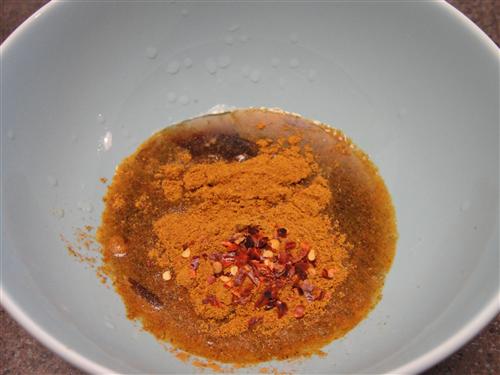
Squeeze your lime juice into a bowl.
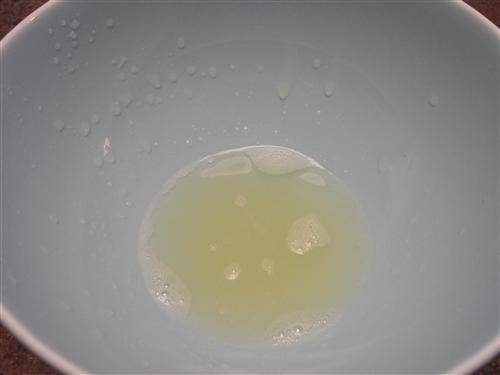
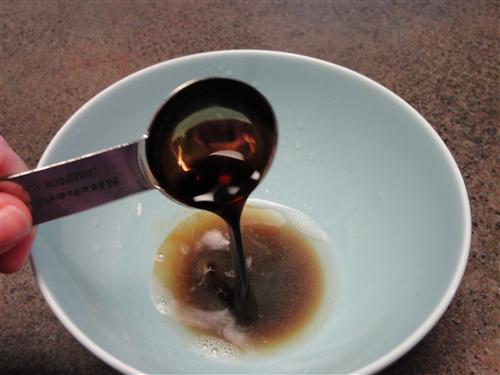
Add the soy sauce
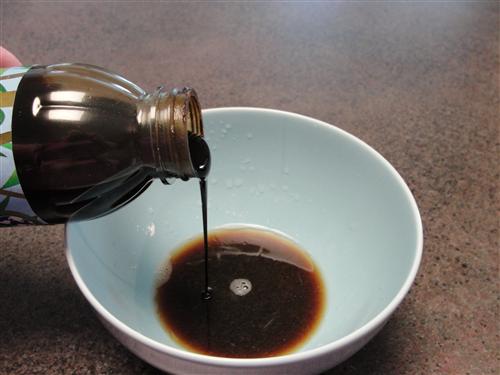
Molasses (no I didn't measure it, but if you don't trust your eyeballing skills, go ahead and do so)
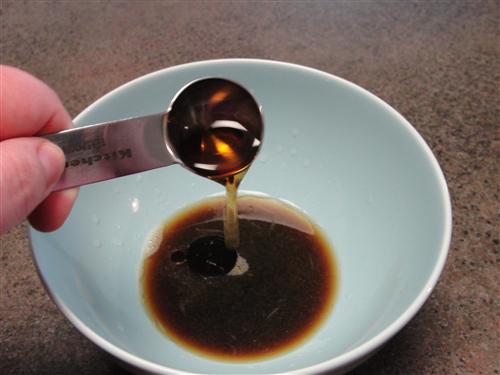
Sesame oil
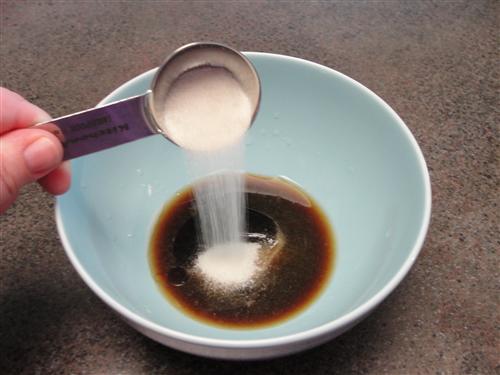
Sugar
Curry powder (just use whatever your favorite is)

And red pepper flakes. ¼ teaspoon is pretty mild, so adjust for how spicy you like things.
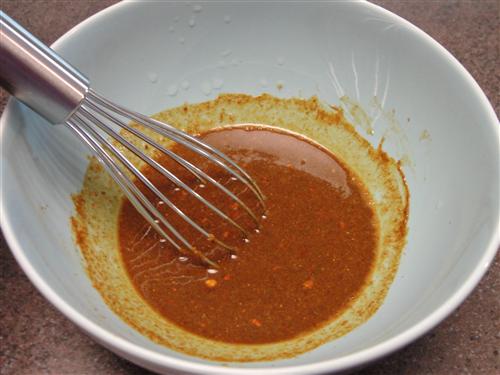
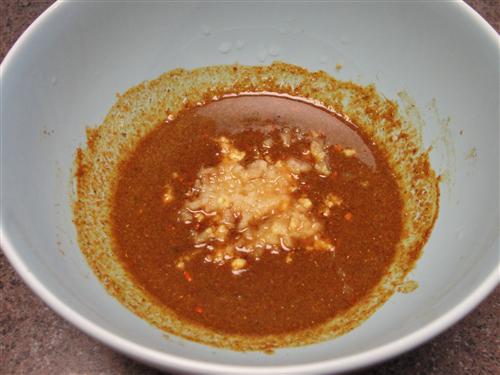
Whisk that together.
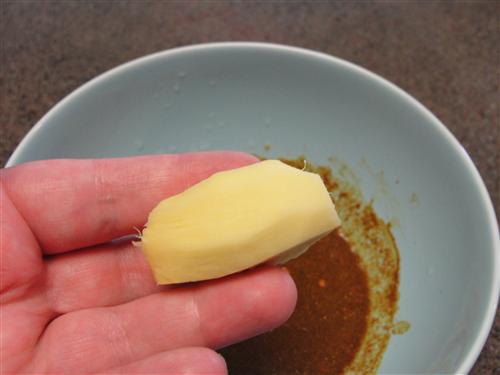
Peel your ginger.
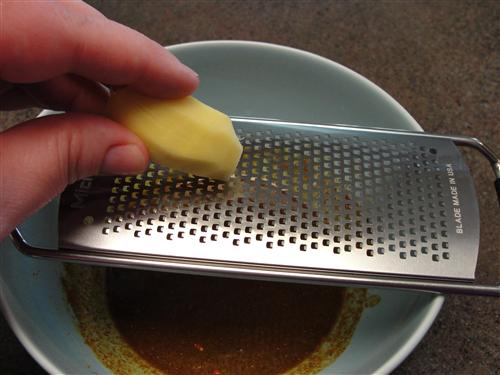
Grate that into your sauce. I used about half of this piece which gave me probably 2 teaspoons.
Because I was already dirtying my microplane, I used that for my garlic, as well.
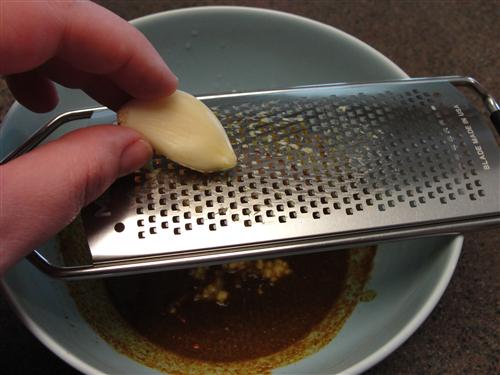
Just grate in 2 cloves, then whisk again and set the sauce aside.
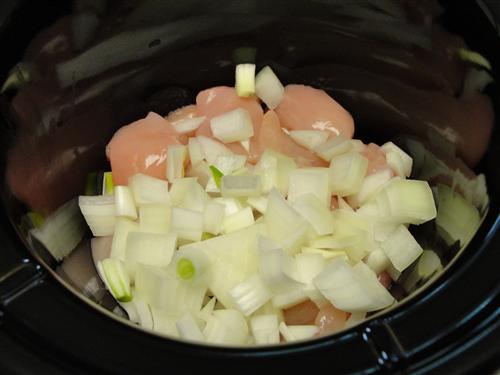
Into your crock pot go two chicken breasts and a chopped onion. As you can see, I diced the chicken, but I actually recommend leaving them whole or perhaps cutting them into quarters. I’ll explain later.
Pour the sauce over the top and stir until everything is evenly coated.
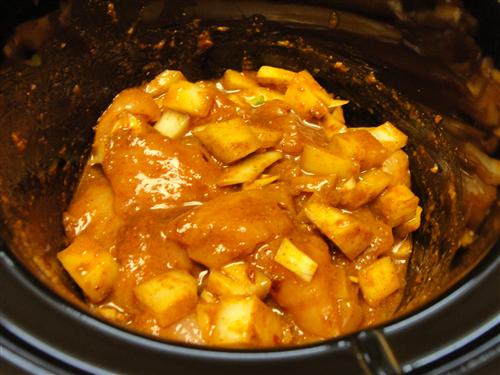
Put the lid on and turn on the crock pot. I cooked mine on high for an hour and low for another 3 ½. Basically, you want the chicken to be tender enough to do this.
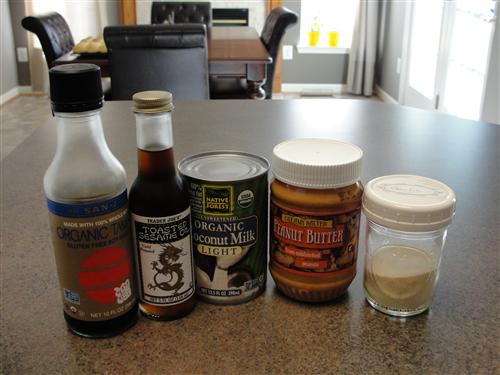
Here’s what you’ll need for the peanut sauce:
- ¼ cup peanut butter (use something natural)
- ¼ cup unsweetened coconut milk (I used light)
- 1 Tablespoons soy sauce
- 1 teaspoon sesame oil
- ¼ teaspoon garlic powder
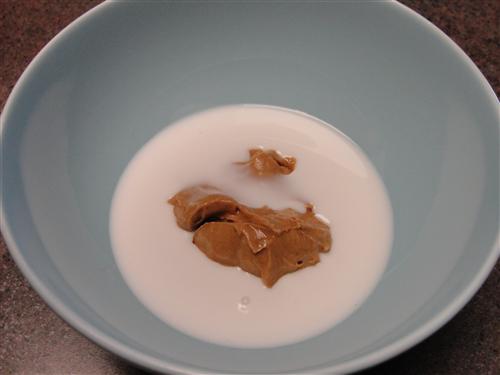
Put the peanut butter and coconut milk into a bowl.
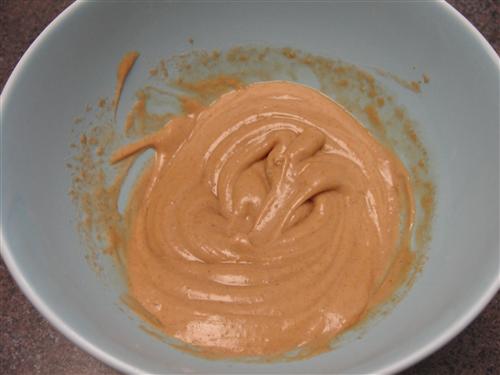
Stir them together until they’re nice and smooth.
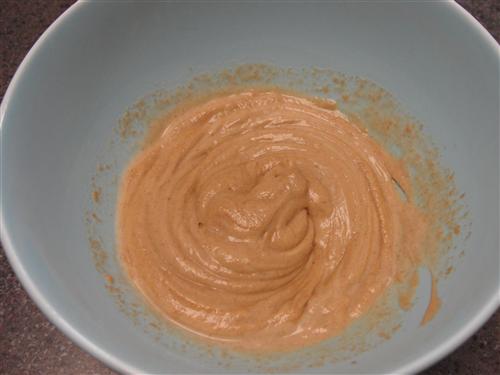
Add the remaining ingredients
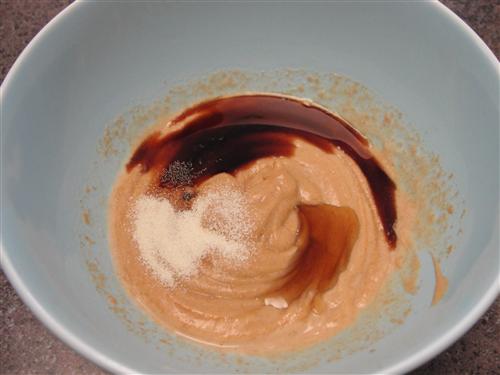
And stir them in.
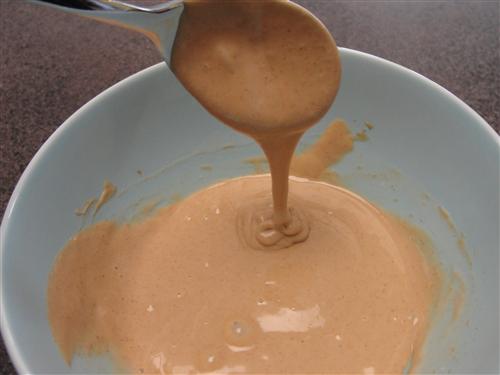
It will probably be a bit thick, so add coconut milk, one tablespoon at a time, until you get something drizzle-able.
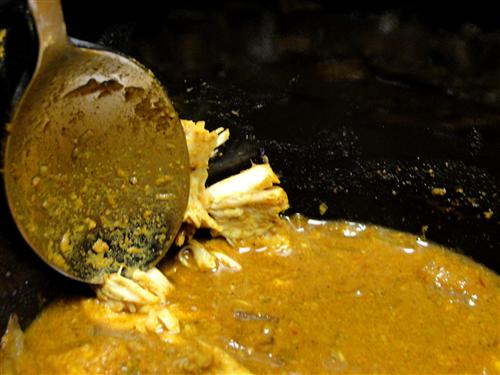
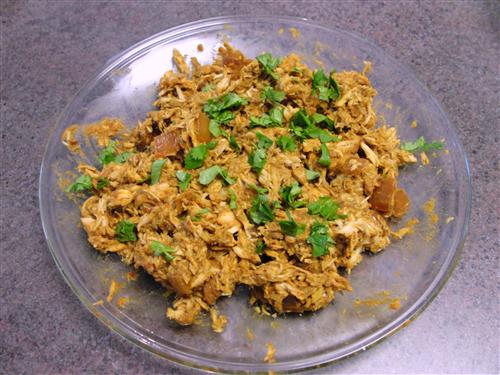
Now remove your chicken and shred it with forks, adding sauce from the crock pot as needed. This is the reason for leaving the chicken breasts in larger pieces. My small pieces meant tiny shreds. Longer shreds would give it a bit more chew.
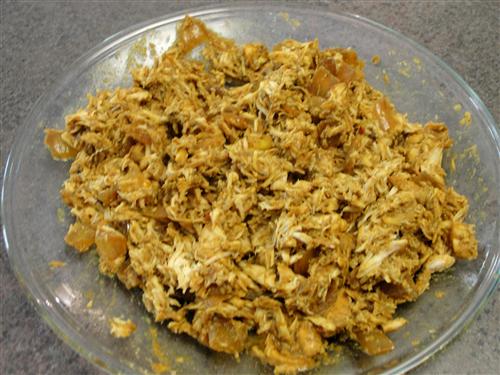
Chop your cilantro
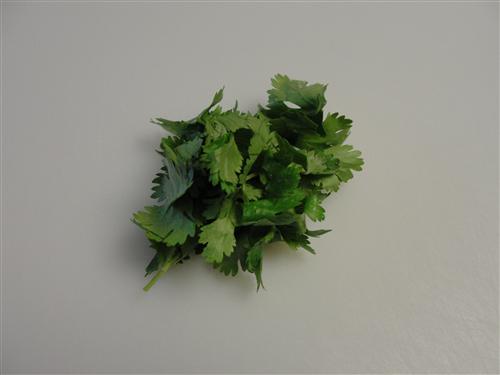
And add it to the chicken.
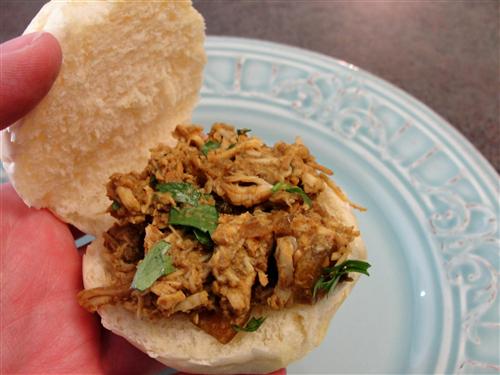
Pile the chicken onto one of your fabulous homemade buns.
Drizzle on the peanut sauce, and don’t skimp. It really is the perfect accompaniment.

Who says sliders have to be regular old hamburgers?
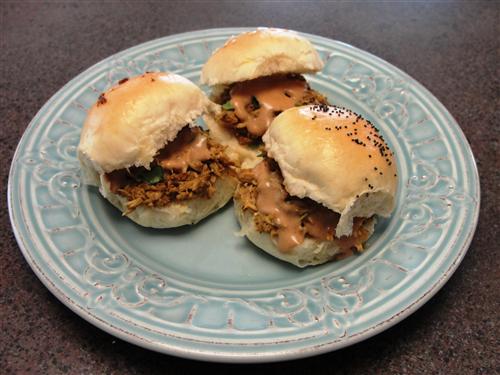
What’s your favorite slider?