Kid food and bar food
 Seeley deBorn
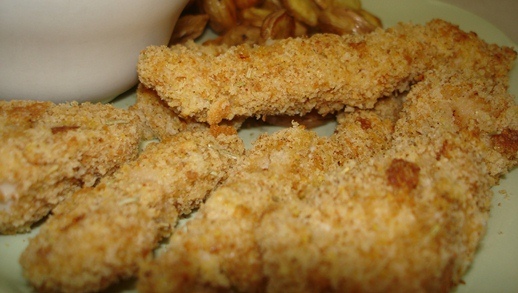
Every parent needs chicken fingers. Needs. They are a staple food of everyone under 12 and everyone over 21 (or 18 if you live in a country were voting and drinking are allowed at the same age.)
There was a time when chicken fingers were a quick snack to have with drinks. A basket of them shared with friends and many bottles of beverages, and never enough plum sauce.
And then... The Boy.
Chicken fingers are now kid food to me. No longer do they conjure images of friends falling off stools and sticky floors covered in peanut shells... now I see high chairs and thrown french fries and ketchupy fingerprints. Okay, yes, sometimes grownups turned the french fries into projectile weapons, but I think you know what I mean.
Unfortunately, a lot of what's available to parents is highly processed and full of excess salts and fats.
Yes, they're fast and easy and mindless, but they're really pretty mindless to make from scratch, and kids can even help make them. And it can be done in the time it takes to preheat the oven. Preheat your oven to 375. Quick! Do it now! Before I forget!
Chicken Fingers
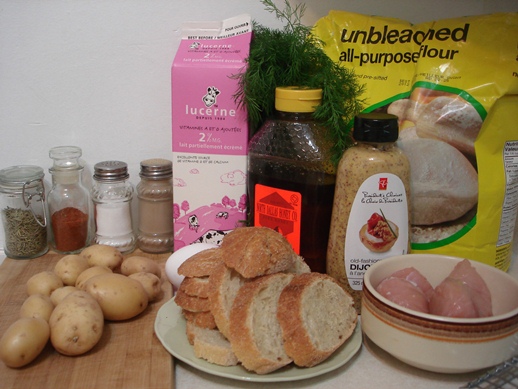
What you need:
- 2 chicken breasts
- 1/2 c flour
- 1 egg
- 1/4 c milk
- 2 c bread crumbs
- 1 tsp dried rosemary
- 1 tsp chili powder
- 1/2 tsp salt
- 1/2 tsp pepper
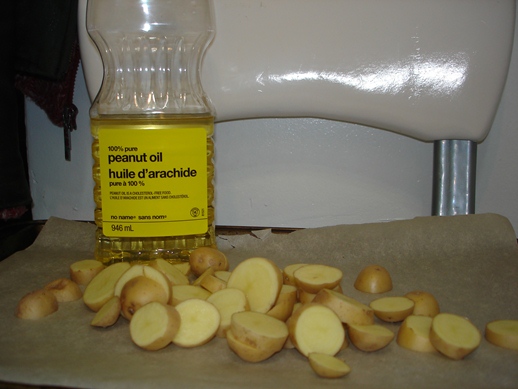
If you're making fries too:
- a few small potatoes
- 1 tsp peanut oil
What you gotta do:
The fries take longer to cook than the chicken, so get them going first. Chop them any way you like. My dad's restaurant offered "silver dollar fries" and I loved them that way. The Boy is also enamoured with them, so that's what I make. (and here's the peanut oil that didn't make it into the ingredient pic)
Put the chopped taters onto a parchment lined cookie sheet and drizzle over the tsp of oil.
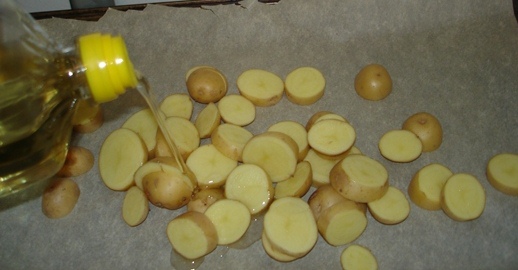
Alternatively, you could pour it into the palm of your hand. Rub the tiny bit of oil all over the potatoes. This is something kids can do. It's messy, squooshy and fun! A single layer works best for browning, but a bit of overlap is okay.

The potatoes need about 40 minutes total, so give them about a 20 minute head start on the chicken.
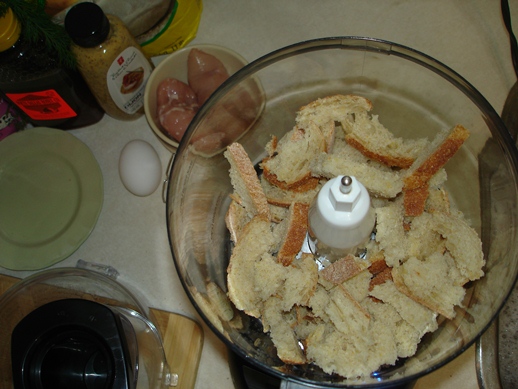
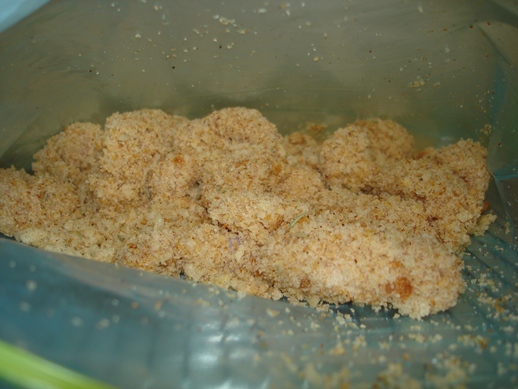
First thing to do with the chicken is the bread crumbs. If you don't already have some in the freezer (toss heels of bread into a ziplock bag and every once in a while toss them all into the food processor and you'll have a ready supply of your favourite bread crumbs always on hand) break up a few day old slices into the food processor and whiz for a few minutes.
That thing is freaking loud!
Seriously, if they were running this thing at work, hearing protection would be required.
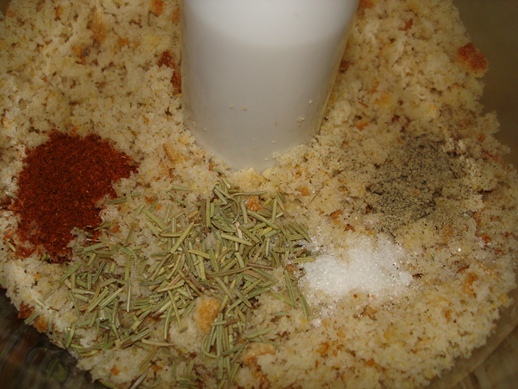
Add the seasonings to the crumbs and give it a few more seconds to get them all incorporated, then transfer your seasoned crumbs to a large zip bag.
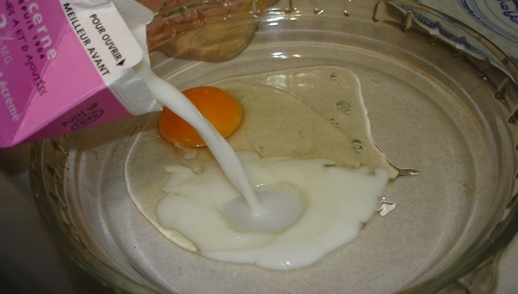
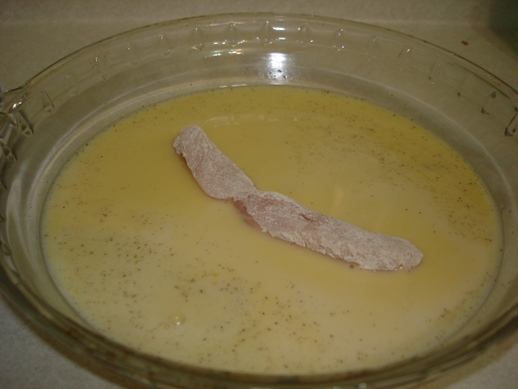
Break the egg into a shallow pan (pie pan works best) and mix in the milk.
Spread the flour onto another shallow pan or plate.
I like to beat the shit out of my chicken before I slice it.
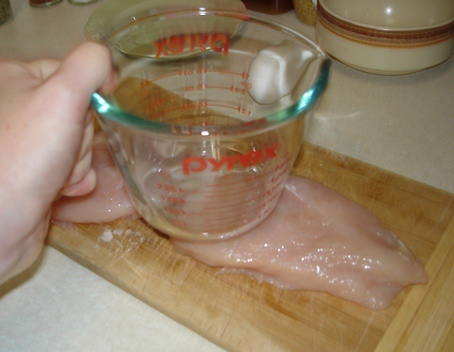
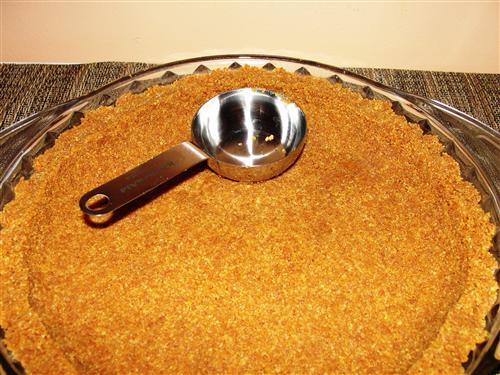
The bottom of a pyrex measuring cup works nicely to flatten the breasts to a uniform thickness.
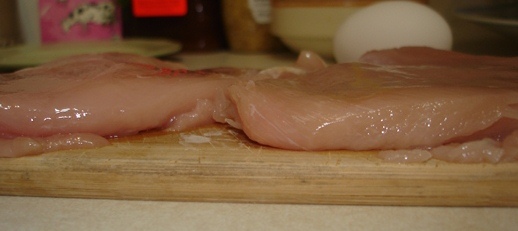
Slice into strips or chunks or a combination thereof, depending on whether your kid is demanding fingers or nuggets.
Here's where it's handy to have a helper.
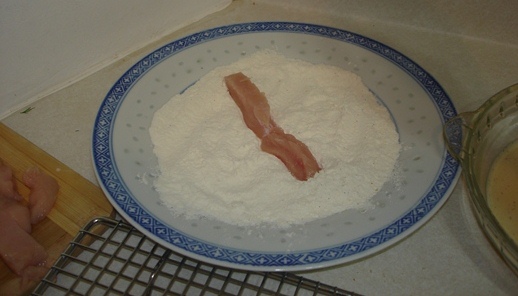
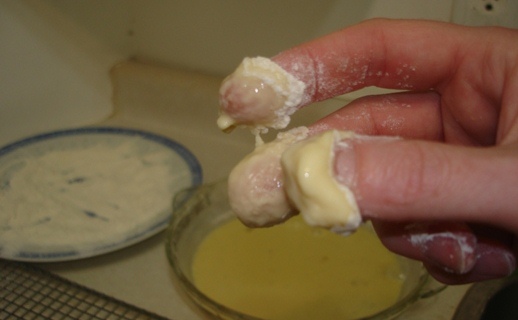
With one hand only pick up a strip of chicken and drop it in the flour. Roll it around until it's completely covered. This is called "dredging".
Then plop it into the egg/milk mixture and roll it around until it's all wet. I don't know that there's an actual term for this. I'm sure that if there is Recipe Guy will come along and tell me.
Now, get your helper to hold open the large zip bag that has the crumbs in it, and drop your dredged, wetted chicken strip into the bag.
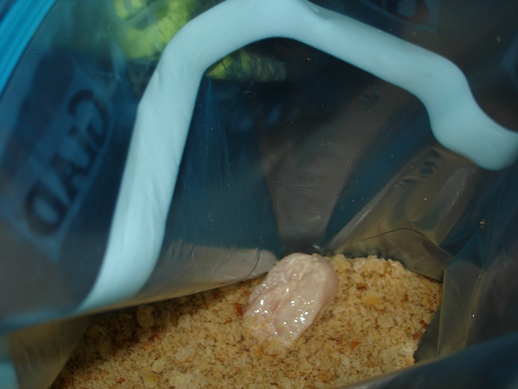
Have the child shake it gently. Gently! What the hell dude, it's already dead you don't need to kill it again! Sheesh.
Keep going until all of your fingers are in the bag. The chicken ones, not your totally gooey floured and egged fingers.
Zip the bag shut and let the kid give it one last good shake, toss it up in the air, dance around with it, sing songs to it... while you wash your hands.
Release your beast, I mean child, from the kitchen and retrieve the chicken from the bag. If you've got the time and your kid isn't about to starve to death (tip: if they are feed them carrots or beans or some other fruit/veggie now while they're waiting for dinner, then you won't have to try to convince them to eat veggies when there are yummy chicken fingers and fries on their plate!) lay the chicken fingers out and let them rest for up to 10 minutes; this makes it less likely that you'll lose coating when you fip them or remove them from the pan.
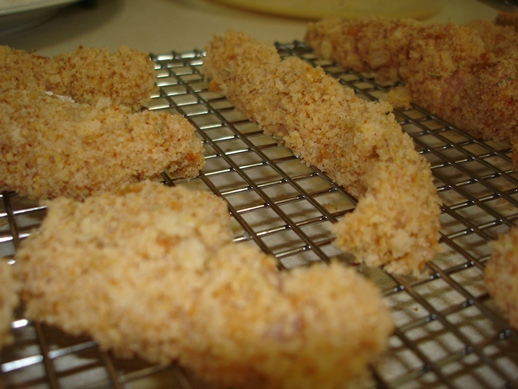
Oh, this is also the ideal time to freeze these things. Lay them on a cookie sheet, freeze for a few hours, then pack them into a fresh large zip bag for future use.
If you've got potatoes on your pan already, just shove them off to the side to make room for the chicken.
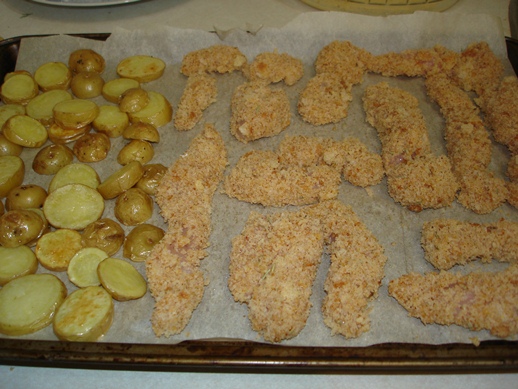
Bake the fingers at 375 for about 10 minutes, then flip them and bake for another 10.
The dipping sauce that comes with these seems to vary by region. When I lived in Alberta, it was honey mustard, BC you got plum sauce, here it's some kind of augmented mayo that people call "honey dill sauce" (but really just seems like mayo and dried dill to me), the southern US is all about ranch dressing, and small children require nothing but ketchup. Lots and lots of ketchup.
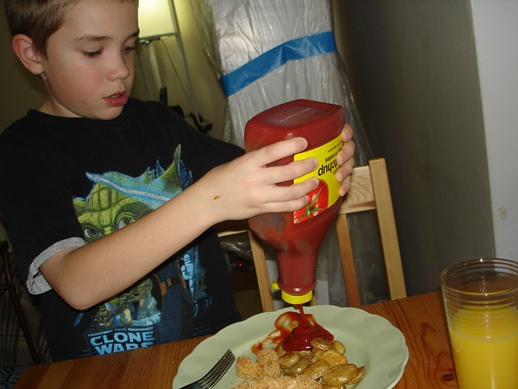
What do you like to dip your chicken fingers into?