Search
Categories
Have a request?
  • Don't be shy!

    Is there something you'd like to see more of or a specific recipe you'd like us to make? Or do you have a question related to food or cooking? Even if you just want to say hello and introduce yourself, feel free to use the form below!
  • Your Name *
  • Your Email *
  • Subject *
  • Message *


Entries in tips (26)

Tuesday
Apr162013

Soft and Sweet

It's like Medusa lives in my baking cupboard.

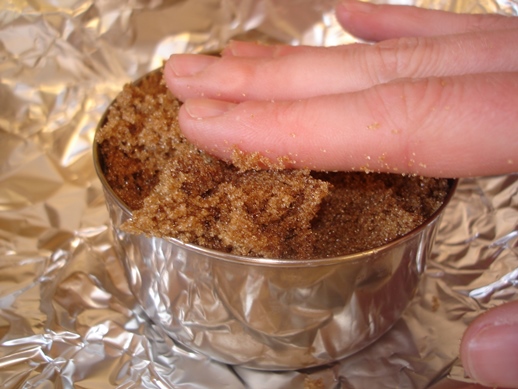
Brown sugar goes in and a solid lump comes out.

No more! I've finally figured out the perfect way to keep even the darkest brown sugar from turning into a doorstop.

So, we've all tried the zip bag, the "air tight" container, the freezer, putting a chunk of apple in with it, microwaving it, one of those weird round things you soak in water first...

None of them work.

I've been baking without brown sugar for years because I was tired of buying a bag, using a cup, and then chucking a solid block of sugar and buying a new bag a month later.

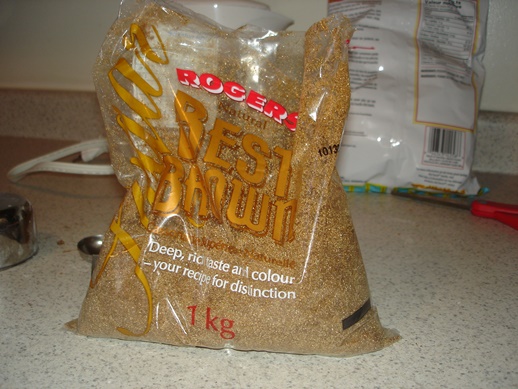
But last month, I wanted to make pudding cake and I wasn't willing to risk the recipe with the wrong kind of sugar so I caved and bought a bag.

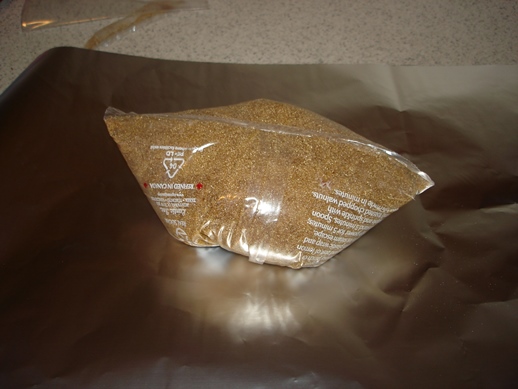
And then stood in the kitchen staring at the open bag wondering how long it would be before I had to throw it out. I admit, I came close to tossing it right then and there. But I'm stubborn. I went to the bags-and-wraps drawer to get a zip bag, and saw the foil.

Shiney.

Well, it worked for guacamole...

What the hell. It's worth a shot.

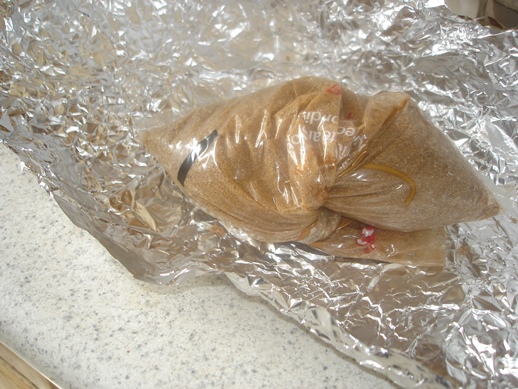
So, I just twisted the top of the bag and creatively folded the foil until the whole thing was covered.

Kinda shaped like a football, which is handy when you're so short that the best way to get stuff onto the top shelf of the cupboard is to chuck it.

5'1" and I have a wicked free throw.

Two weeks later I made brown sugar cookies with it.

Today, I made muffins with it. (Lost track of time and burned them... now you know why you're getting just the tip)

And I'm pretty sure that in two weeks when I get back from Recipe Guy's place, I'll be making muffins.

Someone else really needs to try this so I know it wasn't some kind of weird fluke...

Please?

Friday
Dec212012

Chocolate Perfection

As you probably know by now, laziness plays a fairly big role in my decision making process.  Because of this, I’ve never really bothered to temper my chocolate before using it for dipping.  Tempering is a process of heating and cooling chocolate in a specific way so that the cocoa butter crystals will… ok, getting too technical.  Basically, it makes it so that chocolate will be like it is when you buy it from the store.  It’s firm, doesn’t melt quickly when you touch it, and it has a nice snap.  Well, this week, I had to make lots of chocolates for hubby to take to work.  That meant not only would they be being sampled by lots of people but needed to be able to be at room temperature, and be handled, and still have a crisp snap when bitten. 

So I went on the internet machine and did some research on the specifics of chocolate tempering.  Then, because all the methods I found involved the use of a thermometer and being ridiculously finicky, that I would follow the same idea, but do it my way.  As little fuss as possible, and no thermometer other than my fingers and/or eyes.  I guess even when I’m not being lazy, I’m lazy.  To be honest, I’m not really sure why I even own a thermometer.  Ok, so here is my method for tempering chocolate. 

Chop your chocolate into small pieces.  Shaving it finely I actually found to work best, but didn’t get any pictures of it that way.  Set aside about 40% of the total. 

Using a double boiler to melt the chocolate will give you the most control.  Basically that just means placing a bowl over a pan that has an inch or so of simmering water in it. 

If you prefer, you can heat the chocolate in a microwave.  Either way, just be sure to stir frequently.  It’ll be a lumpy mess at first. 

But eventually it will become nice and smooth.  You want it to become fairly thin, but be careful not to let it get too hot.  Using the ol’ finger thermometer, (no that’s not some sort of euphemism, or if it is, I’m unaware of it.) it should never be uncomfortably warm.  Think hot tub temperature.

When it gets to that point, remove it from the heat.  Set the bowl on a towel to absorb the water from the outside.  Just one drop of water can ruin your whole batch of chocolate, so be careful not to get any in there.  Add ¾ of your reserved chocolate and gently stir it in. 

It should slowly melt into the warm chocolate.  When it has, test for temperature again.  The goal is for it to become cool enough that you can’t really feel a temperature difference when your finger touches it.  If it still feels even slightly warm, add more chocolate.  At this point, finely shaved is really the best option.  Continue to stir in chocolate until you have reached the proper temperature and then it’s time for a test.  Drizzle a little of the chocolate onto a piece of parchment. 

Within 3-5 minutes, it should set.  You should be able to touch it without leaving a noticeable fingerprint and it should break cleanly.  It won’t be all that snappy yet, but as it sits it will become increasingly firm.  When you’ve reached this stage, you’re ready to start dipping. 

So is it worth it?  Well, it does take a fair bit of extra time to get the chocolate ready, but yes, it’s worth it… even for me, laziness and all.  I will never dip anything without tempering again.     

What’s your favorite thing to dip in chocolate?


Page 1 ... 7 8 9 10 11 ... 13 Next 2 Entries »