Let's Make Whoopie for Halloween!
 Taneasha
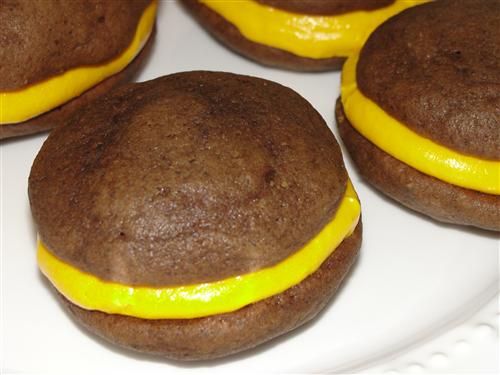
Whoopie pies, that is. Growing up in Utah, we didn’t have whoopie pies. The closest thing I ever had before moving to New England was a Hostess Susie Q, and those are not whoopie pies. For those of you who have never had a whoopie pie, let me assure you, you are seriously missing out. Since moving to Massachusetts they have become one of my favorite treats. I mean, what’s not to love? Chocolate cake loaded with tons of fluffy frosting that you can pick up and eat straight from your hand. Laaaaaa. Yes, that’s me singing about cake. We’d better get started.
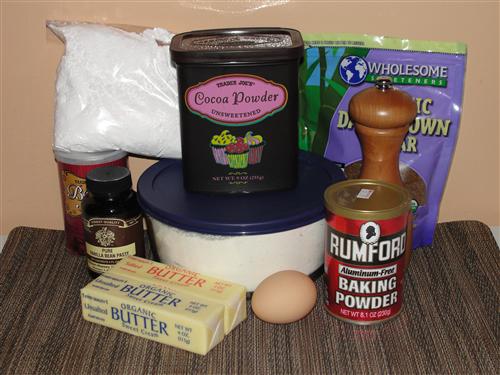
Here’s what you’ll need.
For the cake:
½ cup butter, softened
½ cup sugar
½ cup brown sugar
1 egg
1 teaspoon vanilla
2 cups flour
½ cup cocoa
1 teaspoon baking soda
½ teaspoon baking powder
½ teaspoon salt
1 cup buttermilk
For the icing:
½ cup butter, softened
1 Tablespoon vanilla
¼ teaspoon salt
2 cups carrot juice
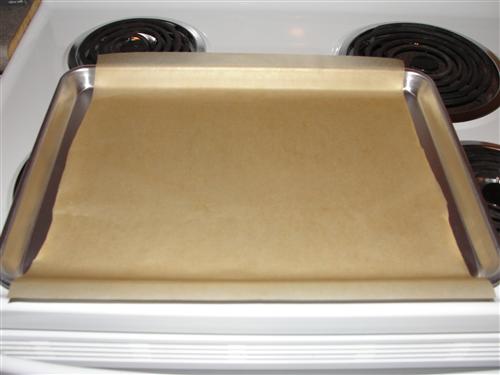
Preheat your oven to 350°. (Yes! I remembered!) Ahem. Next, line a sheet pan with parchment.
Maybe you can cut straighter than me. Looks like I was drunk when I did that. Oh well, it’ll work. Sift your flour, cocoa, soda, powder, and salt into a mixing bowl.
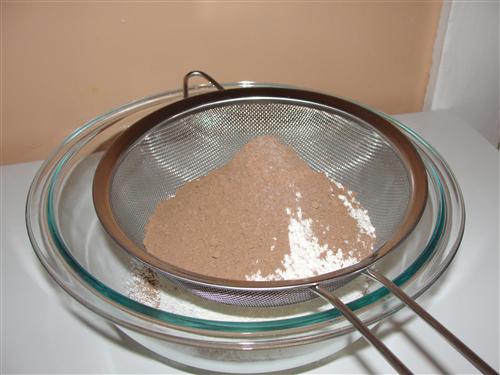
Cocoa has lots of lumps.
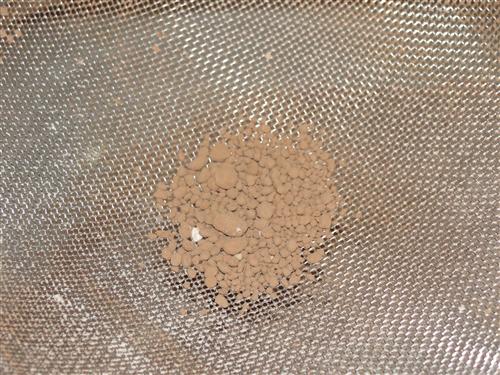
Just press them through with the back of a spoon or your fingers. See? Nice and fluffy with no lumps.
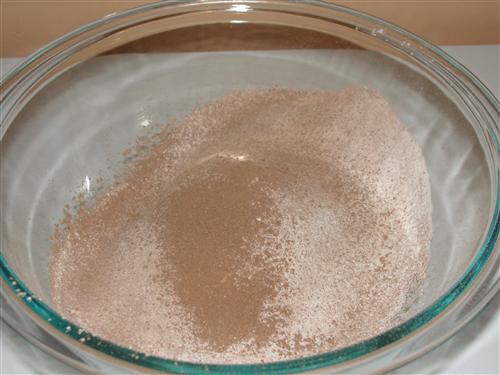
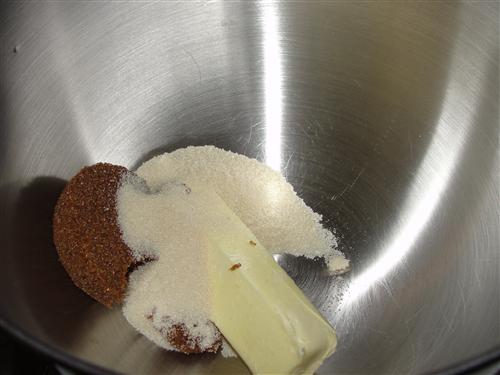
Now, just whisk it until everything is evenly distributed and set it aside while you start on the wet ingredients. It is very important that everything is room temperature. If you’ve forgotten to pull things out ahead of time, you can place your egg into hot water for 10 minutes, and you can microwave your buttermilk for a few seconds, just to get everything to room temperature. If you introduce cold ingredients to your butter, it will get hard… I mean stiff… I mean... whatever, not going there. So, put your room temperature butter into your mixing bowl along with both sugars.
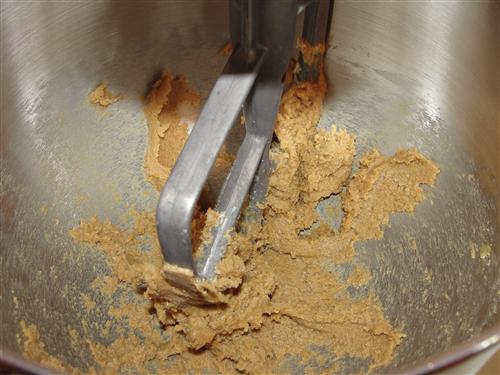
Cream them for a minute or two until it’s nice and smooth.
Add your room temperature egg and vanilla.
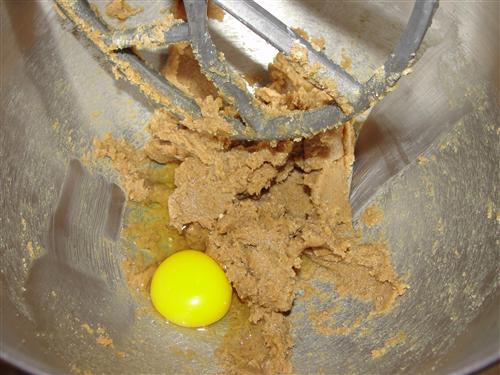
When those are fully incorporated, scraping everything down so that nothing is left out. Then it’s time to start adding the dry ingredients and buttermilk. (By the way, if you don't have any buttermilk on hand, and have all the other ingredients, you can read about buttermilk substitutions here.) Add about a third of the dry ingredients.
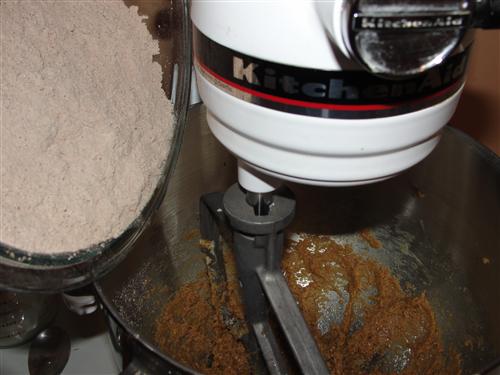
Then half of the buttermilk.
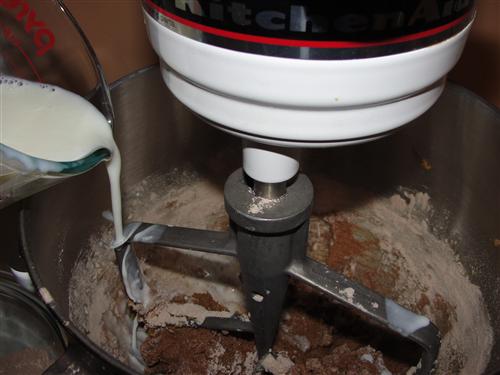
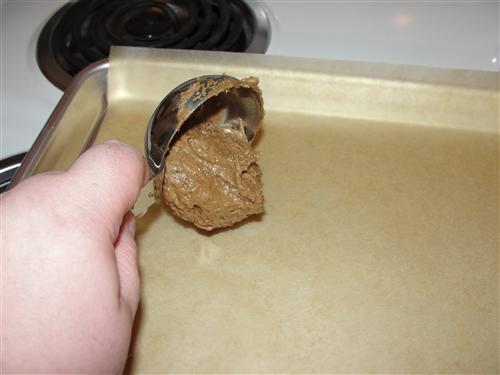
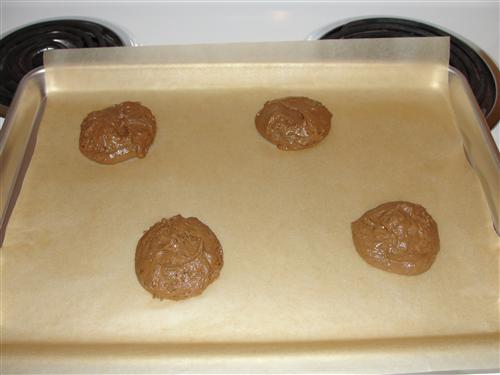
Repeat until everything is added. I like to just leave the mixer running on a low speed while I do that. Don’t forget to scrape everything down again. I know, I’m a total nag. So, whoopie pies are traditionally fairly large. Since they’re handheld, I prefer them to be a much more reasonable size for a single serving. I mean, if you have to cut it in half, what’s the point of being able to pick it up, right? So, scoop a barely domed tablespoon of batter, and drop it onto the sheet pan.
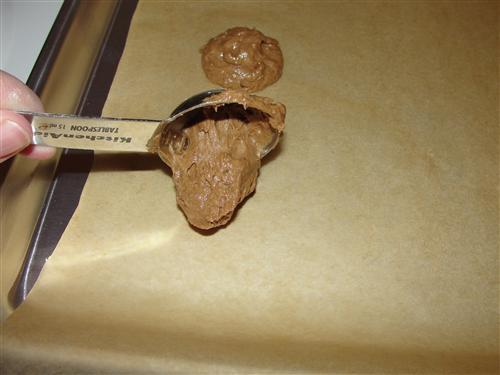
You’ll probably have to use a spatula to scrape the batter out of the measuring spoon. Or, if you have a small cookie scoop, that would work well for this. Leave a couple inches between them so they can spread.

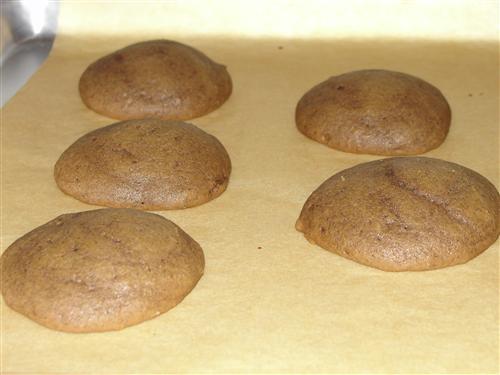
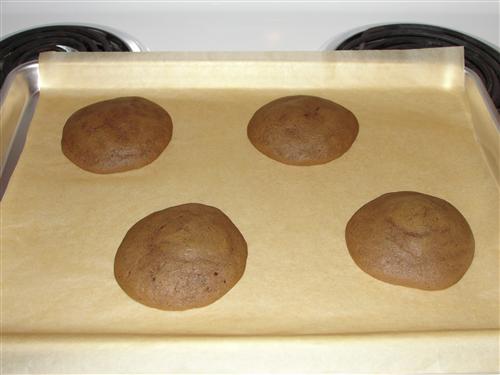
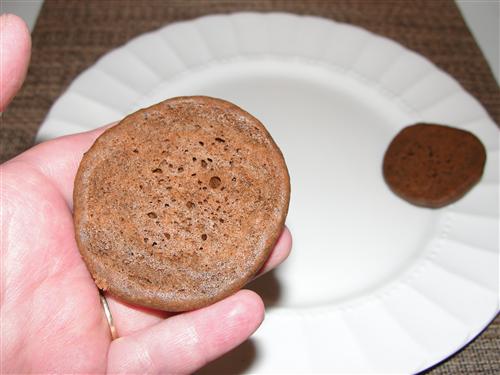
Place the pan into your preheated oven and bake them for 8-ish minutes. When they’re done, you would be able to press them gently on top and they’ll spring back. They should look something like this:
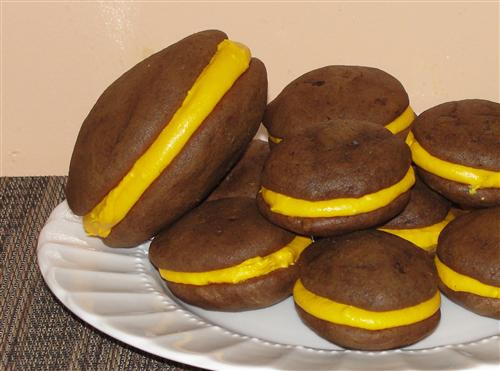
Want to make big, traditional whoopie pies? Scoop out ¼ cup of batter and drop it onto the baking sheet.
Make sure you leave plenty of room again.
Bake them for about 12 – 13 minutes, using the same test to check for doneness.
Allow them to cool for a few minutes on the pan, and then remove them to a cooling rack. Or, if you don’t have a cooling rack, (apparently I haven’t bought those yet) you can just slide the whole sheet of parchment off of the pan and reline it for the next batch. While they’re cooling, it’s time to start on the icing. Because I’m making these for Halloween, I wanted them to have orange frosting. If you want to leave it white, or if you want to just add a few drops of artificial coloring, you’re welcome to skip the next step. If you want orange icing using a natural option, pour 2 cups of carrot juice into a small sauce pan over medium high heat. I just used a small bottle of this:

Bring it to a boil and allow it to reduce, occasionally swirling or stirring to keep it from burning.
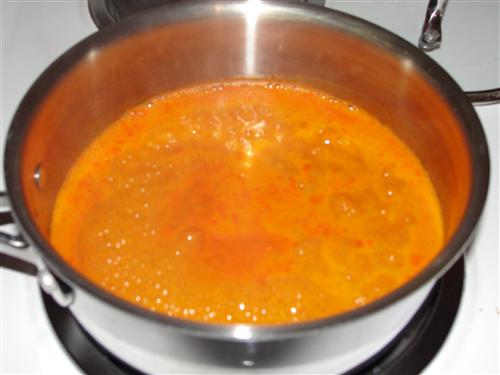
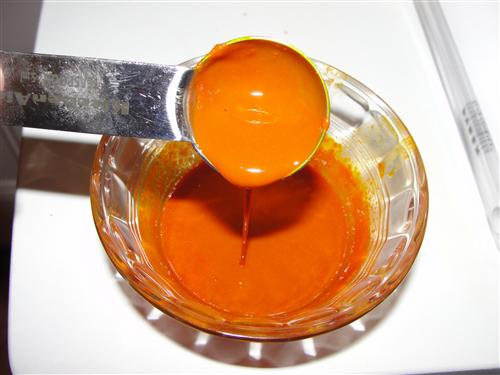
When it has given up most of its water, the bubbles will begin to stack up on top of each other and it will begin to thicken somewhat. You’re shooting for about 2 tablespoons. Pour it into a small glass dish and set it somewhere to cool. I just put mine out on the porch since it’s so cold. You can see here how thick and intensely colored it is.
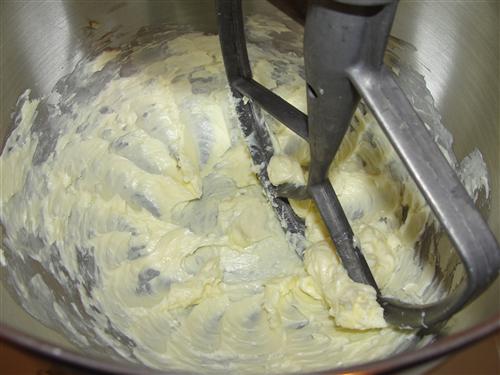
Now for the icing. This time you want to whip the butter before you add any of the sugar.
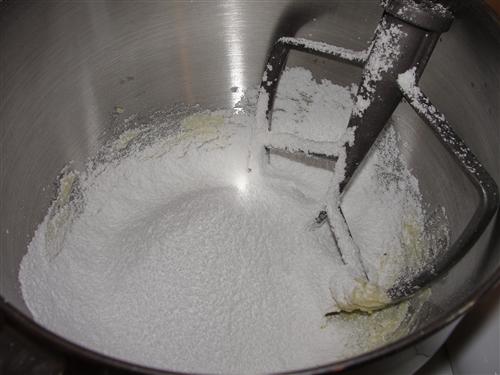
Mix in one tablespoon of vanilla. No, you didn’t misread that. I said tablespoon. Now, sift in 2 cups of powdered sugar.
I’m going to be a nag again here. Please, please use organic powdered sugar. It really makes a world of difference in flavor. Ok, stepping down off my soapbox. Now, mix until it comes together and starts to look like icing, scraping the sides and bottom of the bowl periodically. When it’s nice and fluffy and smooth, add the reduced carrot juice. If you’re not using the carrot juice, add 2 tablespoons of cream or milk instead. Mix until it’s a nice even color, then sift in as much of the remaining sugar as it takes to make a good spreading consistency. I used the whole cup, but it’s pretty humid here. When you’re finished, you should have something resembling this:

Take one of your cooled cake cookie things, and turn it upside down.
Spoon on lots of icing. (probably a heaping tablespoon for the small ones)
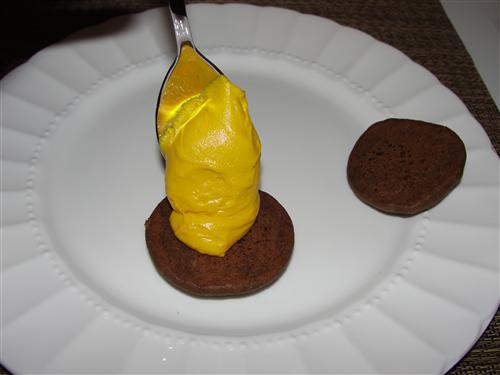
Spread it out a bit.
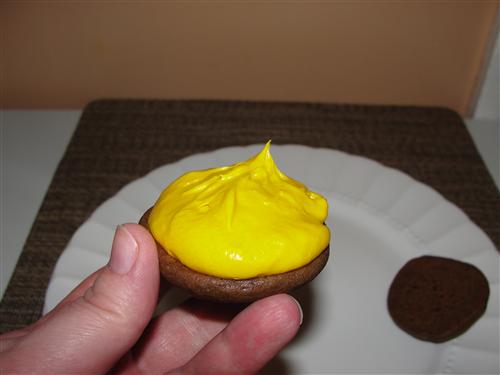
Then place another cake on top.
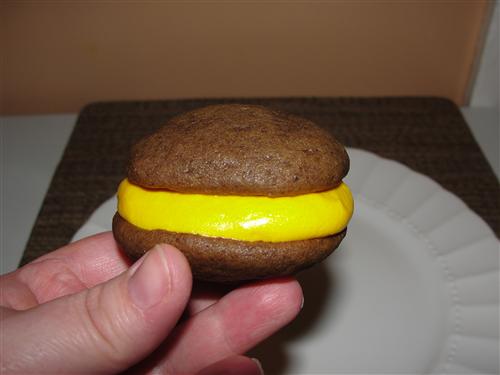
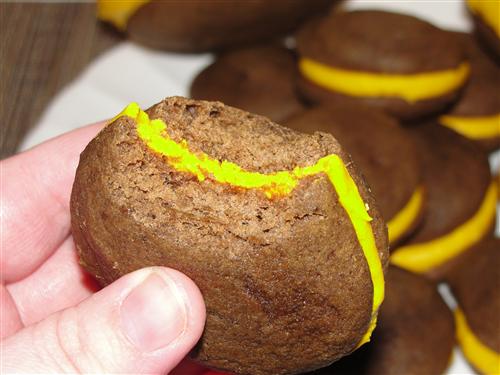
Voila, you have made a whoopie pie! After icing and sandwiching all of the remaining cakes, place them into the fridge to set up. Pull them out for about 20 or 30 minutes before serving or eating.
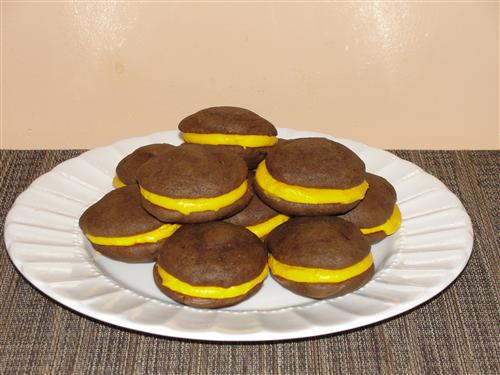
Maybe you prefer the big ones, but personally I like them small.
See, perfect size for holding and eating.

Reader Comments (1)
holy crap is that ever orange! amazing what real colours can do.
I love that giant pie sitting on the small ones. I'm totally bookmarking this one for when I've got time to bake again. Love it!