Peanut Butter Umm... Things
 Taneasha
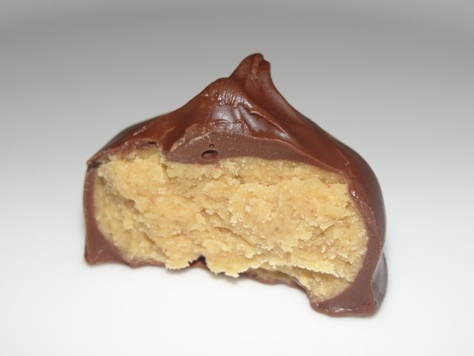
OK, so I wasn’t sure how to title this post. I’ve always called these Peanut Butter Balls, but to be honest, that doesn’t sound terribly appetizing, so I thought I’d rechristen them. Peanut Butter Treasures? Peanut Butter Bites? Peanut Butter Nuggets? Peanut Butter Delights? Oh, forget it. To quote William Shakespeare (sort of): "What's in a name? That which we call a Peanut Butter Ball, by any other name, would taste as sweet." Right?
When I told my husband I was going to make these for my blog this week, he said, "Woohoo!" Or he may have used something equivalent, but not quite as demure. He was excited, to say the least. They just might be his very favorite treat, and that’s saying something.
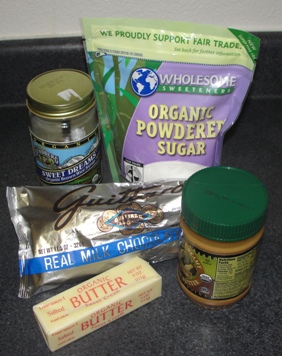
What you’ll need:
1 ½ cups Peanut Butter *
1 ¼ cups Powdered Sugar**
3 Tablespoons Butter (softened)
1 Tablespoon Brown Rice Syrup (or honey)
1 teaspoon Vanilla
½ teaspoon Sea Salt
1 cup Chocolate chips
*Use good peanut butter. Something natural with no palm oil.
** Please, please use organic powdered sugar. You won’t believe the flavor difference. In fact, you may never go back to the conventional stuff again.
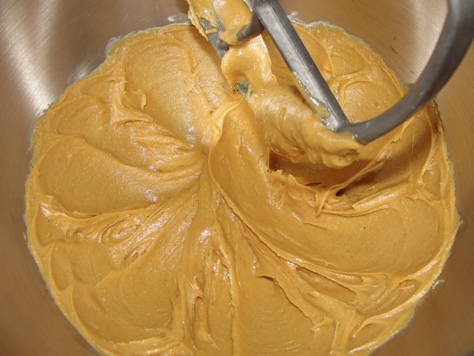
In your mixing bowl, stir together the peanut butter, butter, syrup, salt, and vanilla, until it looks like this:
Sift in the powdered sugar.
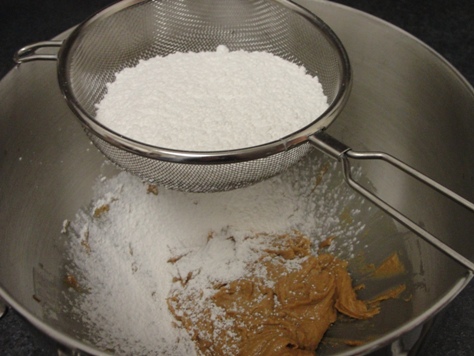
This is why it is so important to sift it.
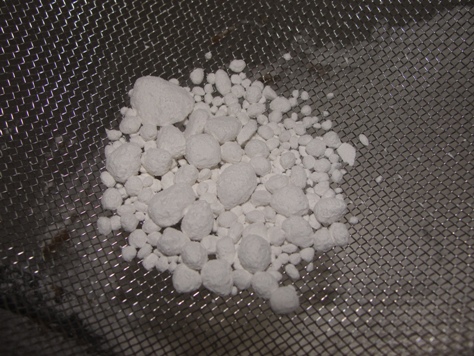
Press the lumps through with your fingers or the back of a spoon.
Mix until the powdered sugar is completely incorporated and the mixture comes together like a dough. At this point, it should have the texture of soft fudge and look like this:
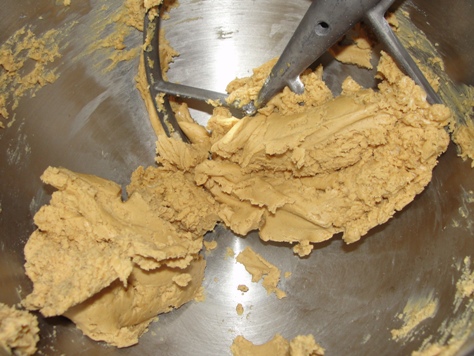
Weather and humidity can play a big roll here, so if it's too dry, add more peanut butter. If it’s too soft, add more powdered sugar.
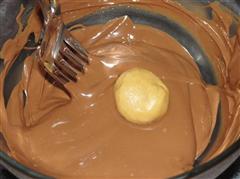
Pinch off a small piece of the mixture. You want the finished treats to be no more than two bites, so I really do mean small.
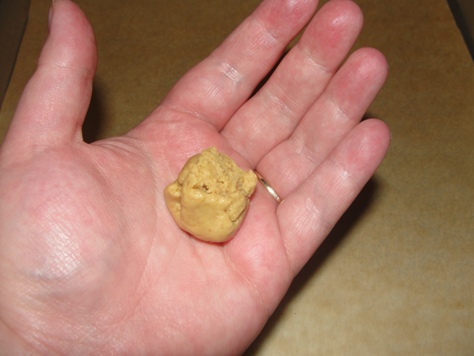
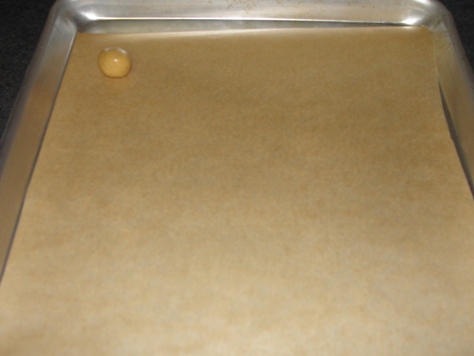
Roll it around in your hands and place it on a parchment lined baking sheet.
Alas, I have finally found a situation where it doesn’t benefit me to have a dog in lieu of children. He can’t help me roll, and there are a lot of these darn things. Well, if you don’t have any helpers, at least turn Oprah on in the background. Just be sure it’s not an episode about weight loss.
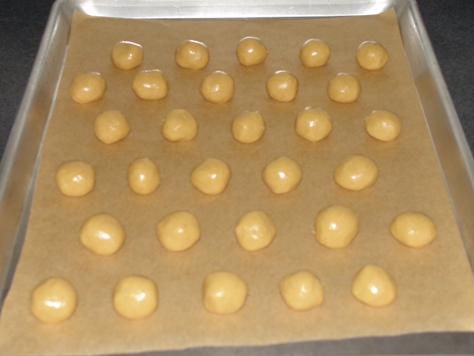
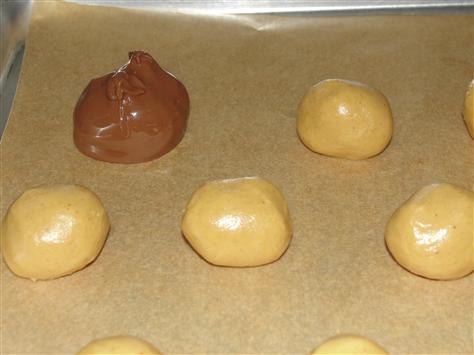
So, when you finally have them all rolled into balls, place the pan (or pans, mine didn't all fit on one) in the refrigerator for about 30 minutes.
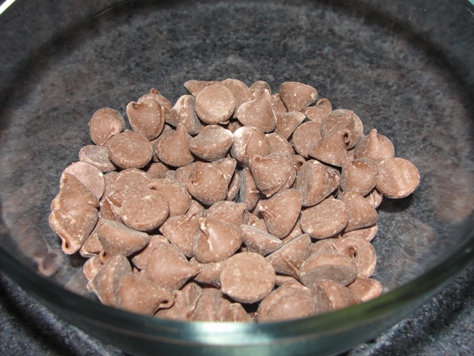
When they’re nice and firm, pour your chocolate chips into a glass bowl. I used milk chocolate, but feel free to use whatever you like.
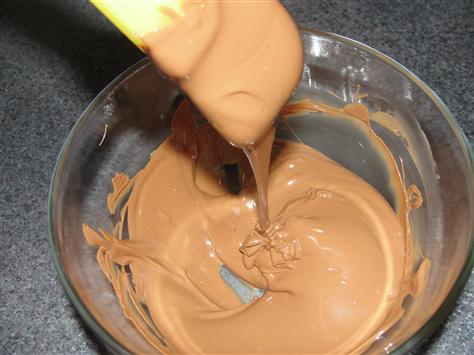
Microwave, stirring after 30 seconds, and every 15 seconds thereafter, until it sort of falls in ribbons when you lift it.
Now for the dipping:
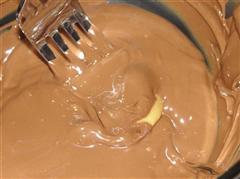
 Throw a ball into the chocolate and turn it over with a fork until it's completely coated.
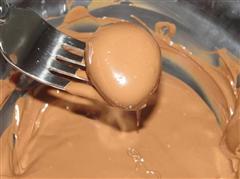
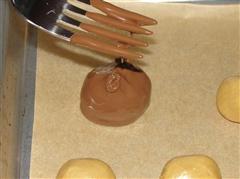
Let the excess drip off for just a second, and then place it back on the parchment. Touch the fork tines lightly on the top and let the little chocolate peaks fall to form a cute little pattern.
While you’re dipping, you’re going to have to reheat your chocolate if it gets too thick. Also, you’ll want to stop 2 or 3 times and put the undipped balls back in the fridge if they start to get soft. When they’ve all been dipped, place the whole sheet back in the refrigerator and chill until the chocolate has set.
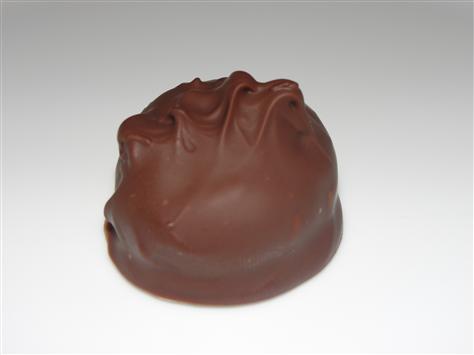
I like to store them in a container in the fridge so the chocolate has a nice snap when you bite into it.
So, what would you call these fabulous little treats?
Taneasha
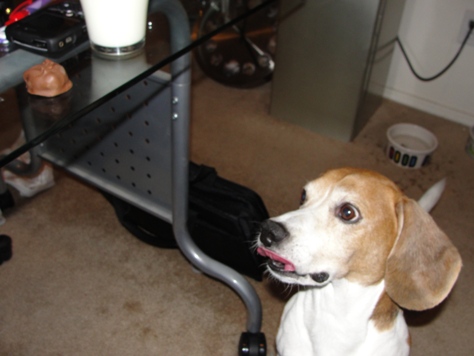
Otto definitely approves. Here he is trying to steal one from the table.
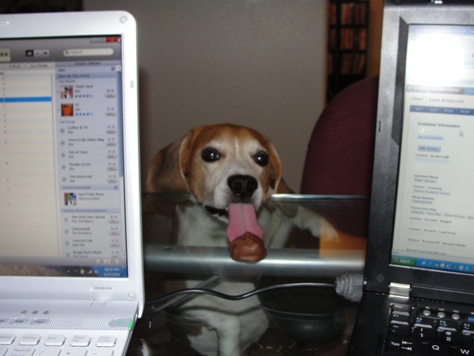
And when that didn't work, he came around to beg.
Look at that face! LOL!