With These Cookies, Who Needs a Valentine?
 Taneasha
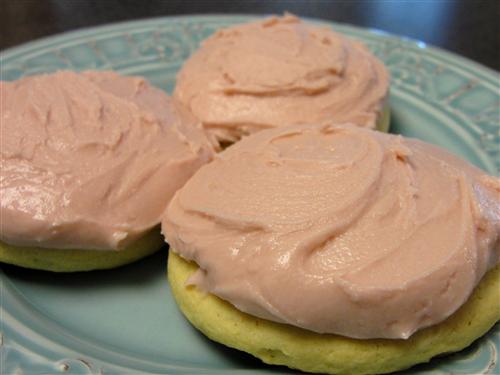
As you may know, we’re not really big fans of Valentine’s Day around here. This year, that happens to be a good thing, because Hubby will be out of town for work. In some marriages, leaving town on your wife’s birthday and missing Valentine’s Day would be grounds for divorce, so it’s lucky he’s married to me. Not saying he doesn’t owe me. I have a feeling there might soon be a lovely piece of Le Creuset with my name on it. But I digress. I decided Valentine’s Day was a perfect excuse for my first attempt at making those soft sugar cookies I listed as something I want to try in our year end post. It did not disappoint.
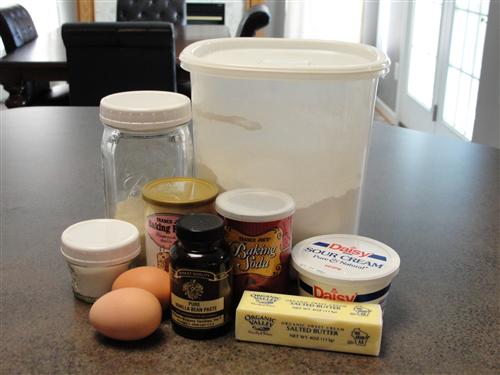
Here’s what you’ll need:
- ½ cup butter
- 1 cup sugar
- 2 eggs
- ½ cup sour cream
- 2 teaspoons vanilla
- 3 cups flour
- ¼ cup cornstarch
- 2 teaspoons baking powder
- 1 teaspoon baking soda
- ¼ teaspoon salt
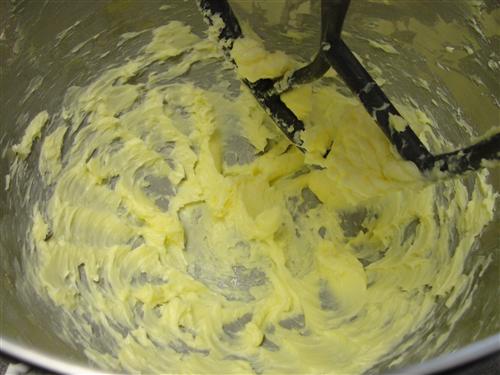
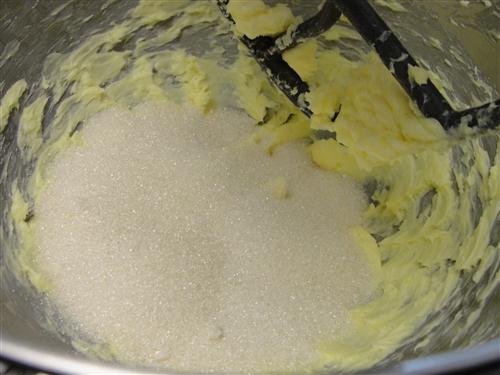
As always, make sure your ingredients are all at room temperature before starting. In a mixing bowl, beat your butter so it’s nice and soft, then add the sugar.
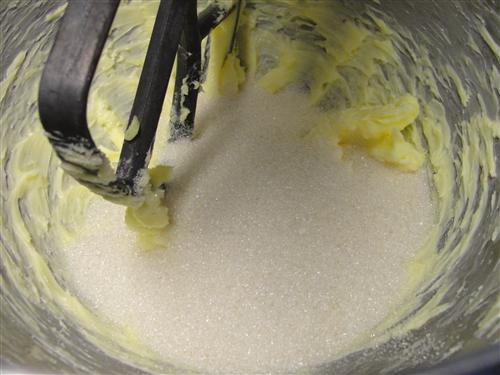
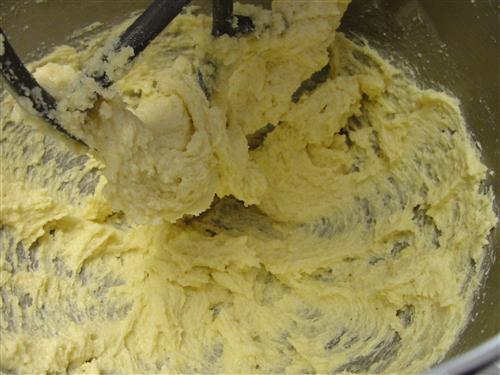
Cream those together until it becomes light in color. It’ll probably take two or three minutes.
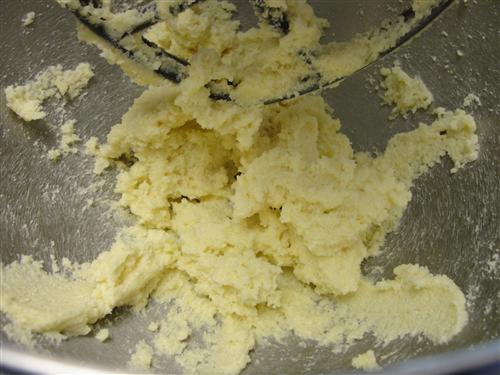
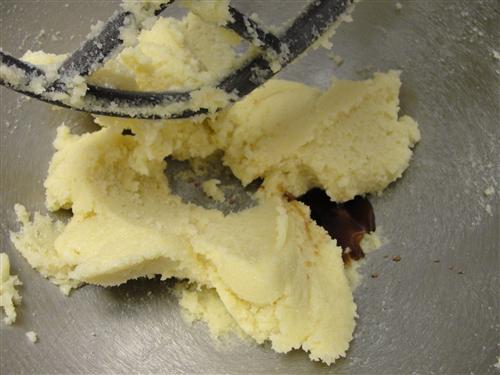
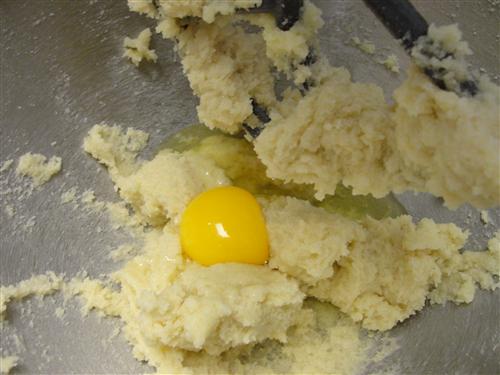
Add the eggs one at a time, mixing thoroughly in between.

When those are incorporated, go ahead and add the vanilla.

Next comes the sour cream. If you forgot to pull it out ahead of time like I did, just put it in a plastic bag (with a little extra to make up for the bit that will stick to the bag) and place it in warm water for a few minutes.
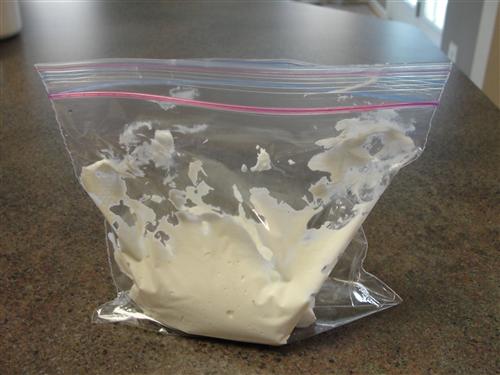
Then simply snip off the corner of the bag, and squeeze it into the bowl.
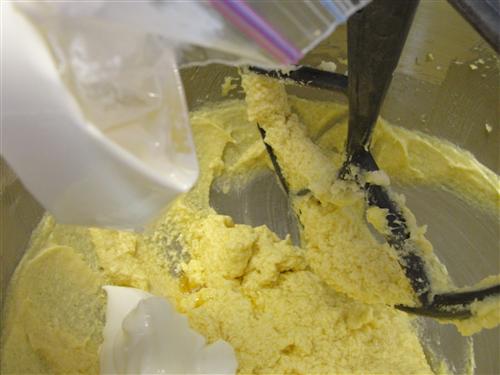
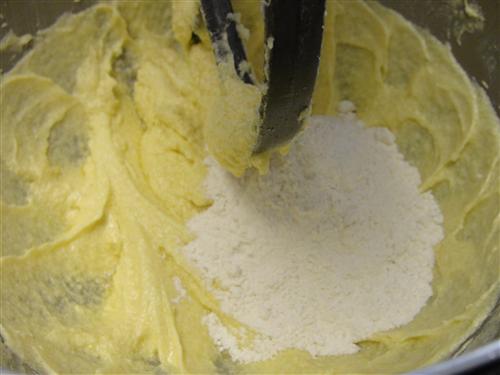
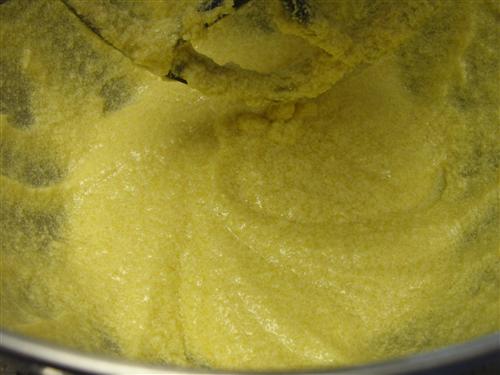
At this point, it won’t be a very appealing batter, but don’t worry.
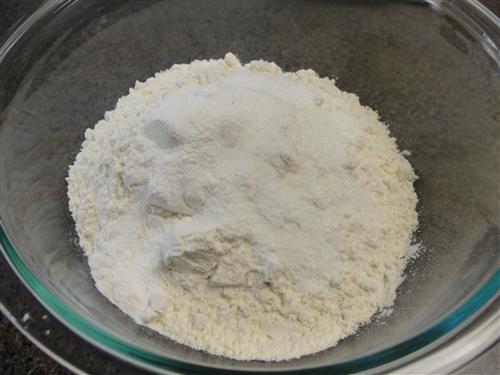
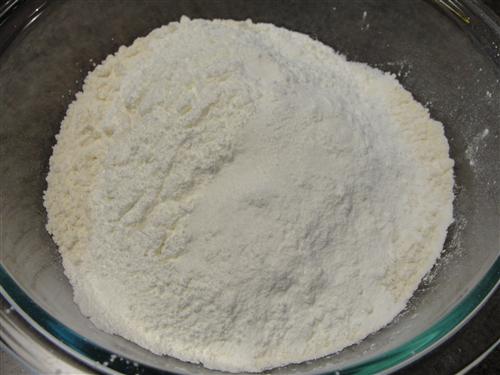
In a separate bowl whisk together all the dry ingredients. I actually sifted mine because sometimes cornstarch can be a bit lumpy. And speaking of cornstarch, you’re probably wondering why on earth I’m putting it in sugar cookies in the first place. Well, believe it or not, there is a purpose. The cornstarch lowers the protein level, making the cookies more tender.
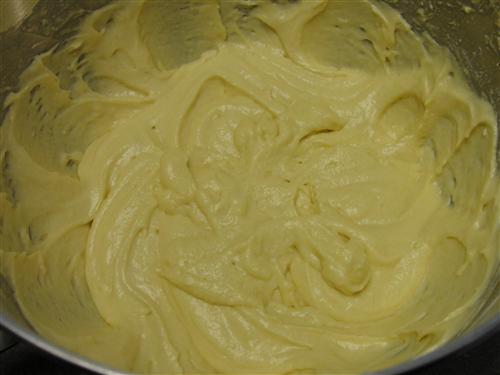
Add the dry ingredients all at once and mix just until al all comes together.
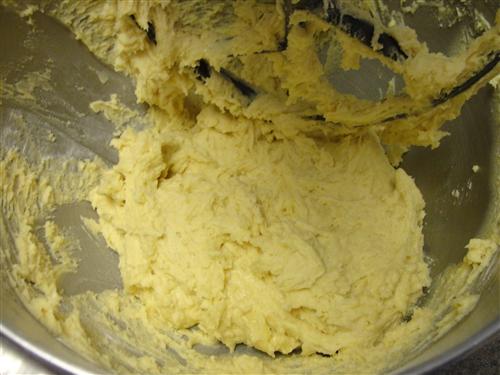
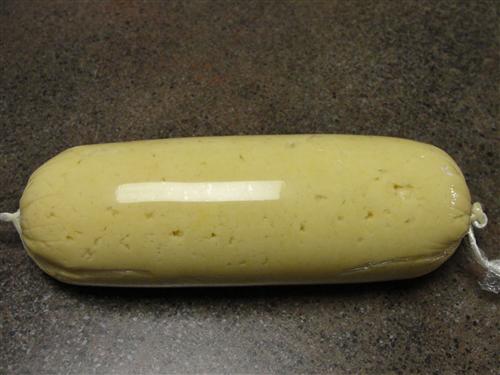
At this point, the dough is way too soft for rolling and cutting, so lay out a piece of plastic and glop on about half of the dough.
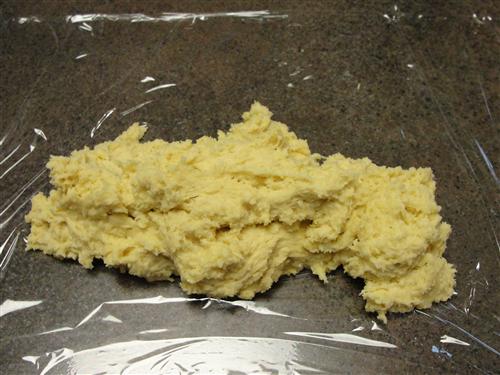
Then roll it into a nice log shape. Repeat with the other half and place them both into the fridge overnight.
Before baking the cookies, you’ll want to start on the frosting. The first batch I made using the fabulous frosting I made for my raspberry cupcakes. Fabulous cookies + fabulous frosting = uber fabulousness, right? Wrong! I call that fabulous frosting for a reason. It is… on cake. With these cookies (which are also fabulous) it was horrible. Did I mention this was my first attempt? Ok, so after much pondering, I finally decided what these need is something that is more closely related to fudge than frosting. I know, it sounds like I’ve gone off the deep end, but stick with me, and you’ll see what I mean.
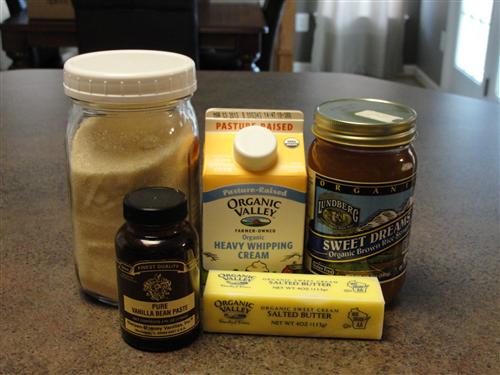
Here’s what you’ll need:
- ¼ cup cream
- ¾ cup water
- 2 ½ cups sugar
- 2 Tablespoons brown rice syrup (or corn syrup if that’s all you have)
- 3 Tablespoons butter
- 1 Tablespoon vanilla
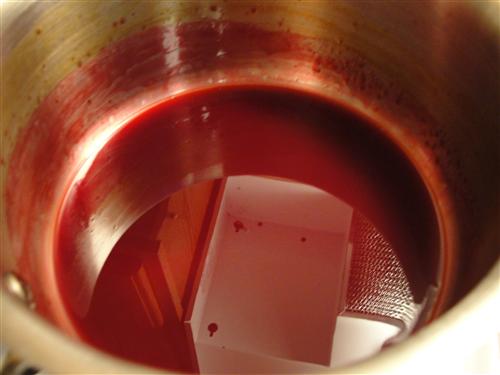
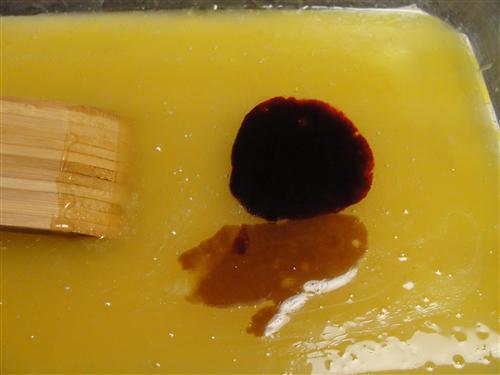
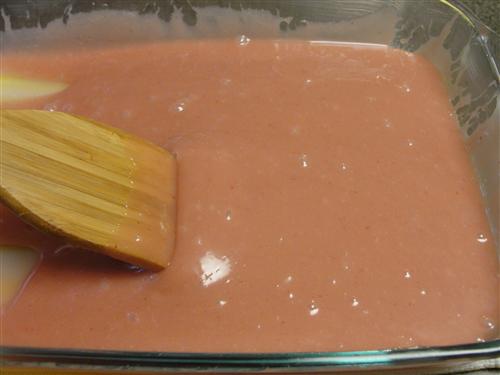
Now, because these cookies usually have pink frosting, and because it’s Valentine’s Day, I also decided to make my frosting pink. As you know, we don’t use artificial dyes, so I made my own coloring. I happened to have blood orange juice on hand, but really any red juice will do. If you have pomegranate or cranberry or something, it’ll work just as well. Bring 1 cup of juice to a rolling boil.
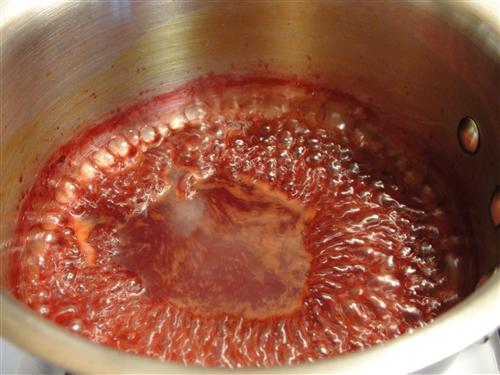
Allow it to cook down until you have somewhere about 2 Tablespoons. It took mine about 6 or 7 minutes. The color will become very deep. Mine is a bit reminiscent of a saucepan of blood, no?
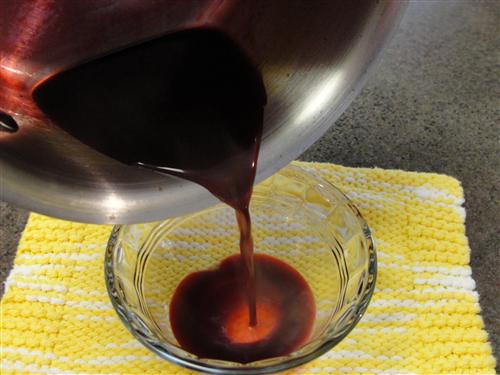
Anyway, pour the red stuff into a small heatproof dish and set it aside to cool.
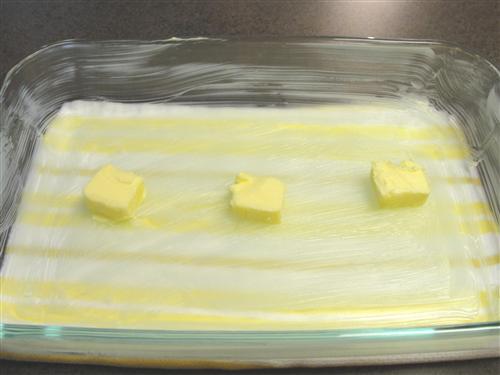
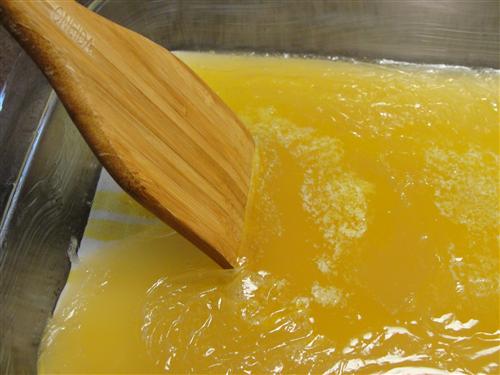
Next up, butter a pyrex pan, set it atop hot pads or a kitchen towel, and place 3 tablespoons of butter inside it.
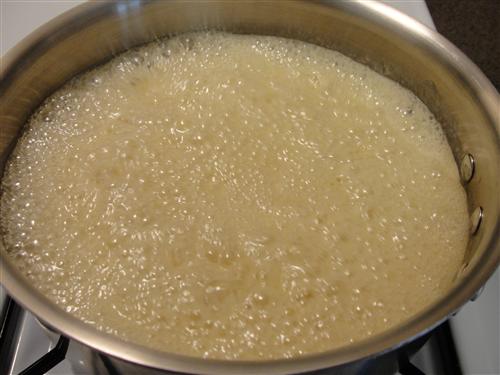
Place the cream, water, sugar, and syrup in a large saucepan over medium heat.
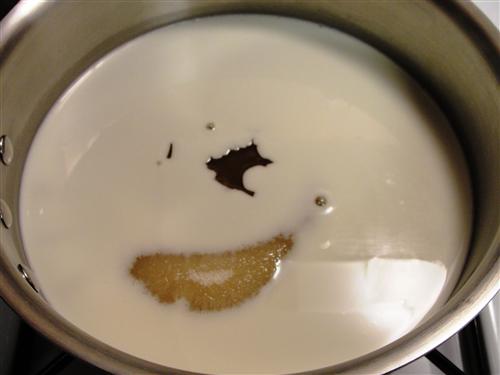
Stir constantly until the mixture comes to a full boil.
Place on the lid and leave it for 2 minutes.
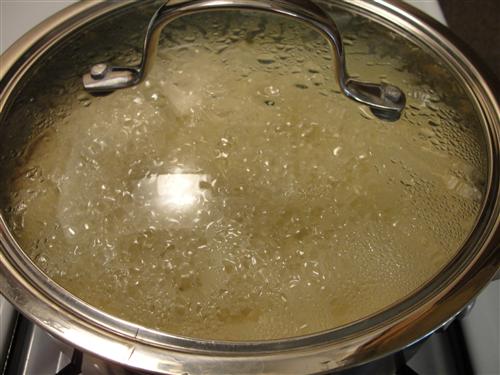
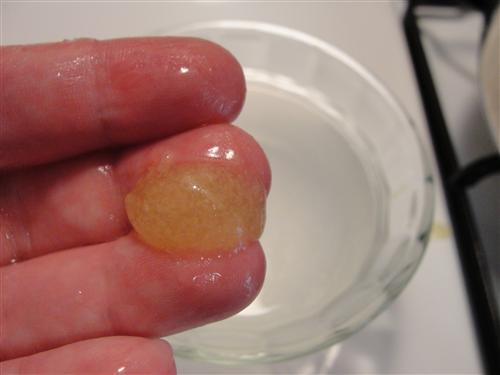
During that time, wash your spoon or get a clean one (it needs to be absolutely crystal free) and grab a small dish of ice cold water. When you remove the lid, it’s time to start testing for temperature.
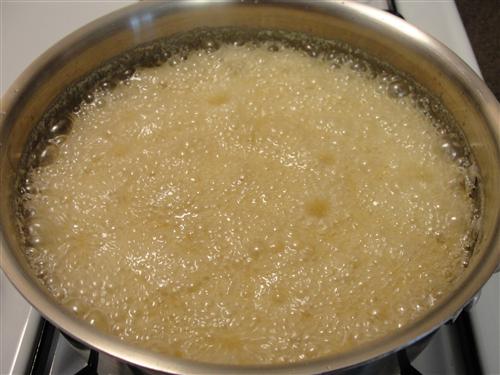
Dip in the clean spoon, and drop a little bit into the cold water.
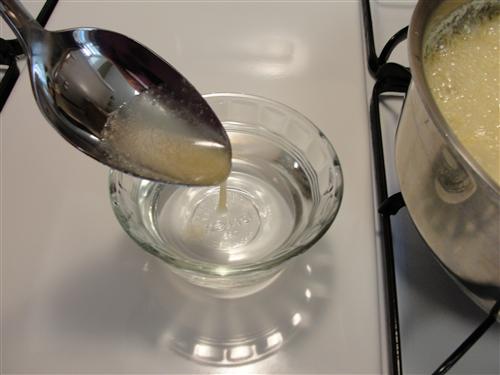
When it’s ready, you should just be able to scrape it together into a blob and pick it up. It won’t really hold any kind of shape.
When you get to that point, carefully pour the very hot liquid into your prepared pan.
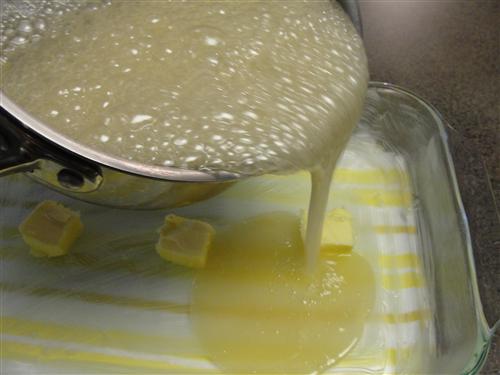
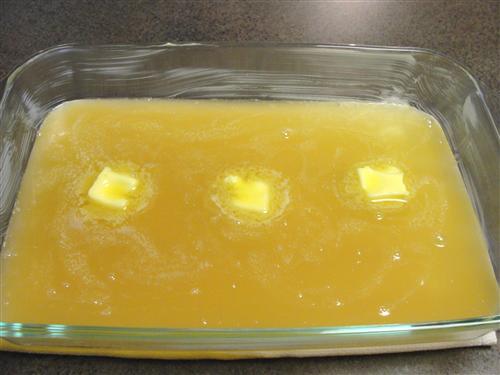
As it sits, the butter will melt, so just walk away and allow it to cool for a while.
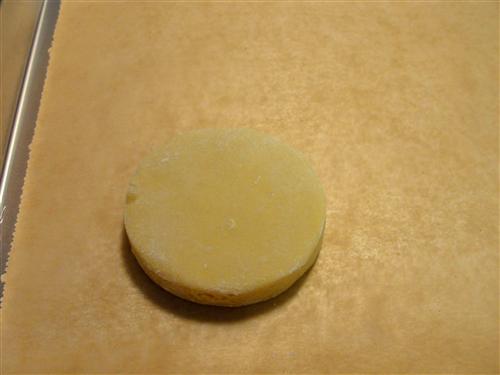
This is probably a good time to start on the cookies, so preheat your oven to 350°. Go ahead and pull out one of your logs of dough. Place half of it onto a generously floured surface. (I find it easier to work with half at a time.)

Sprinkle the dough with flour and roll it to about ½ inch thick.
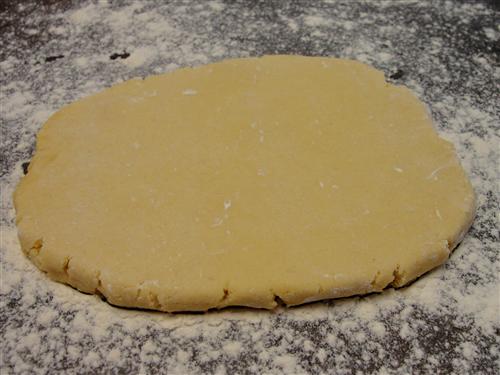
A 2 – 2.5 inch cutter works best for these.
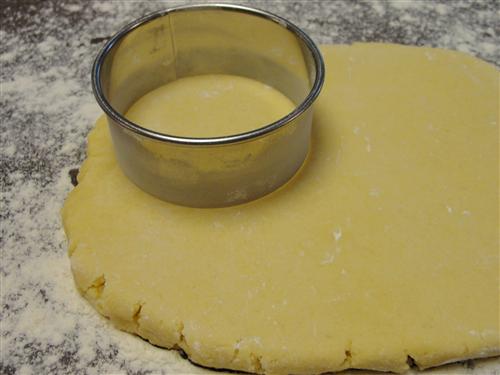
Pat off any excess flour from the top and bottom, then place them onto a parchment lined baking sheet. They will spread slightly, so leave an inch or so between them.
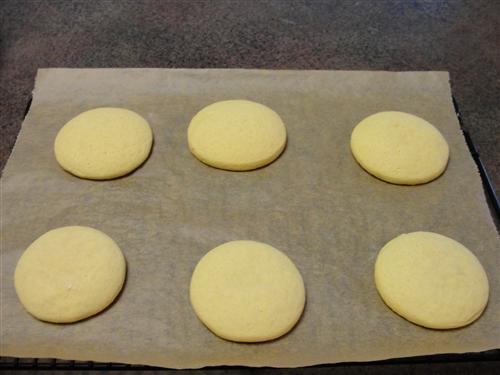
Bake the cookies for 10 – 11 minutes. They will be nicely domed and dry on top, but no signs of browning.
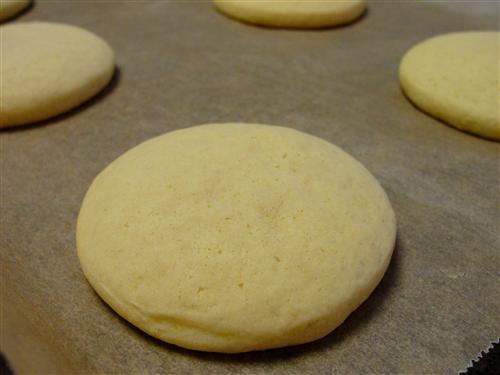
Immediately move them, parchment and all, to a cooling rack.
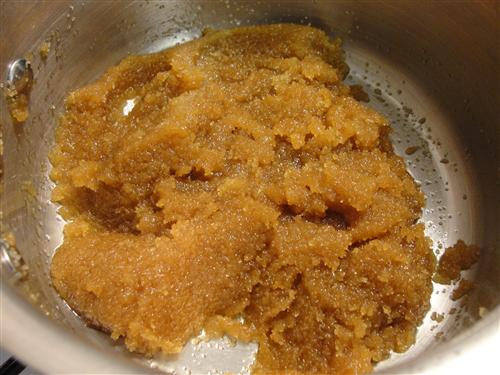
Now back to the frosting. If you’ve made fudge, this process will be very familiar to you. First, just do a quick check to make sure it hasn’t crystallized. Sticky/syrupy is what we’re shooting for. Perfect.
For what will end up a nice pastel pink, add 1 Tablespoon of your homemade food coloring. Also, add 1 Tablespoon of vanilla.
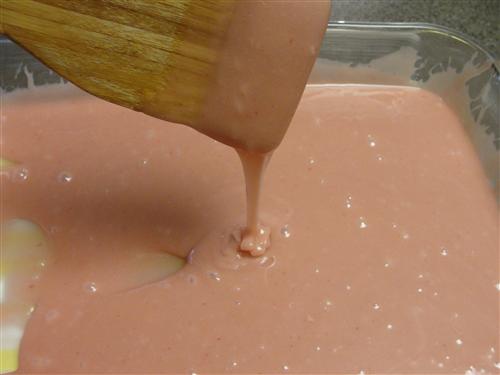
You’ll need a sturdy utensil for this part. I like a wooden spatula. Basically just start stirring. Scrape the edges toward the center and just kind of gently move it around until the butter, color, and vanilla are incorporated.
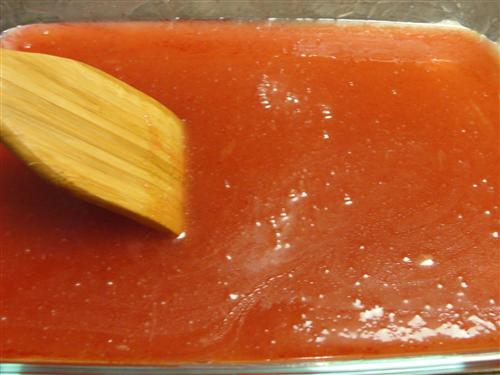
I know exactly what you’re thinking right now. “Taneasha, I don’t know what you’ve been smoking, but that is NOT pastel pink.” And you’re right, but trust me, it will be. Just keep stirring. Slowly, it will start to become slightly opaque. But still very syrupy, so keep stirring.
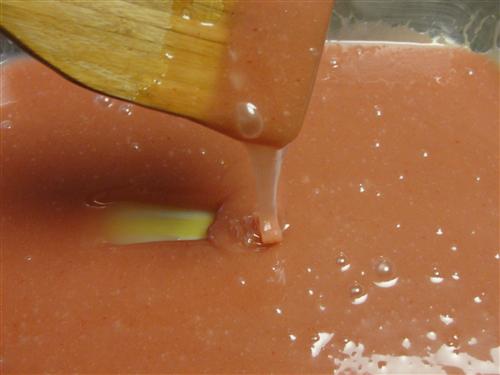
A bit more opaque.
Even more opaque, but still quite runny.
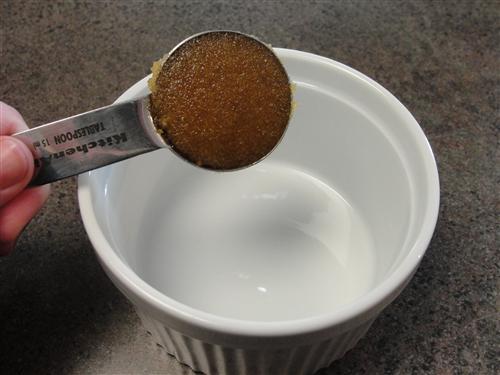
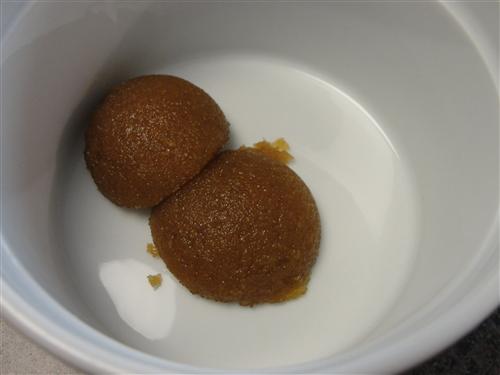
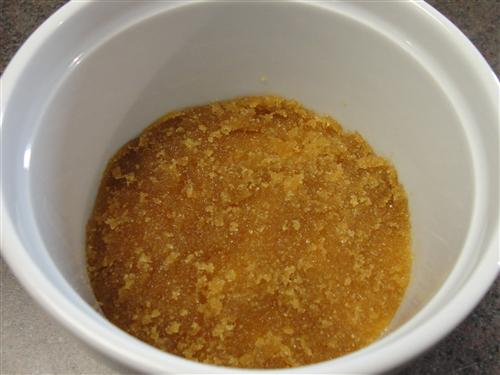
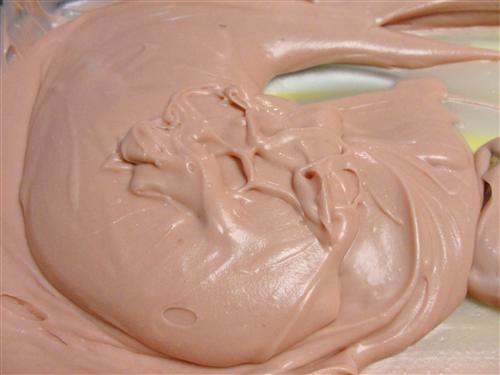
And finally, a mixture that is opaque, no longer shiny, and still soft, but will hold its shape. Now, there are a lot of factors that come into play in determining how long this process will take, so I can’t really tell you that. It might take 15 minutes, or it might be closer to an hour. Just know that once you see it becoming opaque, it will eventually happen.
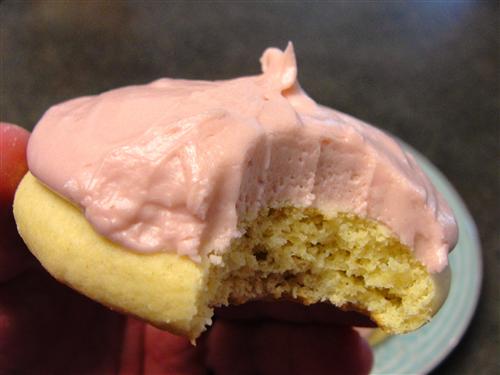
Spread it as thick or thin as you like. The ones you see in the store have just about as much frosting as cookie, so that’s what I did.
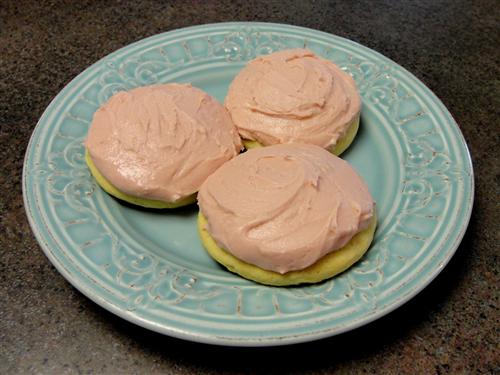
And speaking of the ones in the store, they are loaded with all kinds of preservatives, artificial flavors and colors, and who knows what else, and they’ve got nothin’ on these. Not to pat myself on the back too much, but as first attempts go, this one was a homerun. Just look at the amazing soft interior of these cookies.
How do you celebrate Valentine’s Day? Do you just use it as an excuse for sweets like I do? Or do you go all out with chocolates, roses, and dinner at a fancy restaurant?