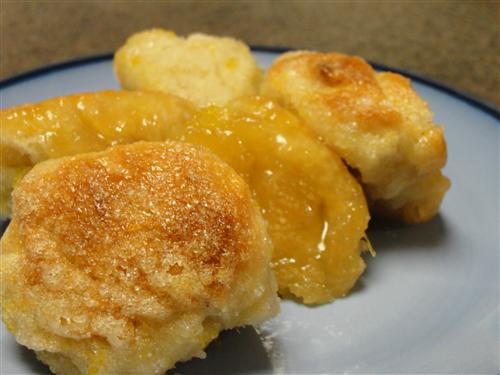
Blazin' Buffalo Balls
 Taneasha
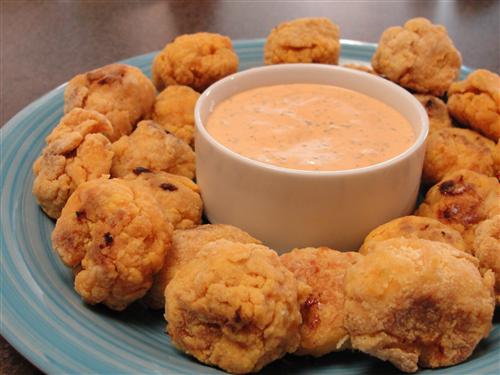
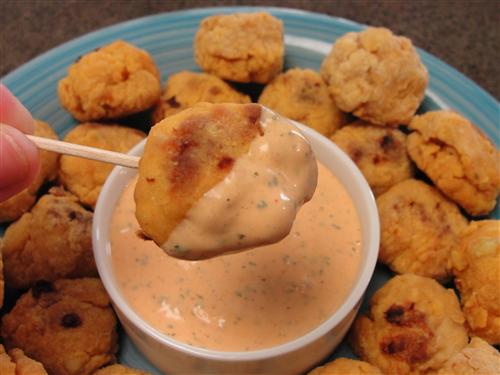
Don’t worry, I’m not talking about Rocky Mountain Oysters, or anything quite that frightening. Think Buffalo chicken wings in the form of little meatballs on toothpicks, dipped in spicy ranch dressing… I know! And yes, they really are as fabulous as they sound.
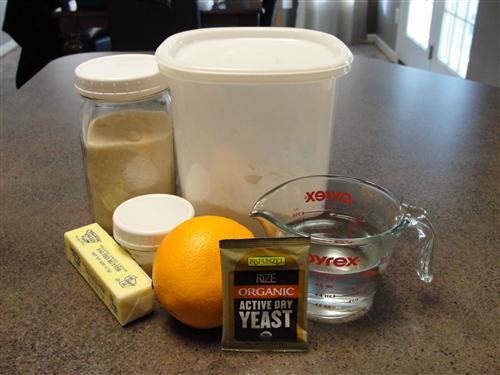
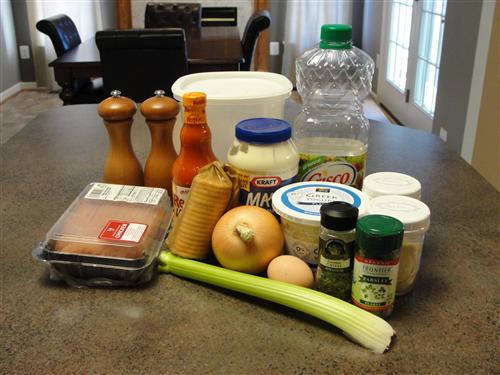
Here’s what you’ll need:
For the ranch:
- ⅓ cup mayo
- ⅓ cup greek yogurt (or light sour cream)
- ⅓ cup buffalo wing sauce
- ½ teaspoon salt
- ½ teaspoon pepper
- ½ teaspoon dried parsley
- ½ teaspoon onion powder
- ¼ teaspoon garlic powder
- 1 teaspoon dried chives
- 1 teaspoon sugar
For the meatballs:
- 1.5 lbs. ground chicken breast
- 1 egg
- ¼ teaspoon onion powder
- ¼ teaspoon garlic powder
- ½ teaspoon salt
- ½ teaspoon pepper
- 1 stalk celery (about ⅓ cup diced)
- ⅓ cup minced onion
- 2 Tablespoons buffalo wing sauce
You will also need:
- 17 snack crackers (about ⅔ cup crumbs)
- ¼ cup vegetable oil
- ¼ cup buffalo wing sauce
- Canola oil spray
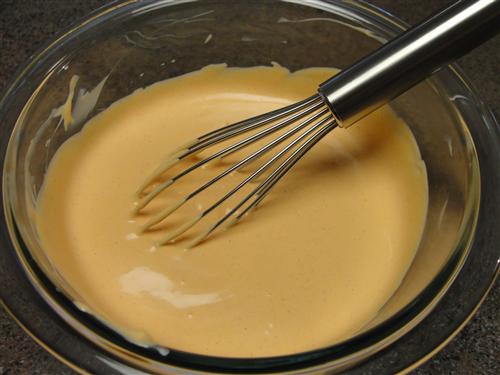
Start with the dressing. It needs plenty of time to sit and let all the flavors mingle. You can even make it a day ahead if you want. Put the mayo, yogurt, and wing sauce into a bowl. (I’m using store bought wing sauce this time because, like the rest of the country, I’m sick. If you’re feeling up to it, homemade is always best. You can use the recipe I used for my chicken wings.)
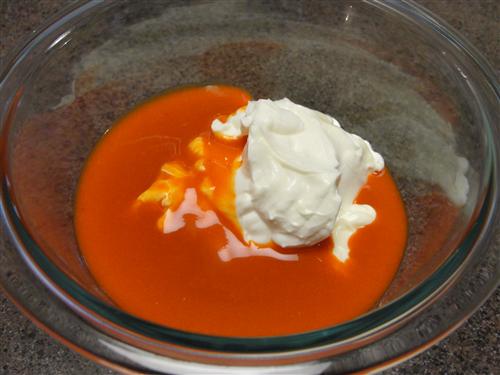
Stir them together. I like to use a small whisk to make sure it’s nice and smooth.
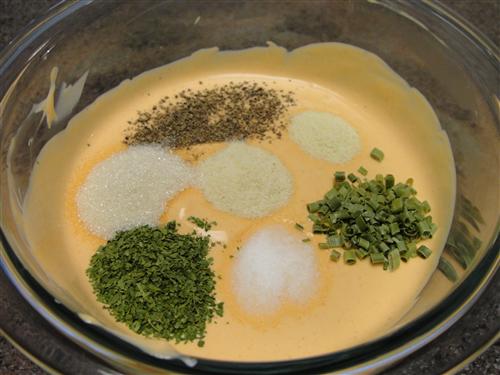
Add all the herbs and spices. I’m using dried herbs this time because… see excuse above. If you have access to fresh parsley and chives, use them.
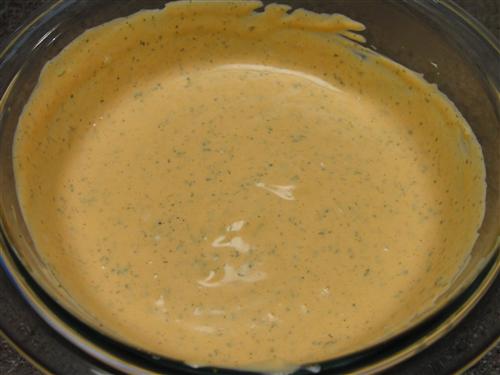
Whisk again until everything is combined. Then cover it and put it in the fridge for at least a couple hours.
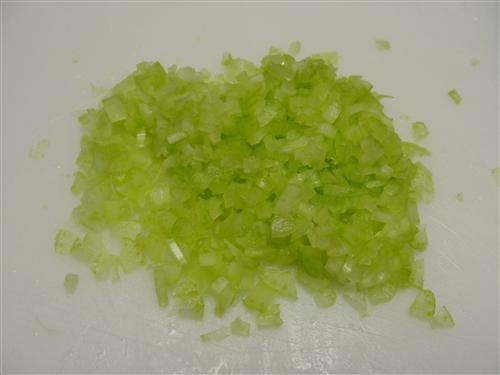
Now for the meatball mixture. Dice the celery very finely.
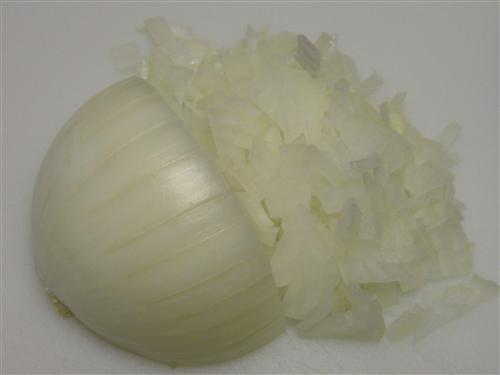
The easiest way to get small pieces of onion is to cut the peeled onion in half leaving the root end intact. Then just cut thin slices around the onion and remove thin slices from the end.
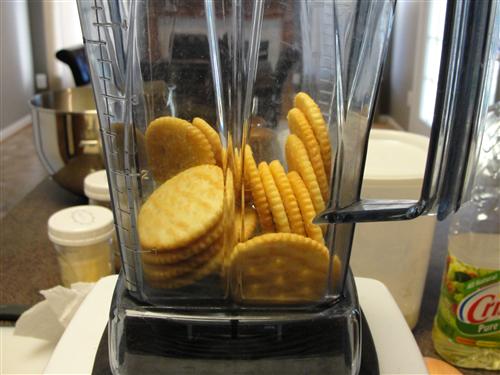
Next up are the crackers. Drop them into your blender.
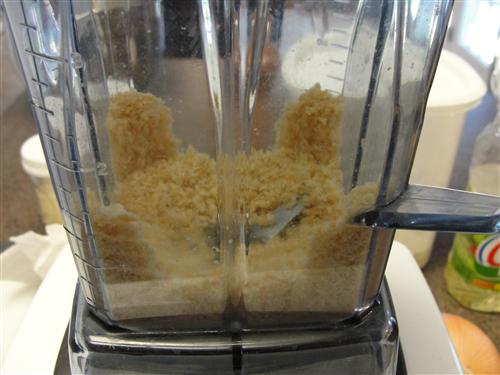
And a few seconds later you have crumbs.
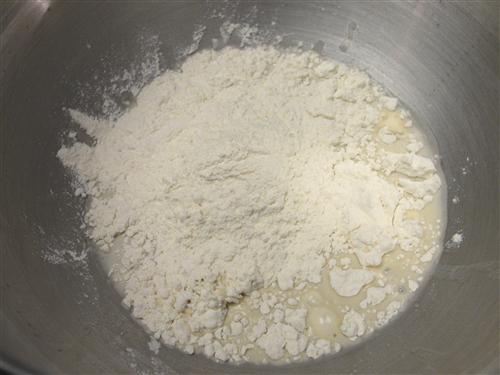
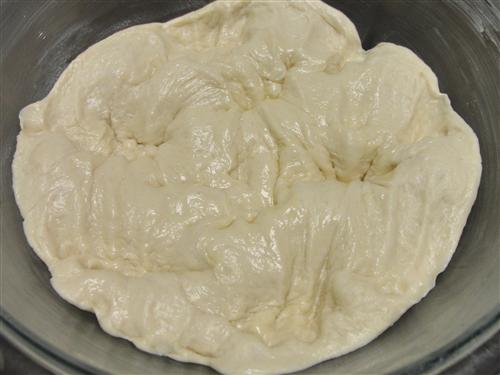
Now drop everything into the bowl of your mixer.
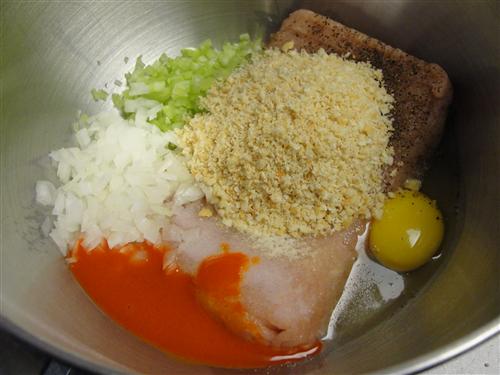
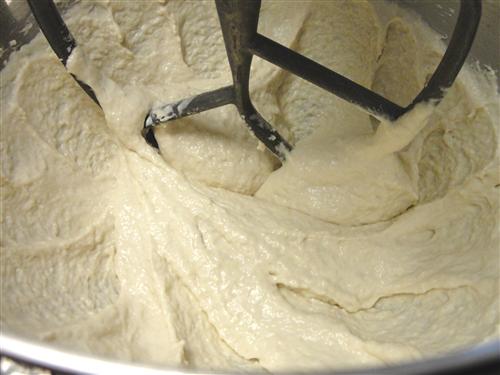
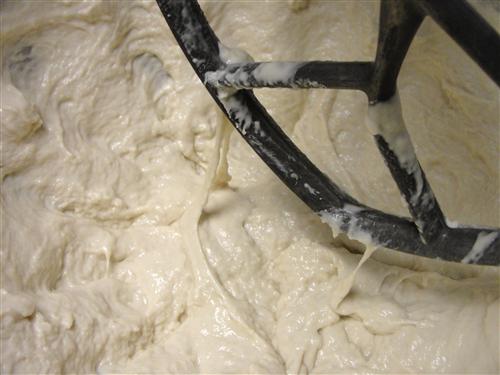
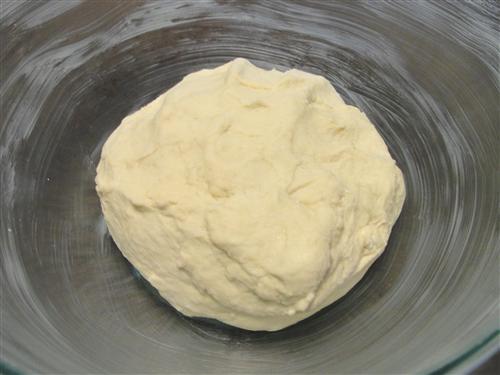
Of course you can do this without a stand mixer. It’ll just take a bit more work to go to this.
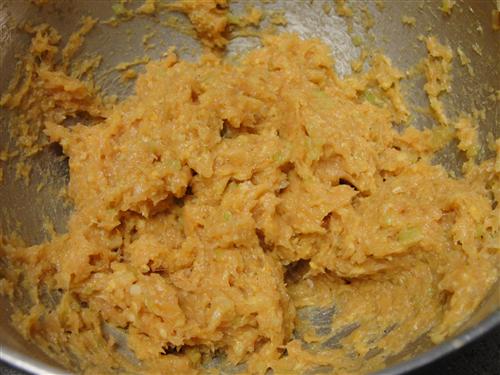
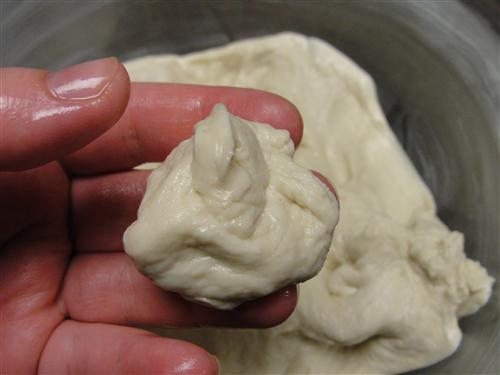
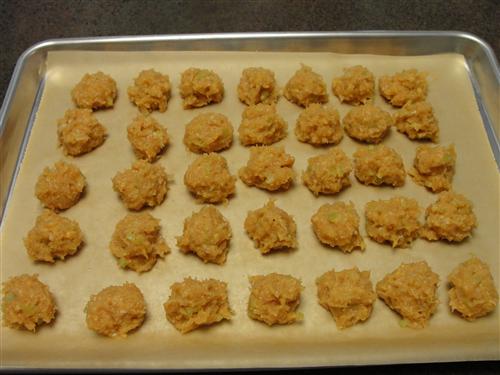
Ok, so it doesn’t look very pretty, but that’s ok. It will. For now, scoop out little roundish blobs. Shoot for about 1 tablespoon. Place them onto a parchment lined sheet pan. Place them in the freezer for a couple hours or overnight. You want them to be completely solid.
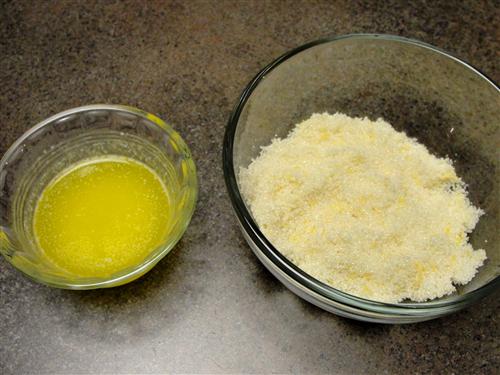
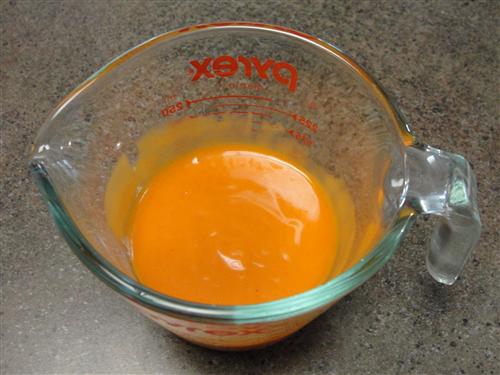
When your balls are solid and you’re ready cook them, preheat your oven to 400°. Then mix together ¼ cup wing sauce and ¼ cup vegetable oil. They’ll want to be completely separate at first.

But just whisk for a bit and they’ll come together.
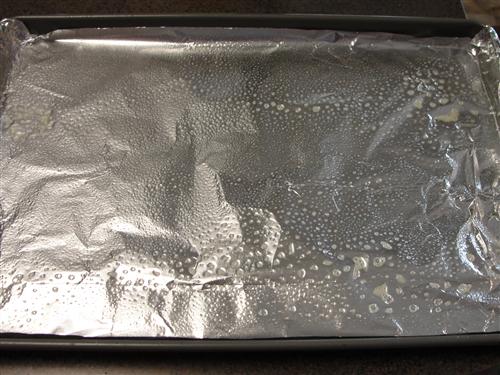
Line a sheet pan with foil and lube it liberally with canola oil spray.
Take your balls out of the freezer and drop them into ziploc bag.
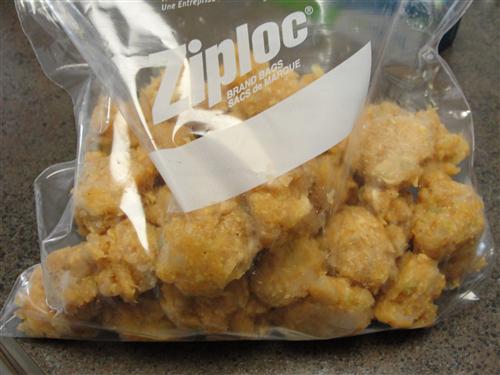
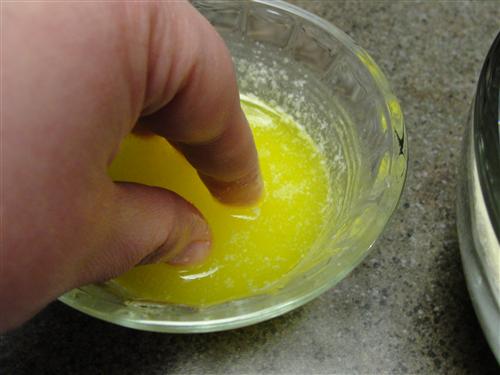
Pour over the oil and wing sauce mixture.
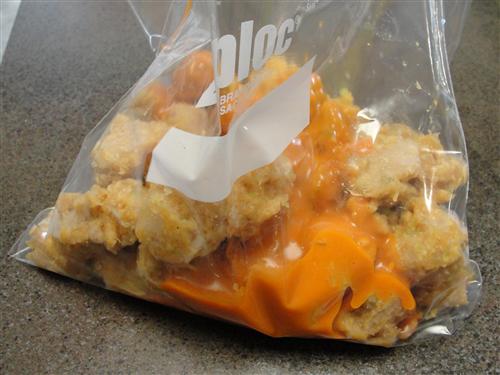
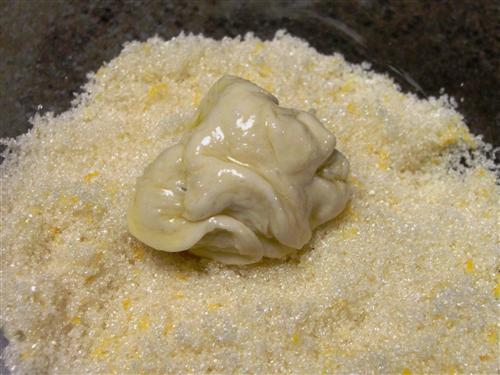
Inflate the bag and seal it up tight. Then shake your balls around until everything is evenly coated. When it is, go ahead and add the flour.
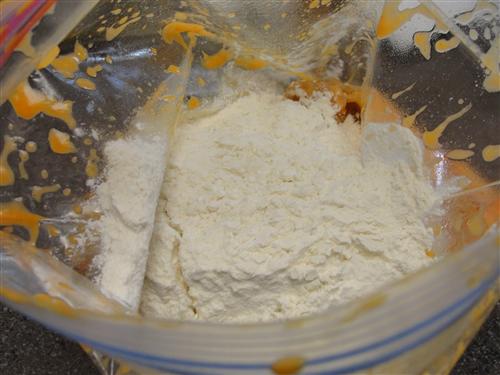
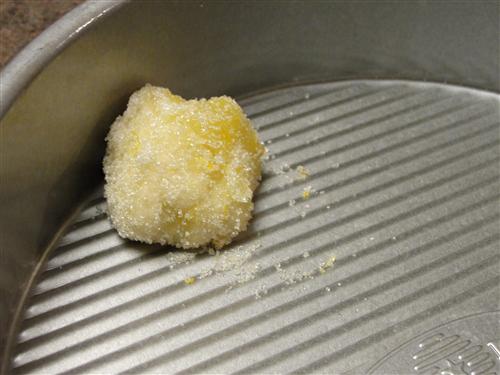
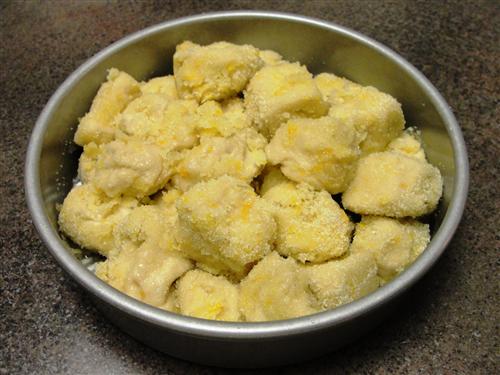
Repeat with the inflating and shaking. Move your coated balls to the prepared pan, shaking off any excess flour.
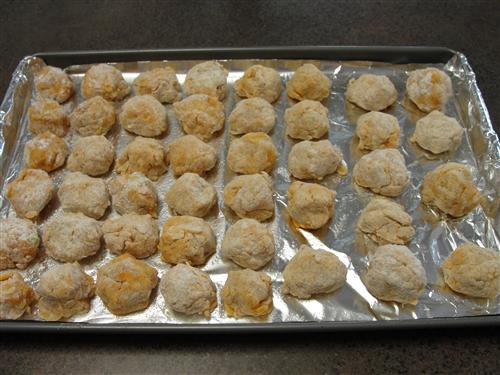
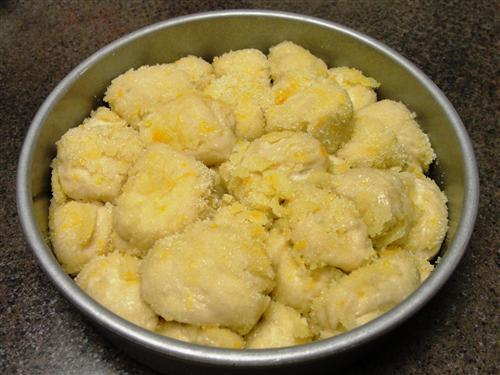
Now, grab the can of lube again and spray it all over your balls. Then pop them into the oven for 20 minutes.
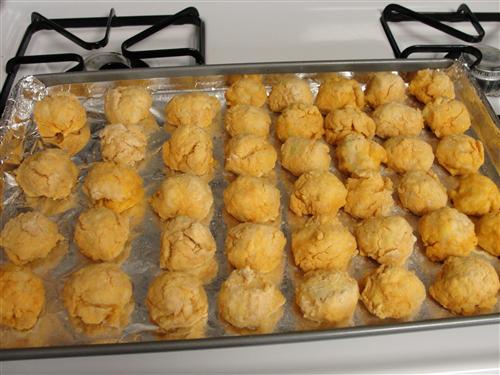
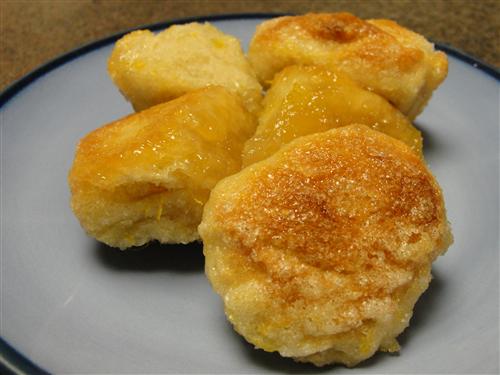
Flip them all over and put them back into the oven for an additional 15 minutes. Then just pile your balls on a plate and serve them with toothpicks and lots of sauce for dipping.
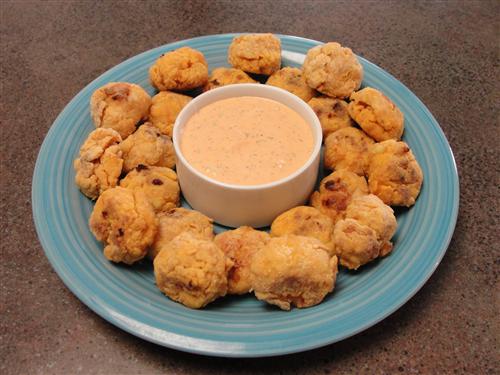
Yet another perfect game day snack. Or anytime really. I mean, how often do you get to serve something to your guests and ask, “Would you like to taste one of my balls?”
What do you like to eat with toothpicks?