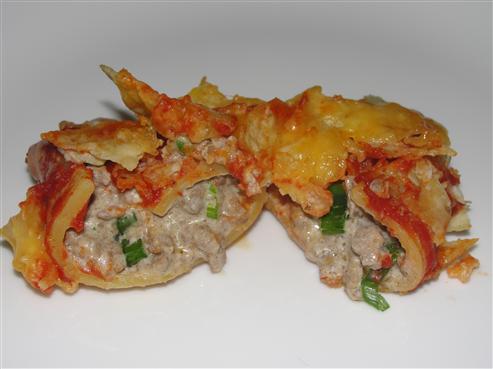
Enchiladas... sort of.
 Taneasha
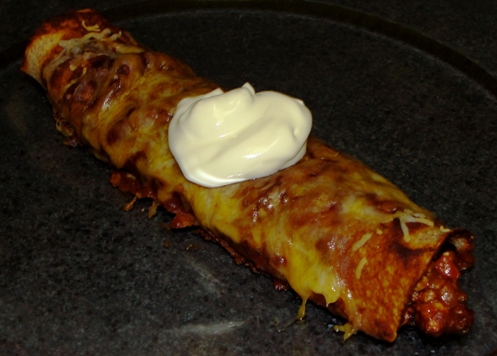
Well, my version of them, anyway. I realize they are anything but traditional or authentic, but they are delicious, nonetheless. Besides, I've never understood why you have to choose between meat and cheese in your enchilada when you go to a restaurant. What's wrong with both? And even a little veg?
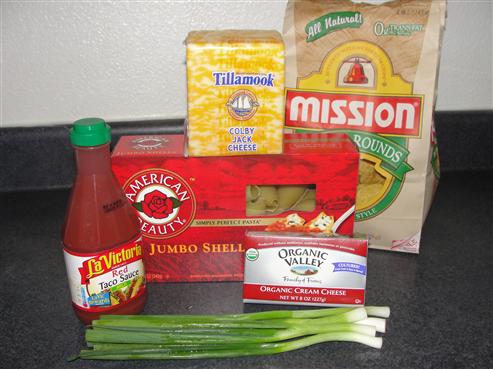
I thought I’d follow Seeley’s example this week, and not have a picture of the gathered ingredients. Ok, so I was really just scatterbrained and forgot that part, but I like blaming what I can on her. Here’s a list of what you’ll need:
Sauce:
- 3 Tablespoons vegetable oil
- 1 Tablespoon flour
- ¼ cup chili powder
- 2 cups chicken stock
- 8 ounces tomato paste
- 1 teaspoon dried oregano
- 1 teaspoon ground cumin
- ½ teaspoon salt
- Secret Ingredient (see below)
Filling:
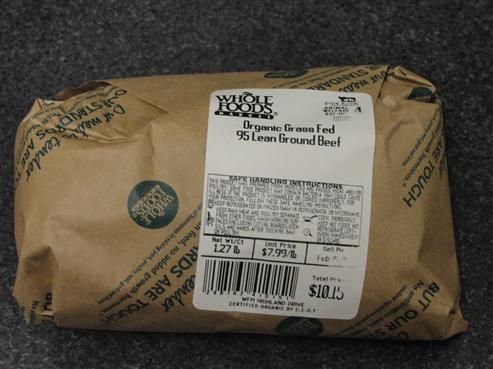
- 1 Pound ground turkey breast
- 1 medium onion, diced
- 1 red bell pepper, diced
- ½ cup prepared enchilada sauce
- 1 cup grated cheese
You will also need 6, 8 inch flour tortillas and an additional cup of grated cheese.
We’ll start with the sauce. Enchilada sauce is a pretty simple thing to make. In fact, I’m not really sure why someone would ever use the stuff in a can. Then again, that’s frequently the case with me. Here we go.
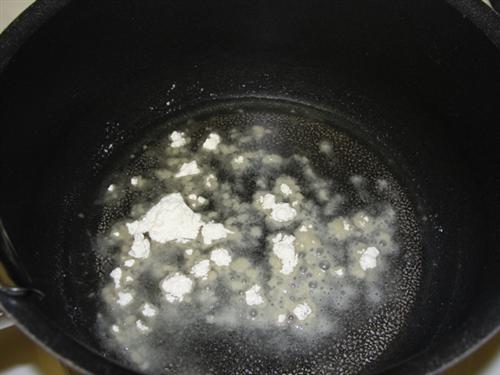
In a saucepan, heat 3 tablespoons of vegetable oil. When it’s hot, sprinkle in the flour.
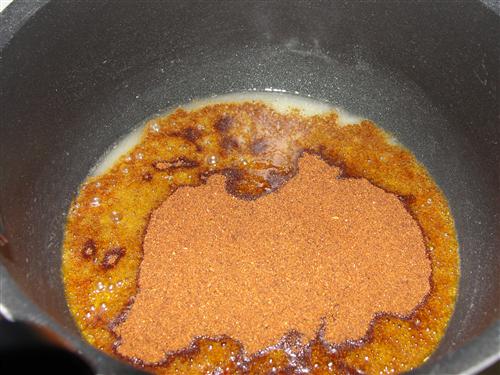
Stir it together and allow it to cook for about a minute before adding the chili powder. The chili powder is where most of your flavor comes from, so it’s important to buy something good. I really love the stuff you can get in the bulk section at Whole Foods.
Stir that in and let it heat for about 30 seconds, then pour in the chicken stock. Stir briskly, getting rid of any lumps and making sure nothing is stuck to the bottom of the pan. Stir in the oregano, cumin, and salt, followed by the tomato paste. I usually like to use a whisk at this point, to break up the lumps of tomato paste.
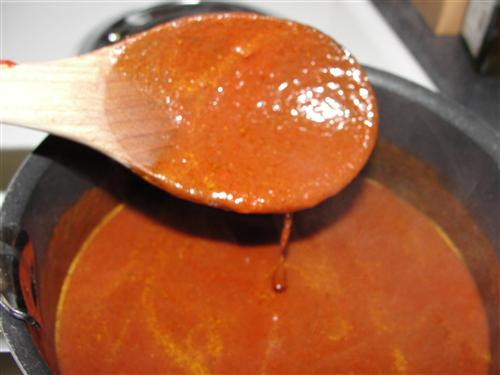
Bring the mixture to a boil, stirring constantly, and boil for one minute. Turn off the heat and continue to stir until the boiling stops. Now for the secret ingredient.
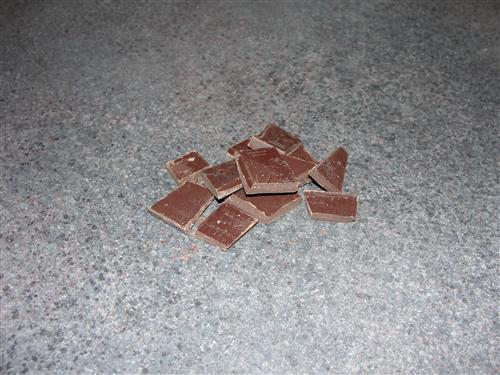
Yes, that’s chocolate. A few squares of good dark chocolate bring a richness to the sauce. Make sure it’s dark chocolate. Milk chocolate, or even semi sweet, have too much sugar. Break or cut the chocolate into pieces, and stir them into the sauce. When they’re completely melted and incorporated, set the sauce aside and start on the filling.
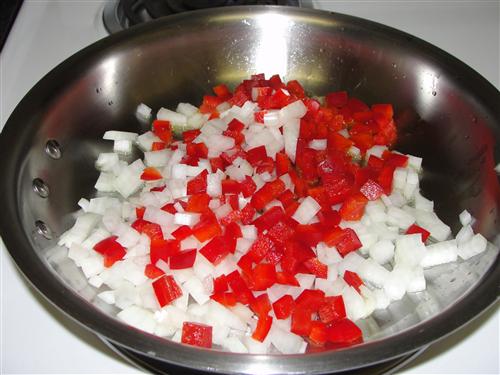
Heat a couple tablespoons of olive or vegetable oil in a pan and throw in your diced onion and bell pepper. Sprinkle with a little salt to help them give up their liquid.
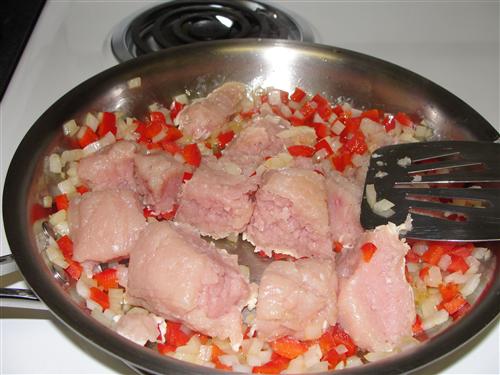
Add the ground turkey and start chopping it into pieces as it cooks.
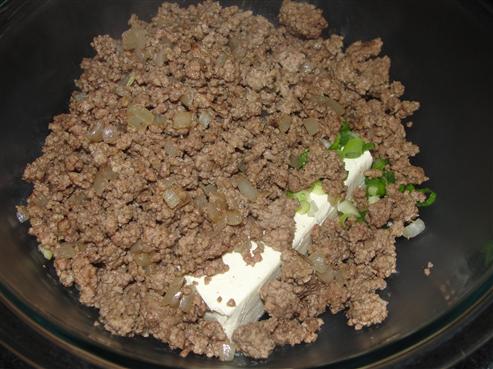
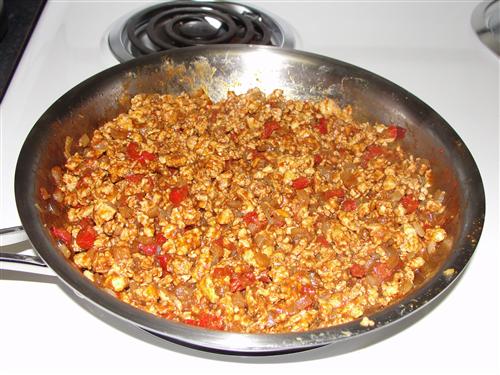
After the turkey is cooked through and the vegetables are soft, turn off the heat and stir in about ½ cup of the sauce. It should look about like this:
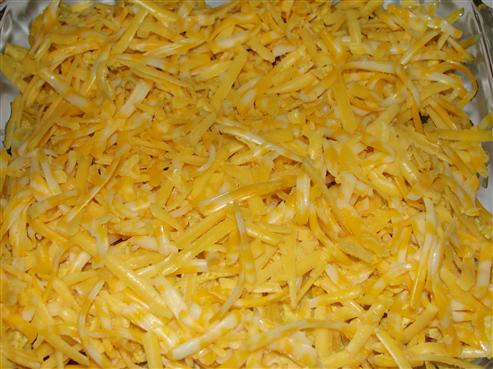
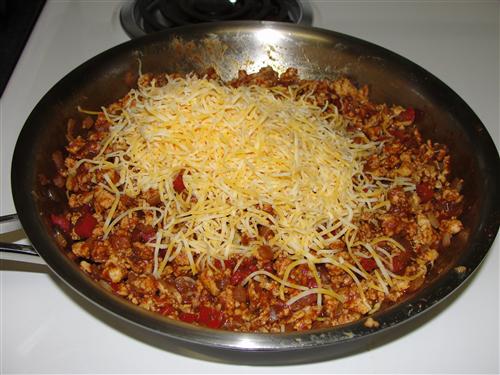
Add 1 cup of the cheese and stir in until it’s incorporated. Yes, I used already grated stuff this time, I was being lazy, and the pre-grated stuff was on sale. Thank you, Tillamook, for doing the work for me. It really is better if you grate your own, though.
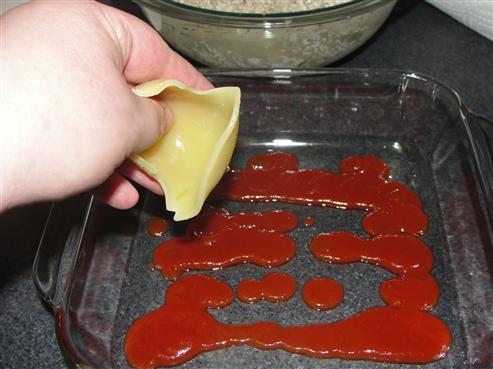
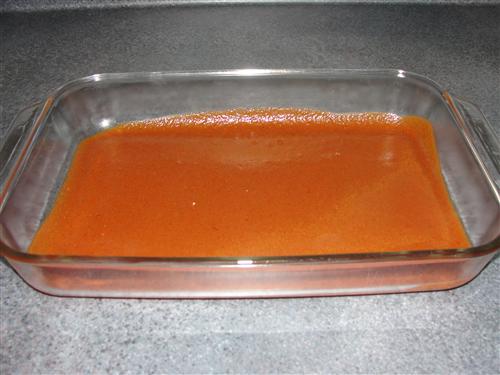
This is probably a good time to preheat your oven to 350°. Also, coat the bottom of a 9x13 pan with a thin layer of sauce.
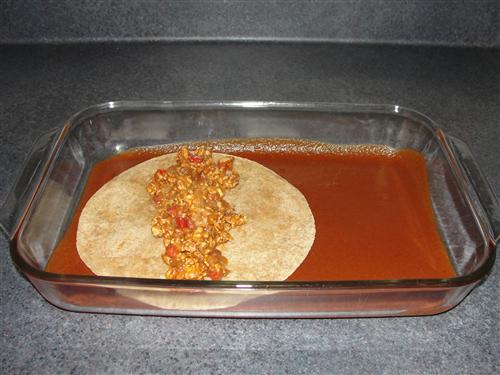
Lay a tortilla in the pan and scoop in a line of the meat mixture. I was using whole wheat tortillas, which is why they look a little on the brown side.
Roll it up, somewhat tightly, and place it seam side down at the end of the pan.
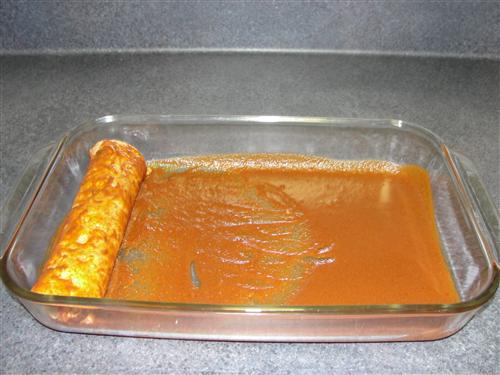
Repeat.
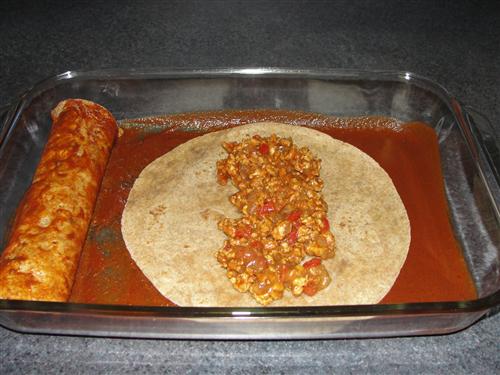
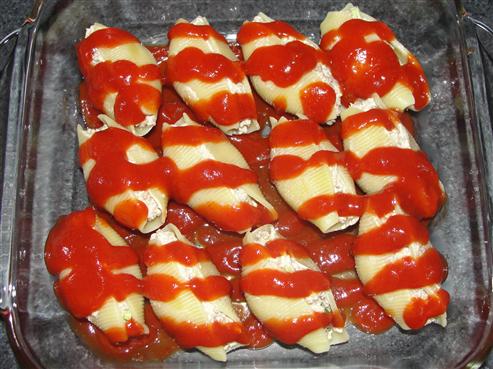
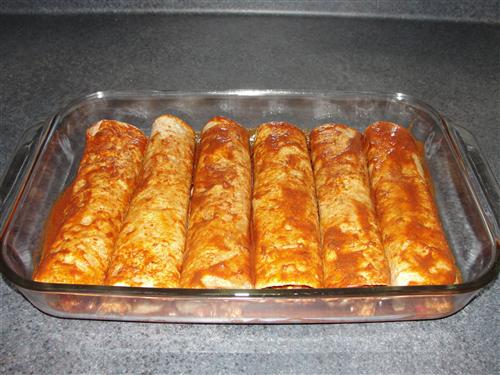
Do the rest of them the same way, coating the outside of the tortilla with the sauce, rolling them up, and sliding them right up against each other. The last one or two are a little more difficult, but you have to kind of slide the tortilla through the sauce in the little space that’s left. When they’re all filled and rolled, six of them should fit perfectly in the pan.
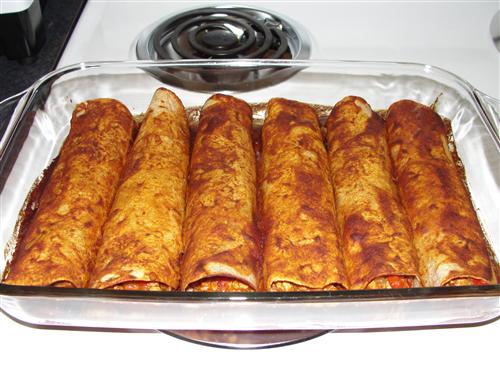
Throw them in the oven for about 15 minutes, or until the tortillas become crispy on the top and ends.
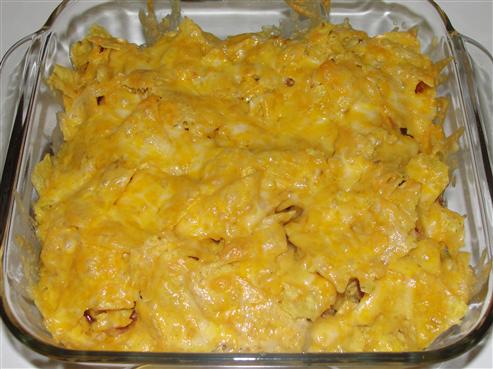
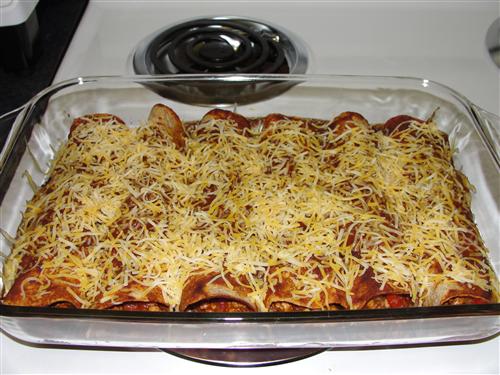
Top them with the remaining sauce and cheese.
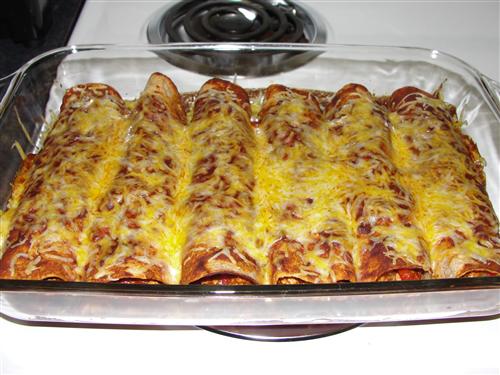
Put them back into the oven just long enough for the cheese to melt; probably about 7 – 10 minutes.
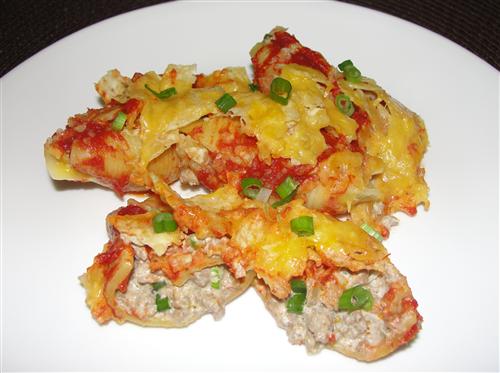
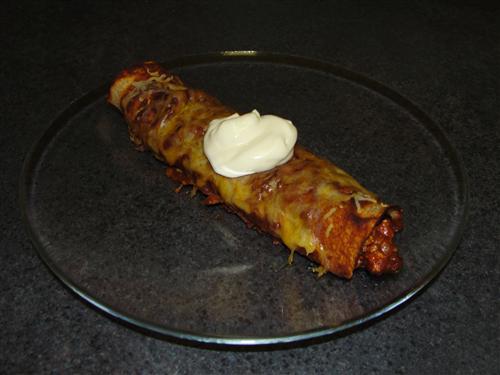
Top each with a dollop of sour cream. You could put half an olive in there like they do at some Mexican restaurants, but I don’t like olives. Besides, it's pretty obvious I’m not trying to replicate what you might find at El Taco Gordo*. Try my version of enchiladas and let me know what you think.
*El Taco Gordo was just something I made up off the top of my head. You know how they all have silly names like that. If your favorite Mexican place is, indeed, called El Taco Gordo, I have not been stalking you. It was just a lucky guess.