What's Crack-a-lackin'?
 Taneasha
So I decided to jump on the square bandwagon with Seeley. I’ve been wanting to make these for awhile, so why not? Last year, I discovered the most amazing crackers at Trader Joe’s. They were called Bite Size Everything Crackers. Unfortunately, I only had one box before they stopped carrying them. Every time I’m there I browse the cracker section in hopes of finding them again, but so far, I’ve had no such luck. Finally, I decided just to try to make them myself. That being said, it took a few tries to get what I was looking for, so if the measurements look off in some of my pictures, or if the continuity is all wonky, just ignore that. Like I said, it took a few tries.
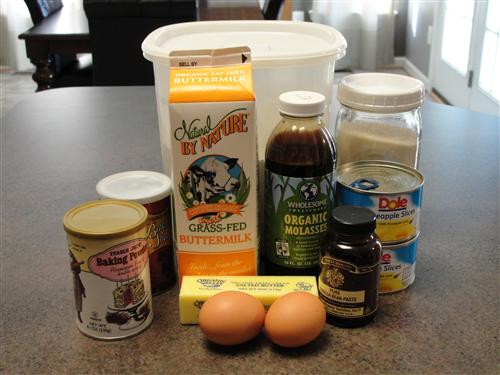
Here’s what you’ll need:
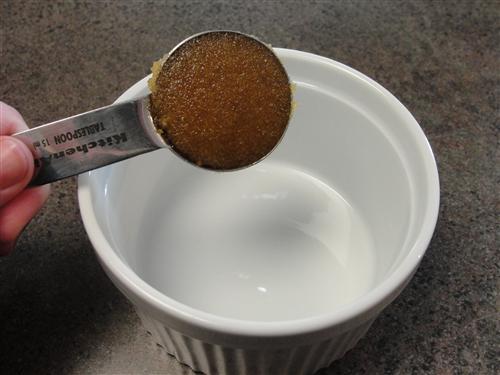
- ½ cup hot water
- 2 Tablespoons butter
- 2 Tablespoons olive oil
- 1 cup whole wheat flour
- 1 cup all purpose flour
- 2 Tablespoons sugar
- 2 Tablespoons dried onions (mine were toasted)
- ½ teaspoon garlic powder
- 1 teaspoon onion powder
- 1 teaspoon caraway seeds
- 1 teaspoon poppy seeds
- 1 teaspoon sesame seeds
- ¼ teaspoon salt (plus more for sprinkling on top)

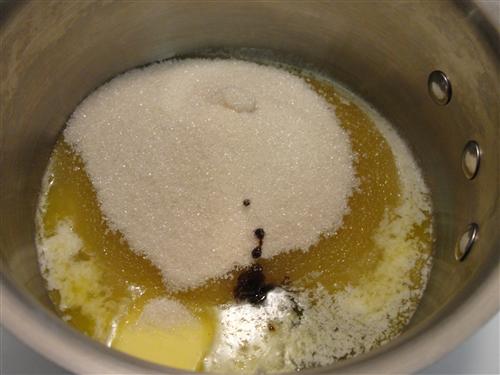
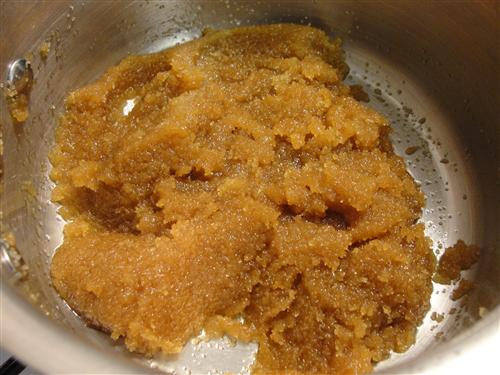
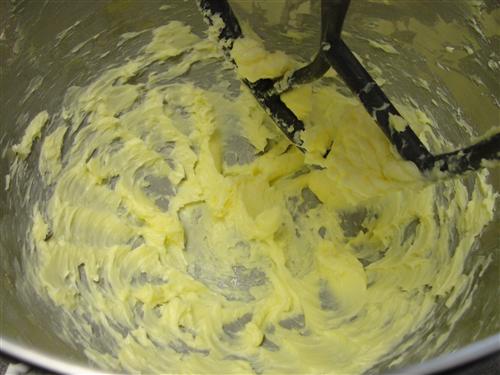
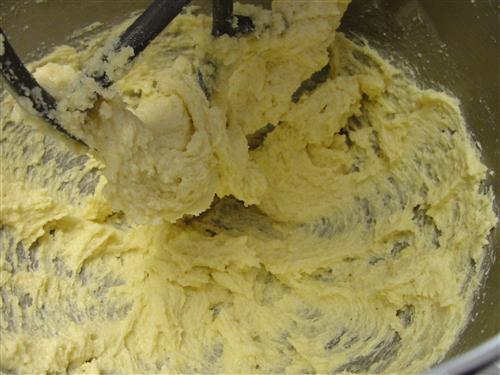
Go ahead and preheat your oven to 400° before starting. These come together pretty quickly. Measure ½ cup hot water and add your butter so it will melt.

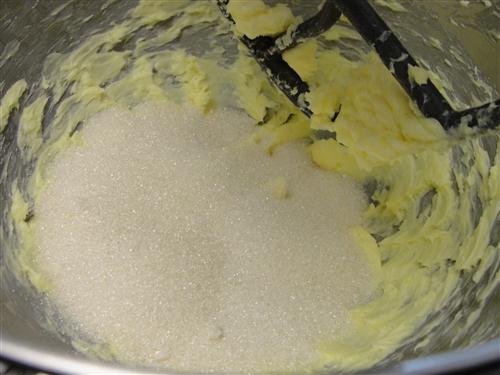
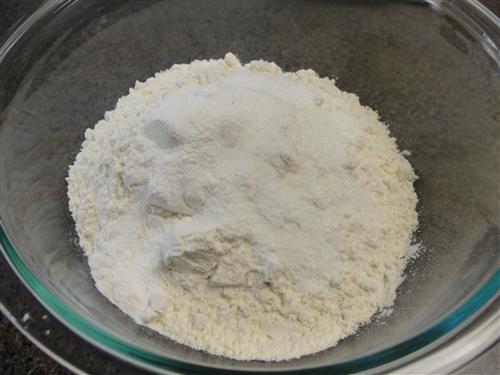
While that’s doing its thing, go ahead and put all of the dry ingredients into a mixing bowl. Now at this point, you can adjust these to make them however you like. Don’t like caraway seeds? Leave them out. Really love garlic? Add extra garlic powder, or if you have dried, minced garlic, throw some of that in.

Whatever you decide to use, stir it all together so that everything is evenly distributed.

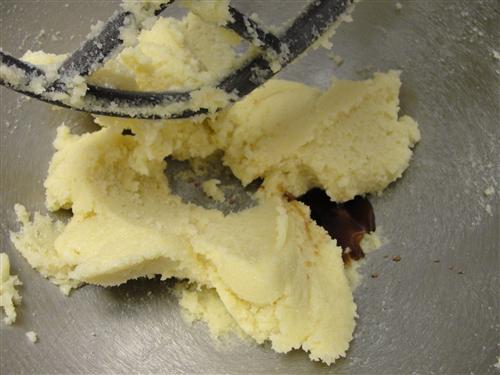
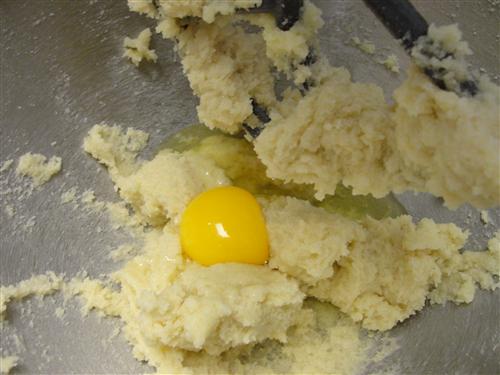
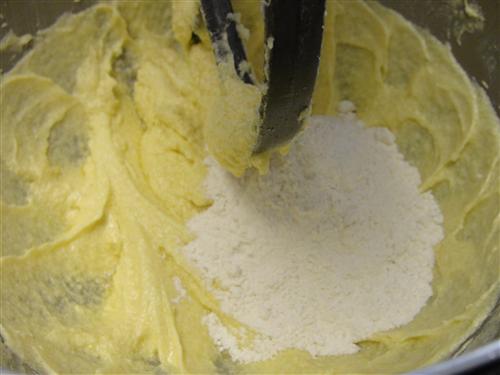
Add the olive oil to the butter and water and pour that over the dry mixture.

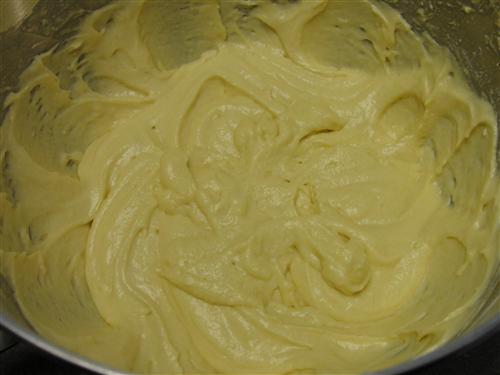
Stir/knead just until everything comes together. If you don’t have enough liquid to incorporate all of the flour, add more water 1 teaspoon at a time.

Cover that and let it rest for 5 minutes. The mixing will have developed gluten which needs to relax a bit so you can roll the dough out. After 5 minutes, it’s time to do just that. It’s a bit of a pain to roll it out on parchment, but in the end it’s the best way to do it.

Divide the dough in half and roll each until it is very thin. If it’s fighting you and springing back, give it a few more minutes to rest. Basically, you want to get it as thin as you possibly can. When it looks like this, you’re getting close, but not there yet.

When you get the dough thin enough, use something straight as a guide and cut off the edges to make something resembling a square or rectangle. A pizza wheel works well for this.

Cut the square into smaller squares. They will actually shrink a little bit when they cook, so cut them slightly larger than you want the end result to be. I think mine were about 1 ¼ inches.

Next, sprinkle a bit of salt over the top. How much to use really depends on how much you like salt. It’s easiest to control where it goes and get an even dispersal if you just use your fingertips to sprinkle it. I used probably somewhere between ¼ and ½ teaspoon. After you’ve got it salted, take a fork and poke each cracker 3 times. This part is sort of optional, but it makes it so you don’t get any large air bubbles in your crackers. (Ignore the salt, I got a bit carried away on this batch. That was before I figured out using your fingers works much better than shaking it from a measuring spoon.)

Now slide the whole sheet of parchment onto a sheet pan and into the oven they go. The amount of time depends on two things: how thin you got your dough, and how dark you like your crackers. It’ll probably be something like 12 – 15 minutes. Just watch them. You want them to just start to brown around the edges. (Look, you’ve made homemade crackers!)

Allow them to cool on the pan and then move them to a bowl for snacking. If you left, just store them in an airtight container. I don’t know why, but I was totally stoked that I’d made my own crackers, but really, they were so easy. (BTW, if you leave out all the extras you'll basically have really good wheat thins without the unpronounceable scary stuff like butylated hydroxytoluene.)

What store bought item would you like to make at home?