Orange Genius
 Taneasha
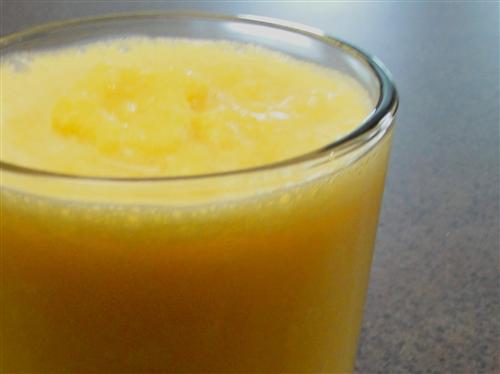
Today is the first day of summer, so it’s the perfect time for a cool, refreshing treat. When I was a kid, on the rare occasion we found ourselves in a mall, I just had to have an Orange Julius. I still love them, but as an adult I visit malls even less frequently and I’ve recently found the ingredients list for Orange Julius, and quite frankly, it’s frightening. But I have good news! Making your own is as easy as falling off a log (it’s getting on in the first place that’s difficult) and the fruity, frothy goodness is simply divine. I’m going to show you the original as well as a triple berry version and a tropical one.
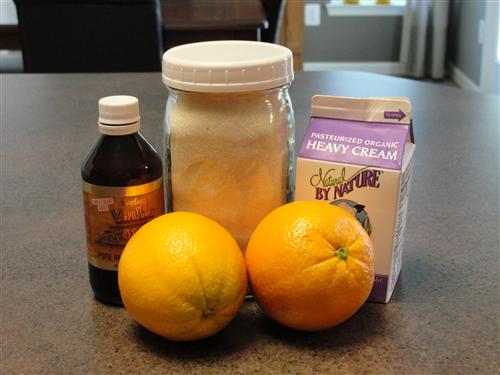
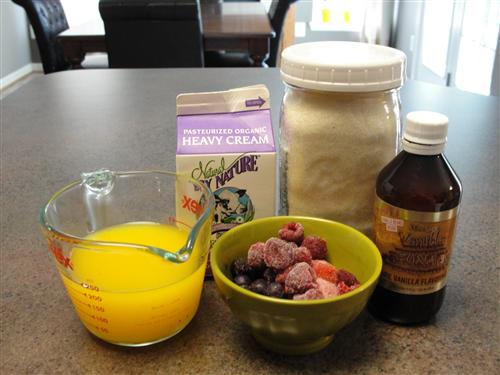
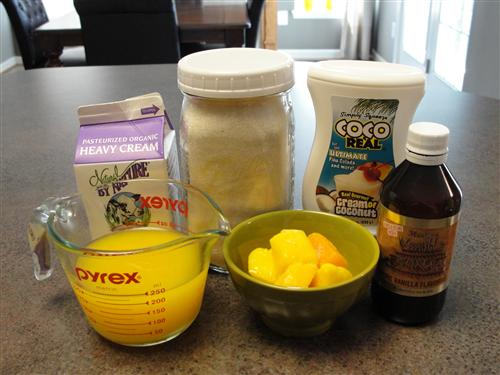
Here’s what you’ll need:
- 1 cup fresh squeezed orange juice
- 1 Tablespoon sugar
- 1 Tablespoon cream
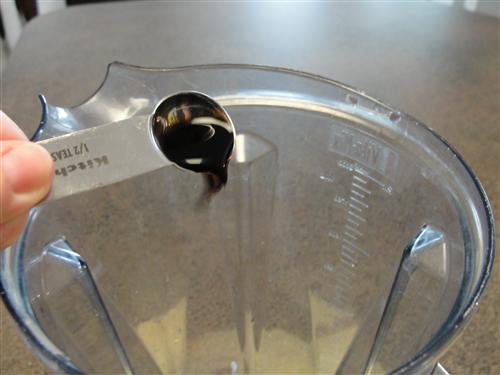
- ½ teaspoon vanilla
- 1 orange
- ½ cup ice
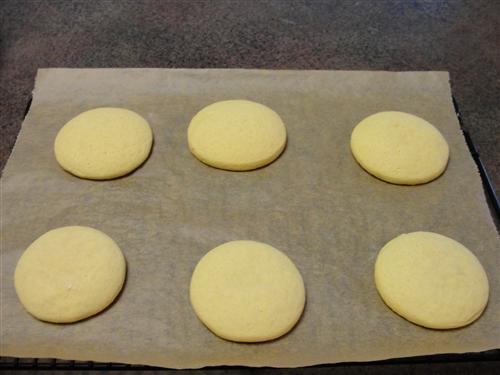
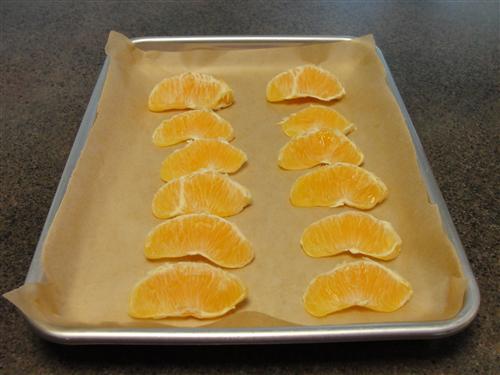
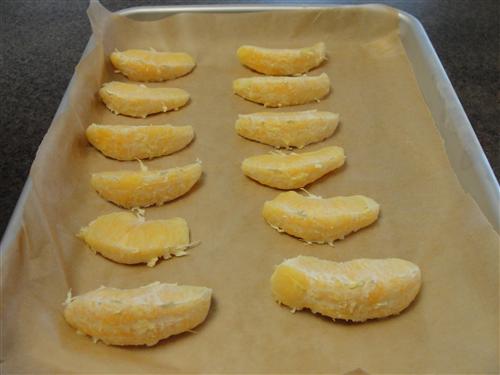
Peel your orange and place the segments on a parchment lined sheet pan. Slide that into the freezer for an hour. You can do this ahead of time, and once the segments are frozen, just dump them into a freezer bag to be used in a moment’s notice.
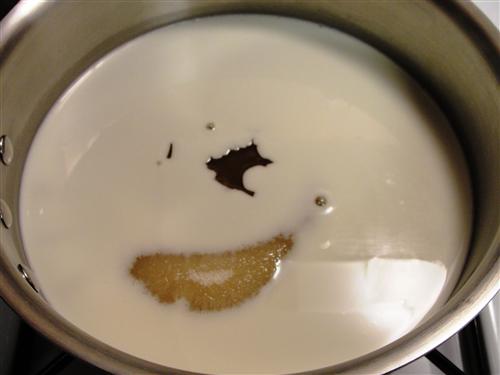
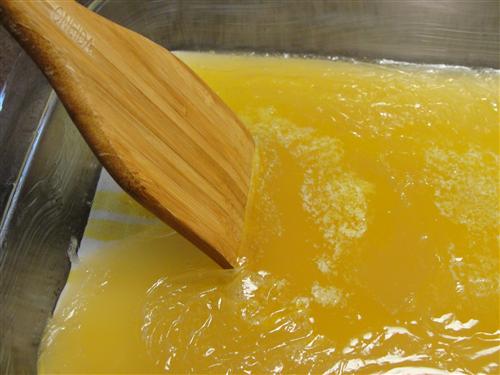
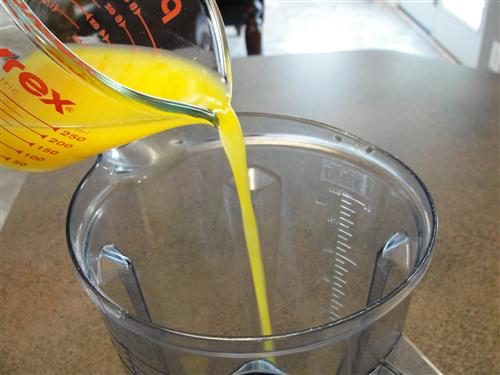
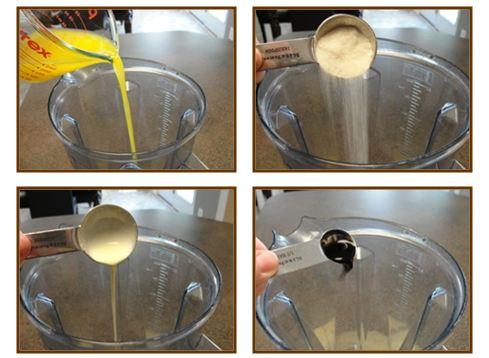
When you’re ready, pour 1 cup of fresh squeezed orange juice into a blender. I cheated a bit and bought fresh squeezed orange juice from Wegmans. If you don’t have a store nearby that sells freshly squeezed juice, you’ll have to do your own. I promise it’ll be worth the effort.
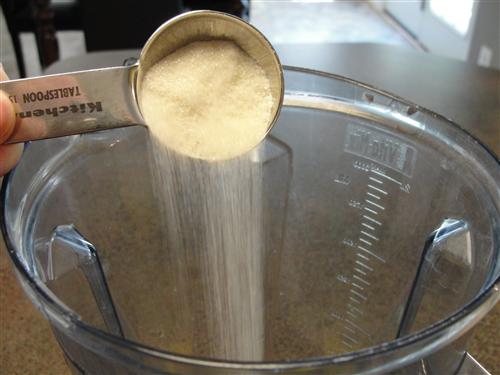
Add a tablespoon of sugar.
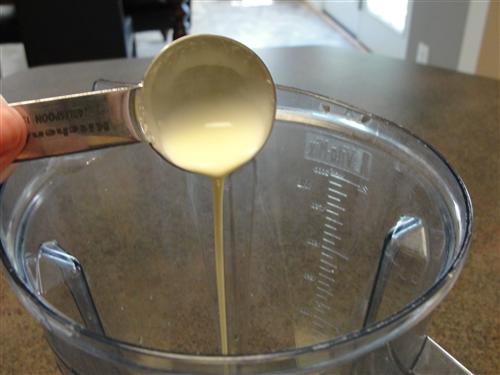
A tablespoon of cream.
And ½ teaspoon vanilla.
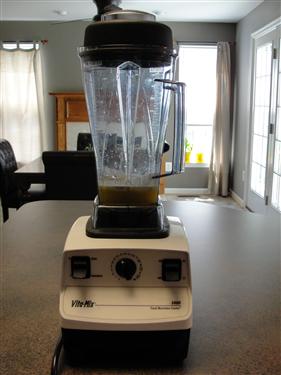
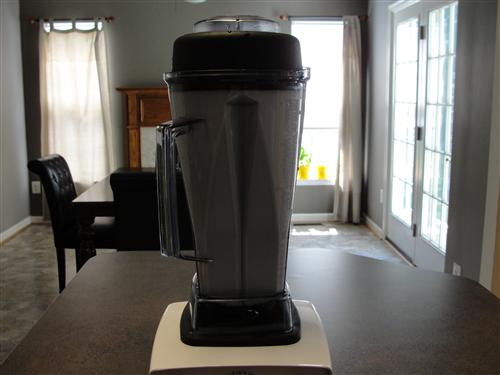
At this time I have to give a quick shout out to Vita Mix. I have had this thing for years, (it was one of the few things I moved across the country with me) and it is still the champion of blenders.
Ok, back to the orangey goodness.
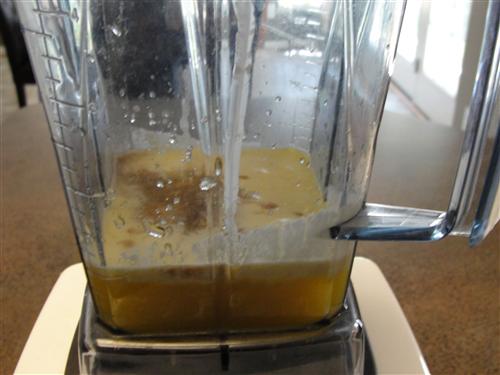
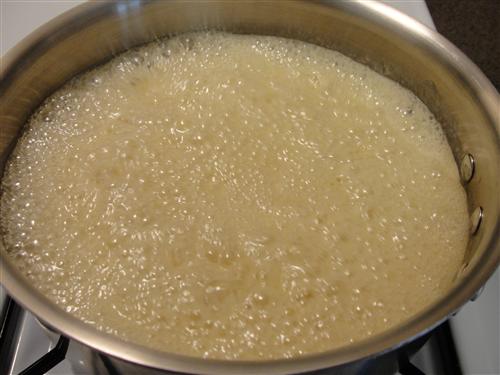
Before adding anything else, turn your blender to a medium speed and allow it to run for about a minute. There are two reasons for doing this. First, it’s makes the cream nice and frothy. Second, it gives the sugar a chance to dissolve.
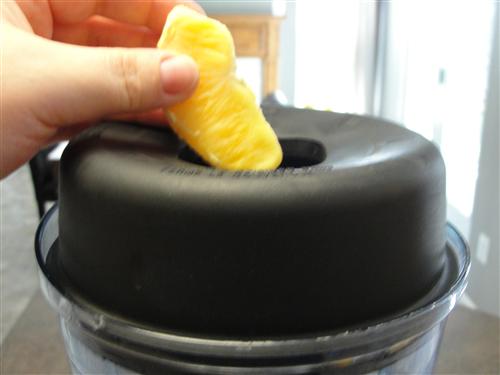
While that’s going, pull your frozen orange segments out of the freezer.
Drop about half of them into the blender.
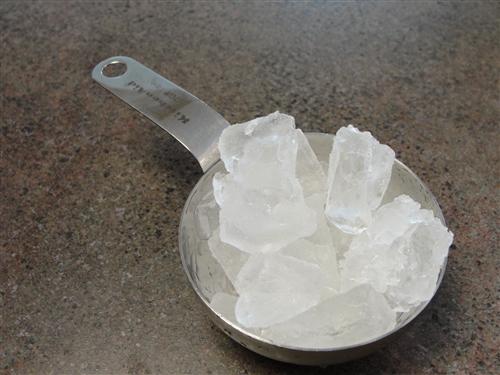
Ice cubes aren’t the easiest things to measure, but you want about ½ cup or so.
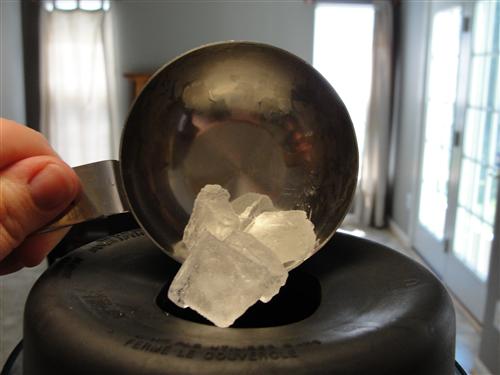
Dump them in.
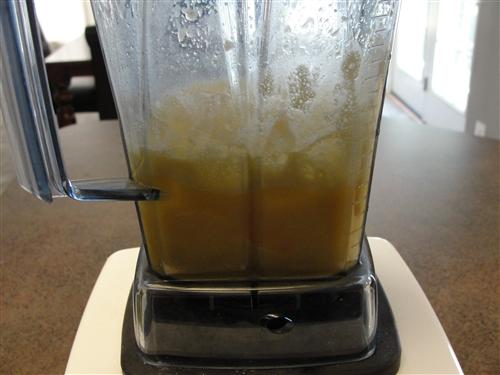
Start the blender on low and slowly increase the speed.
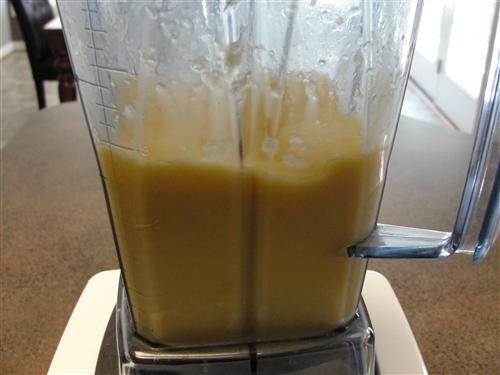
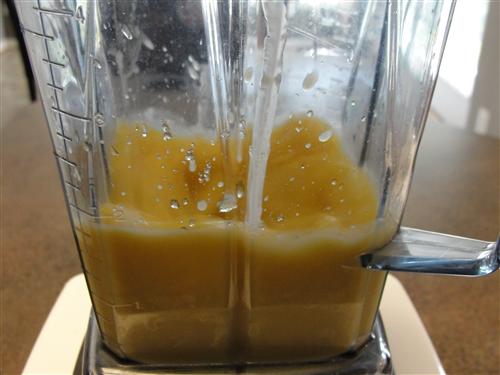
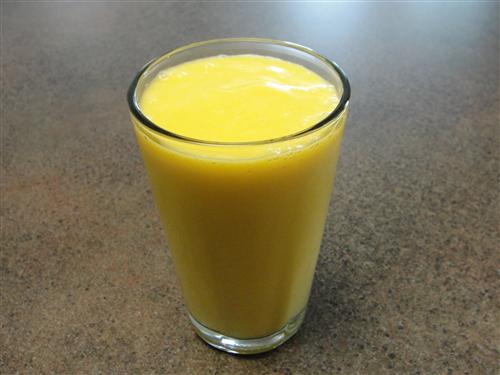
Allow it to run on high for 30 seconds, until it’s nice and smooth.
Orange Julius has got nothin’ on this. The frozen orange segments are the secret. I’m sure loads of people have thought of it before me, but I've never seen it, and when the idea struck, I thought it was sheer genius.
Next up is the triple berry version
Here’s what you’ll need:
- 1 cup fresh squeezed orange juice
- 1 Tablespoon sugar
- 1 Tablespoon cream
- ½ teaspoon vanilla
- ½ cup frozen mixed berries
- ½ cup ice
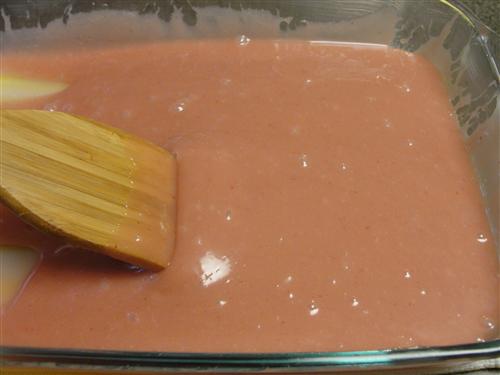
It starts the same way as the last one. Orange juice, sugar, cream, and vanilla go into the blender, then blend at medium speed for one minute.

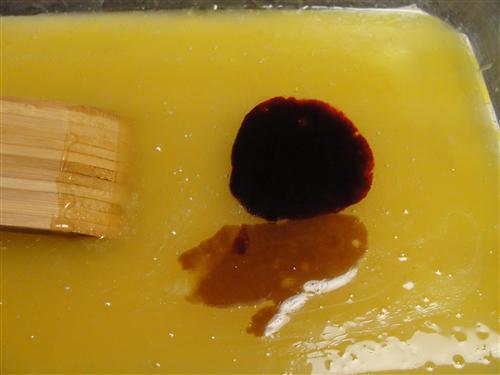
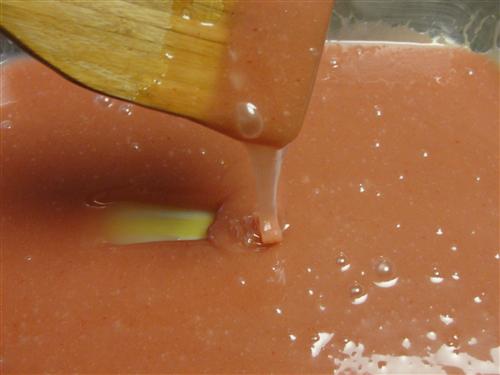
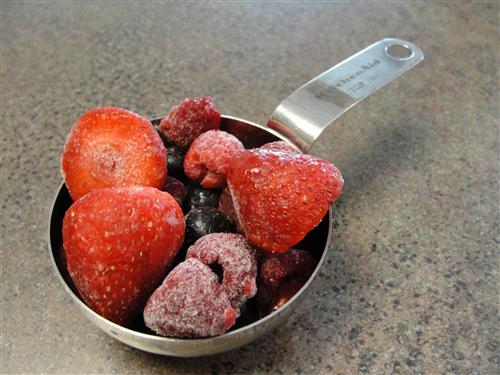
Frozen berries are also difficult to measure, so when I say ½ cup it looks something like this.
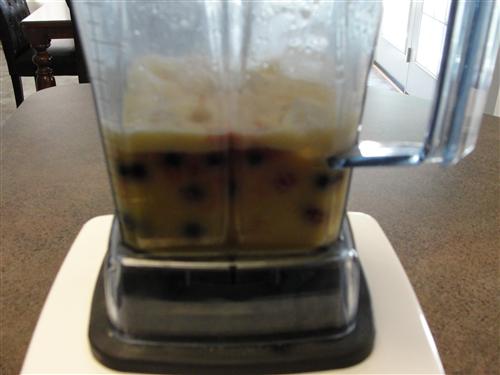
Dump them into the blender.

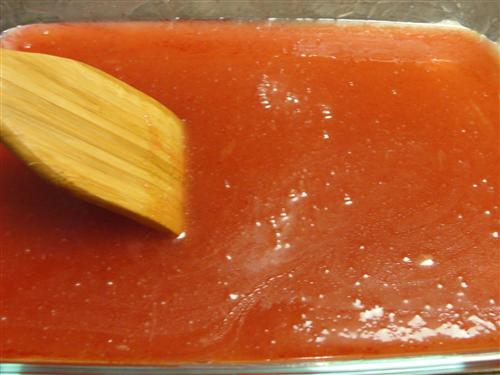
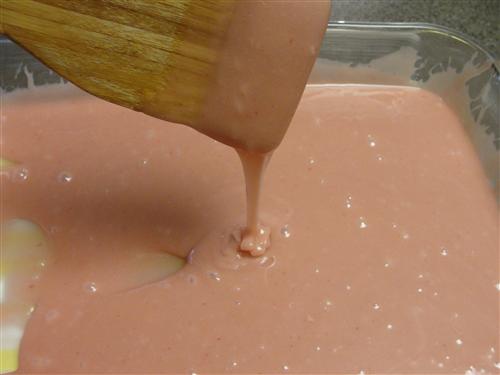
Add the ice and blend as before, starting on low speed and slowly increasing.
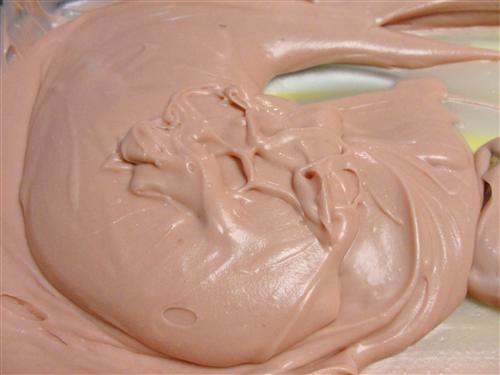
Allow it to run on high for 30 seconds.
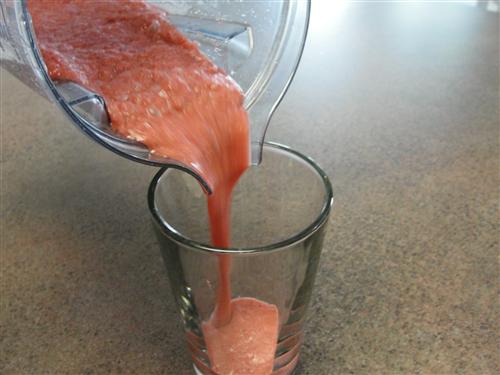
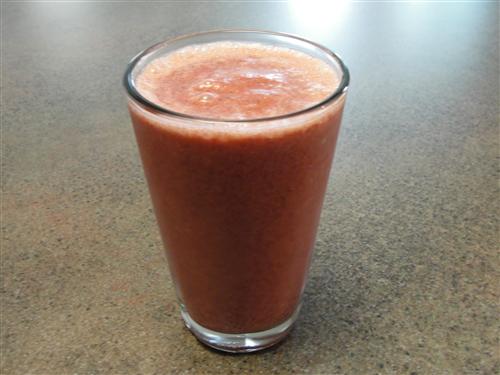
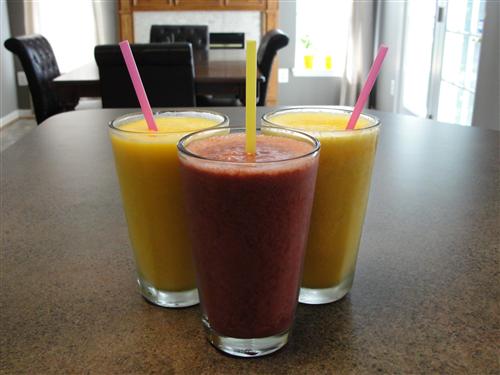
Triple berry fabulousness.
And last but not least is the tropical version.
Here’s what you’ll need:
- 1 cup fresh squeezed orange juice
- 1 Tablespoon sugar
- 1 Tablespoon cream
- ½ teaspoon vanilla
- ½ cup frozen mango
- 1 Tablespoon cream of coconut
- ½ cup ice
Same procedure as the others to start out, orange juice, sugar, cream, and vanilla into the blender.
This time, though, add a tablespoon of cream of coconut before turning on the blender.

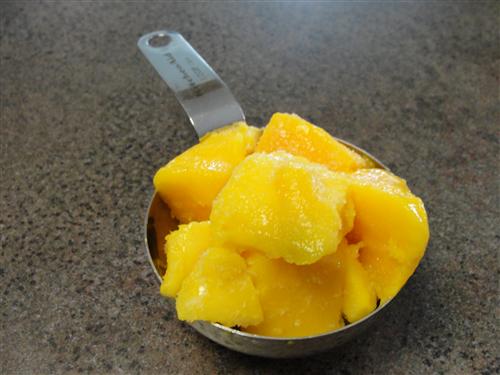
While that’s mixing for 1 minute, measure out the frozen mango.
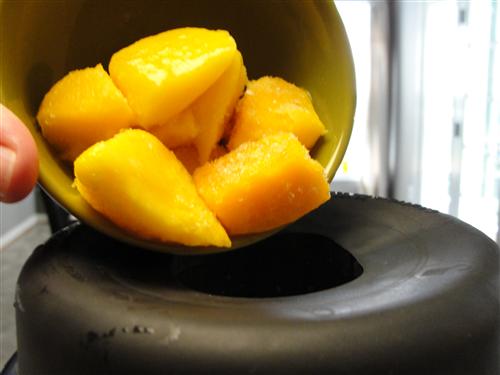
Add it to the blender.
Add the ice and let ‘er rip. Well… rip slowly at first.
After another 30 seconds on high, you’ll have smooth, tropical, deliciousness.
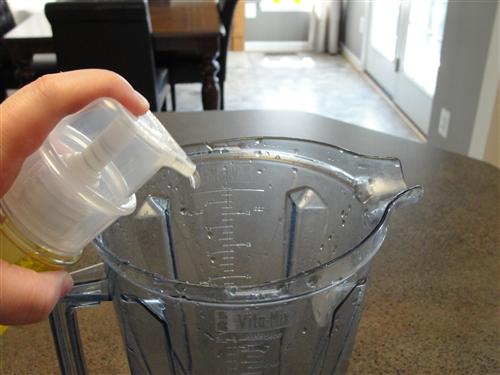
Now for a quick clean up tip. A lot of people don’t realize blenders are basically self cleaning appliances. Just squirt in a little dish soap.
Add some hot water.
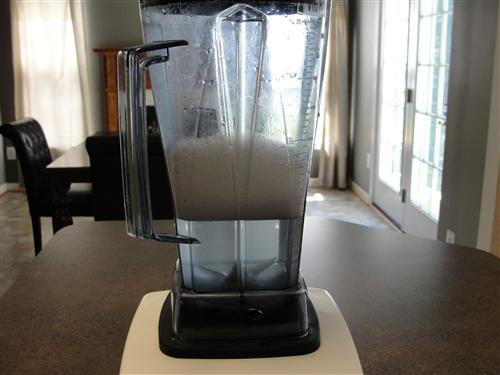
Then, turn the blender on starting at the lowest speed. Slowly increase the speed until the sudsy stuff reaches the top of the blender then leave it at that speed for 1 minute. Give it a quick rinse, and you’re done.
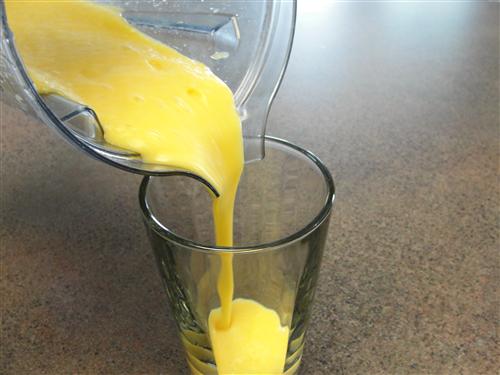
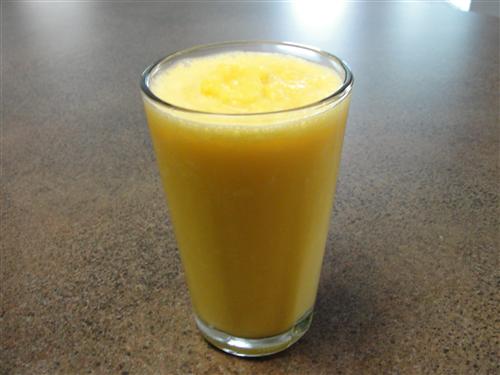
Now drop in a straw, put your feet up, and enjoy cool, fruity, refreshing bliss.
What’s your favorite “mall” treat?
Taneasha, drinks, quick and easy