Raspberry Cinnamon Rolls
 Taneasha
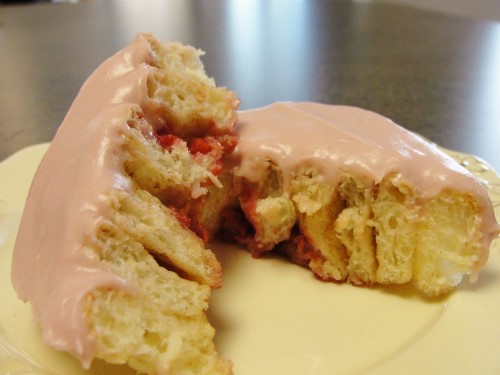
I thought for a long time about the title of this post. It’s my Valentine’s Day recipe and I thought it should be something special, but in the end, I decided Raspberry Cinnamon Rolls sound so good, there’s no need for anything else. Not convinced? What if I told you they’re topped with raspberry, cream cheese frosting? Ah, now I’ve got your attention.
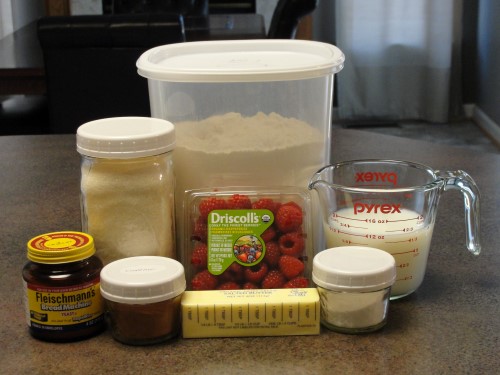
Here’s what you’ll need:
- ¾ cup milk
- ¾ cup hot water
- 3 Tablespoons butter
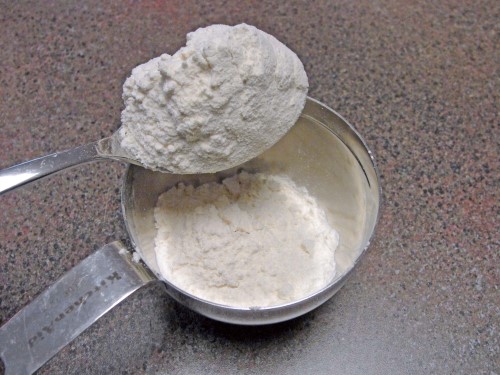
- 3 ½ cups flour
- 1 pkg yeast (2 ¼ teaspoons)
- 2 Tablespoons sugar
- ½ teaspoon salt
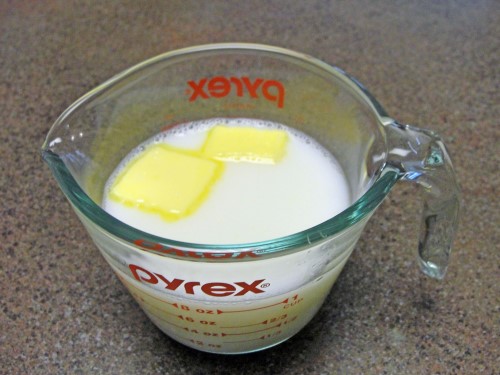
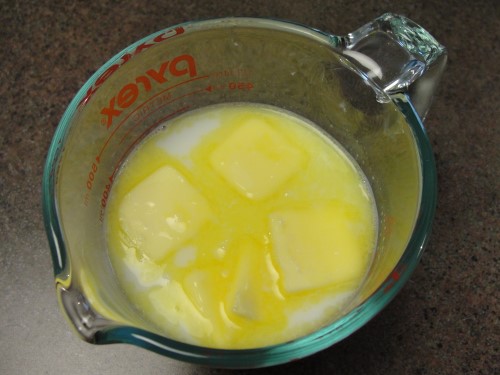
Mix together the hot water, milk, and butter. You want to end up with something warm enough to melt the butter, but not hot. Think warm bath temperature. If it’s not warm enough, just pop it into the microwave for a few seconds. Set that aside.
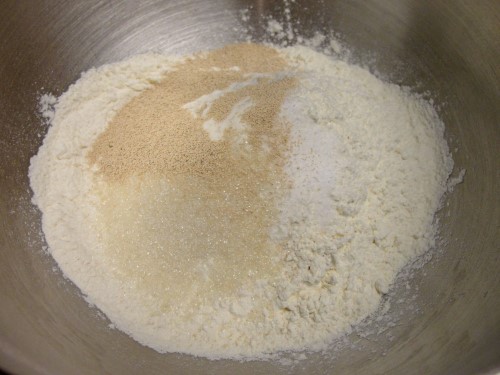
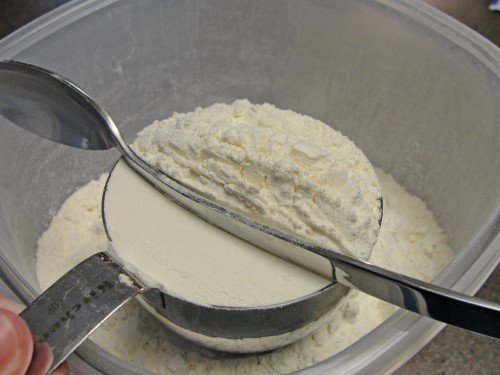
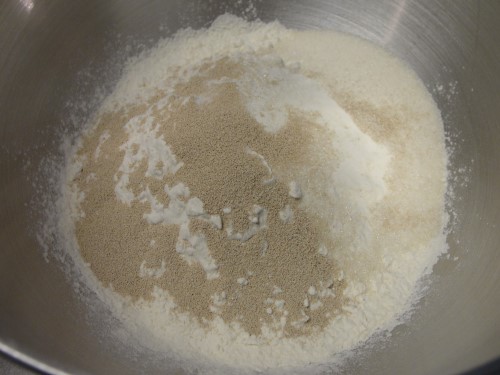
In a mixing bowl, combine the flour, sugar, salt, and yeast. Stir them to evenly distribute everything.
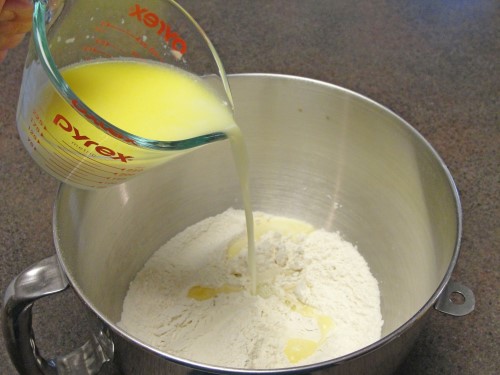
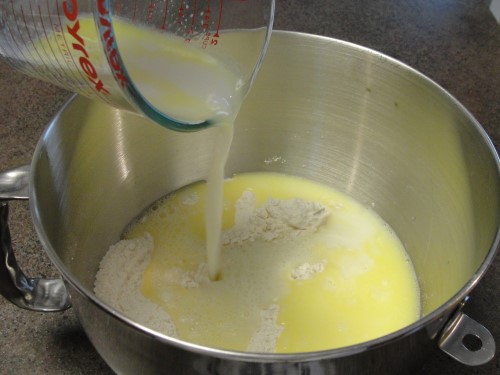
Pour in the warm milk mixture.
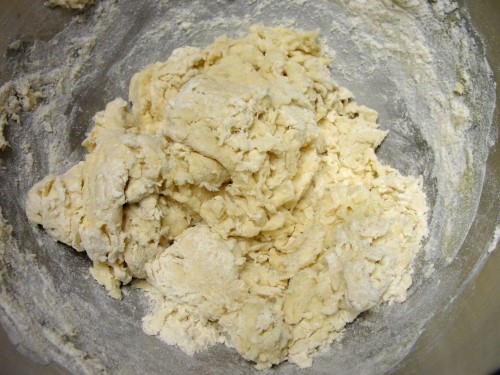
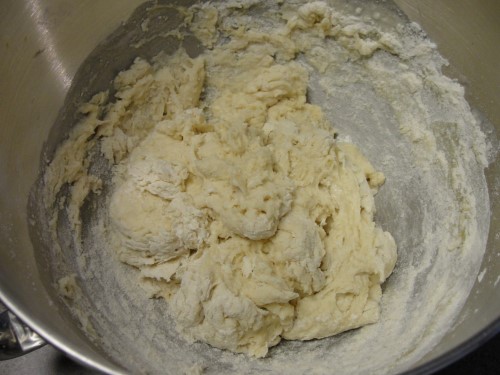
Stir until it looks something like this, and then put it on the mixer with the dough hook.
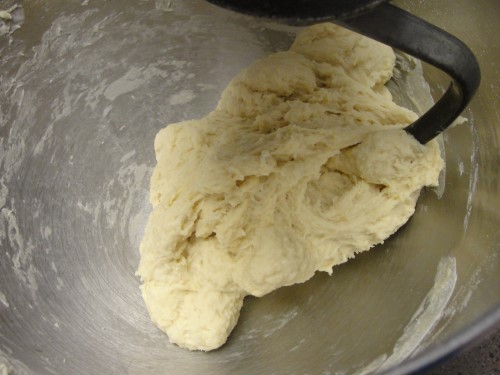
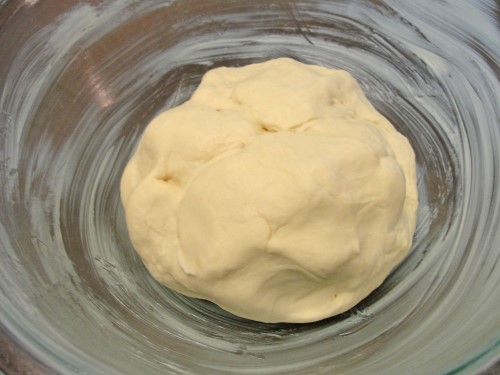
Knead for 5 – 7 minutes, until the dough is nice and smooth. The dough will be quite soft, and slightly tacky. Form it into something resembling a ball and place it into a buttered bowl. Put it top side down, then turn it and flip it over so that the whole surface gets lightly buttered from the bowl.
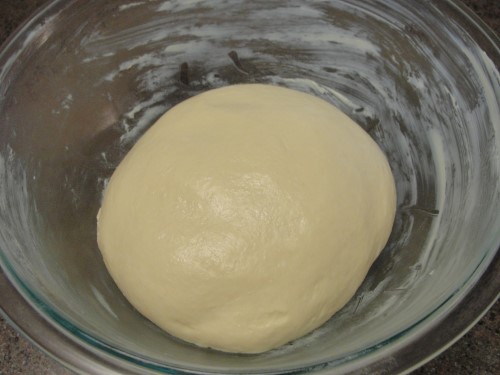
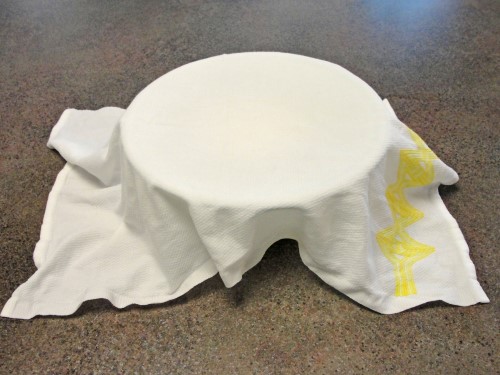
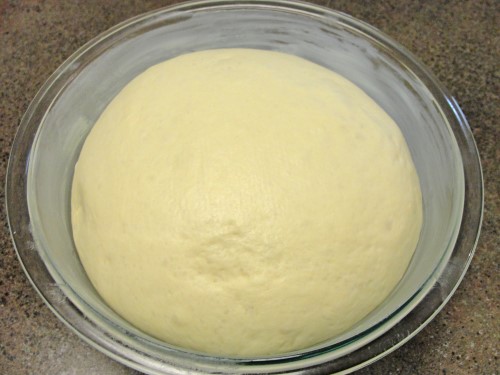
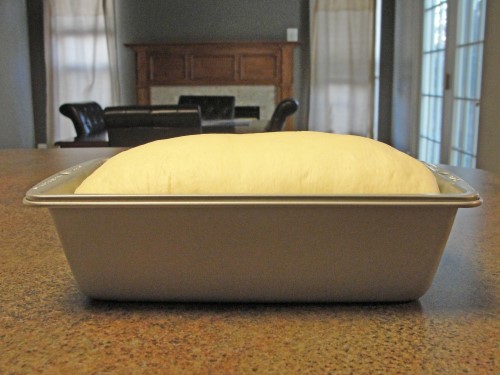
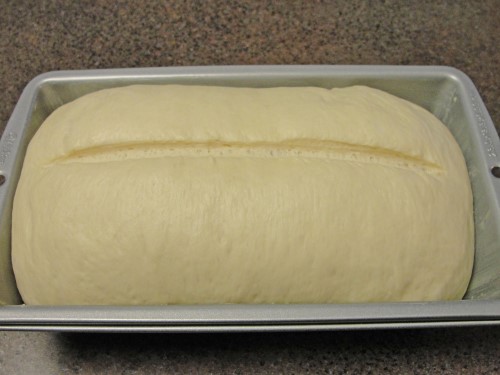
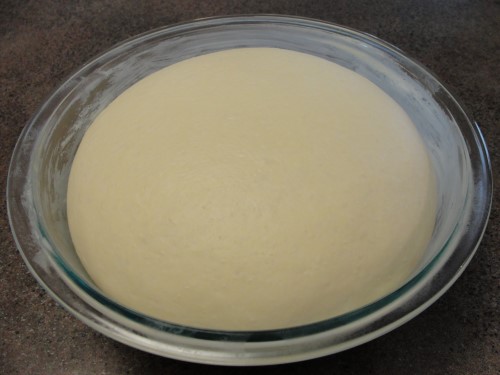
Cover with a damp towel and allow it to rise. You want it to double in size, which will probably take about an hour.
Sprinkle some flour over your work area.
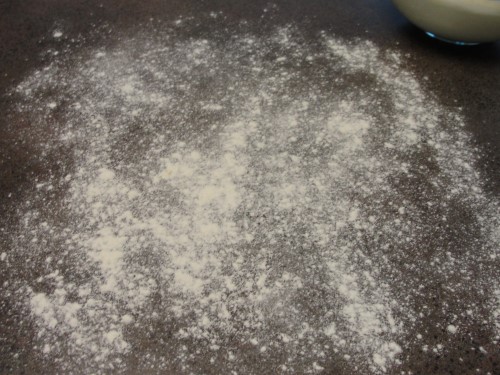
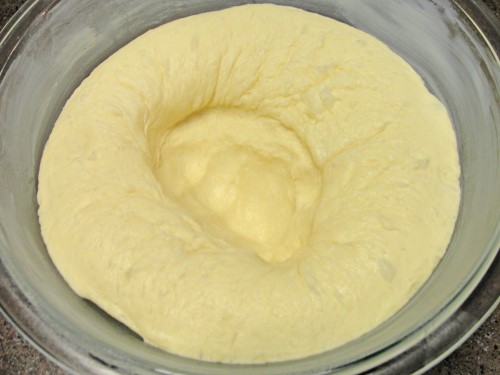
Dump out the dough and deflate it with your fingers or knuckles.
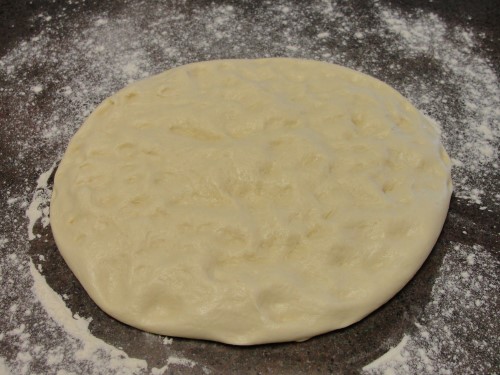
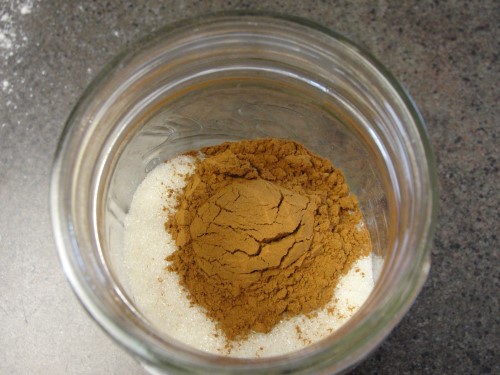
It needs a few minutes to rest before you start rolling, so while it’s doing that, measure ½ cup sugar and 2 teaspoons cinnamon into a container with a lid. Mason jars are perfect if you have one.
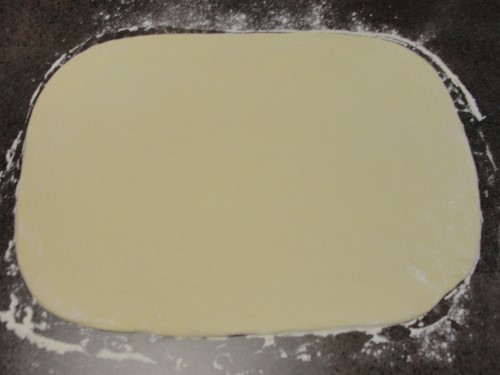
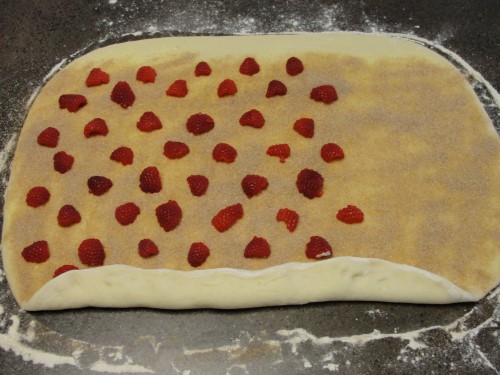
Lightly flour the top of your dough, and then roll it to about ½ inch thickness. You should have a rectangle that’s something like 18 x 14 inches.
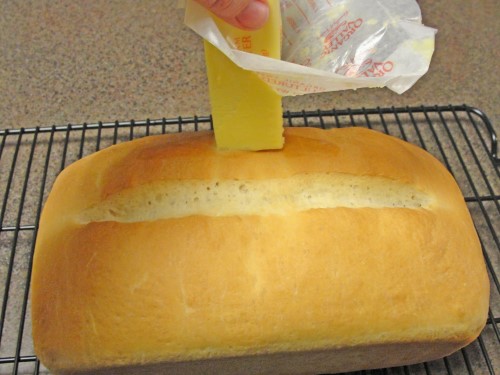
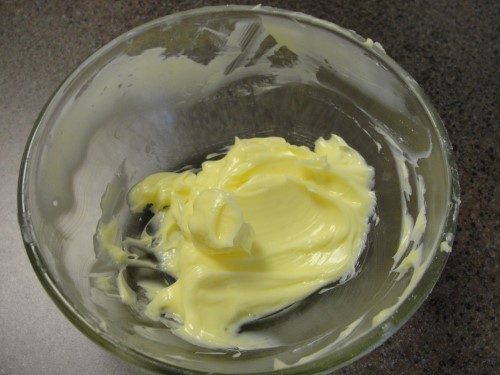
You need about 5 Tablespoons of butter. Make sure it’s nice and soft. You can probably accomplish that just by stirring it, but I actually had to throw mine into the microwave for 5 seconds. You don’t want it to be melted, though.
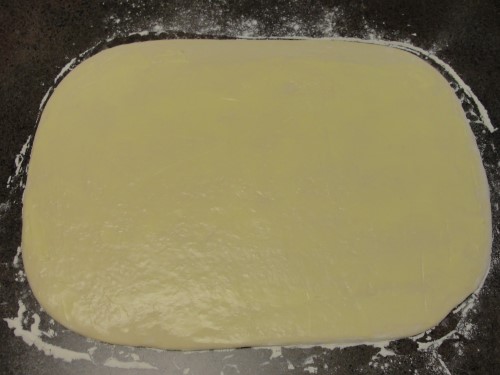
Spread a thin layer over the dough, leaving about an inch along one of the long sides bare.
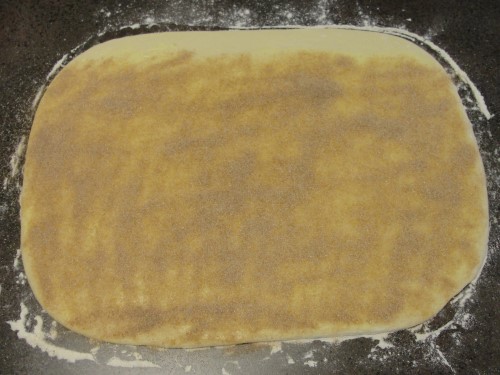
Sprinkle on the cinnamon sugar, again avoiding that last inch of dough.
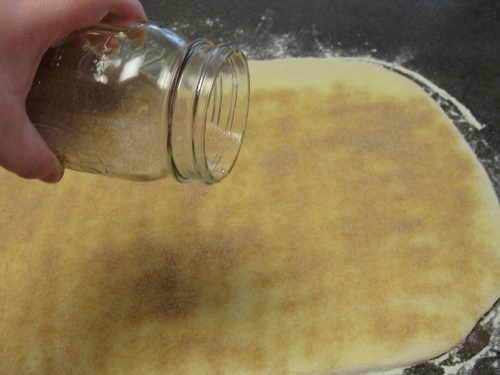
It won’t be perfect, but try to make it mostly even.
Now for the raspberries. Mine were huge, so I actually broke each one in half.
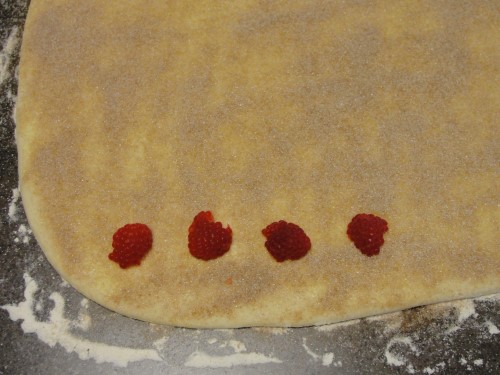
Place them on top, leaving a little space between them.
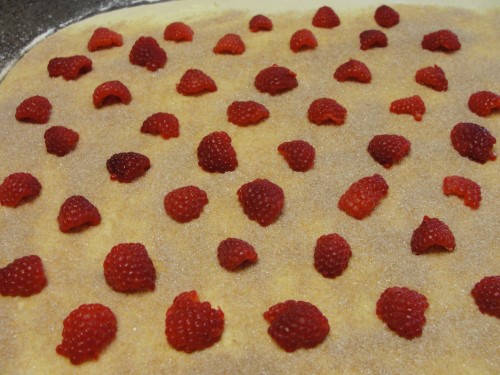
Hubby wasn’t sure about the raspberries, so I left some of mine as regular cinnamon rolls. If you have picky eaters in your house, it’s an easy thing to do. Now for the rolling. Starting with the long edge nearest your (the edge without anything on it should be furthest from you) fold the dough over the first row of raspberries.
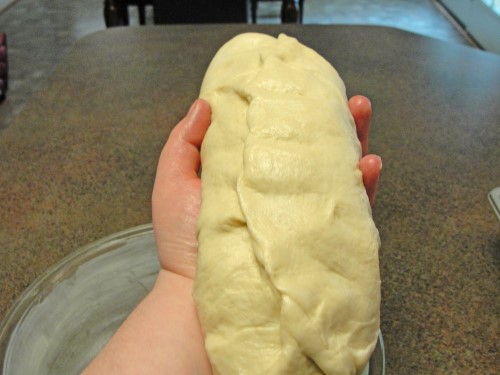
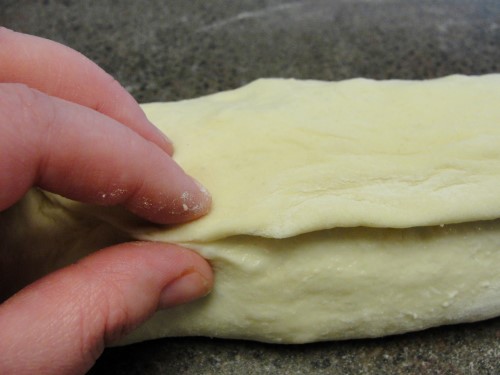
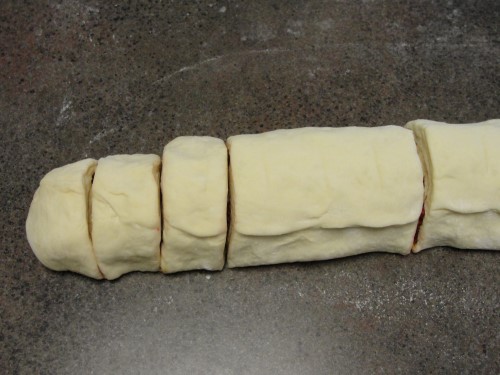
Continue to roll the dough until you have an 18 inch log. When you reach the bare edge, wet a paper towel and wipe it along dough.
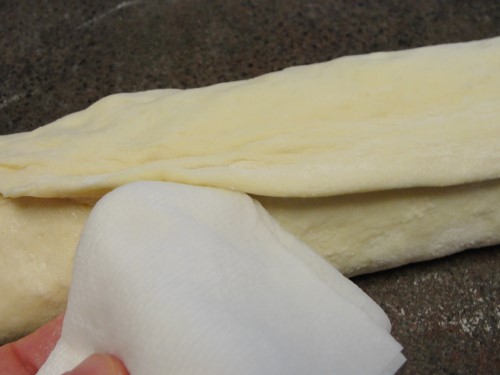
Pinch that together, sealing it to the side of the dough log.
Beautiful.
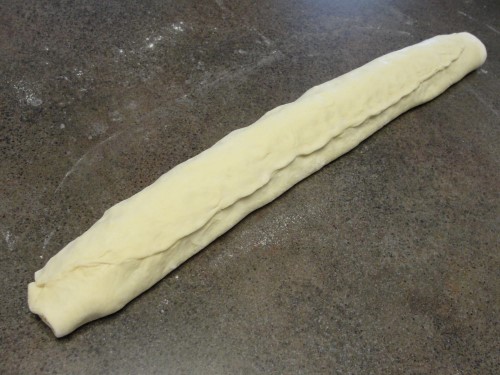
Cut the log into one inch slices.
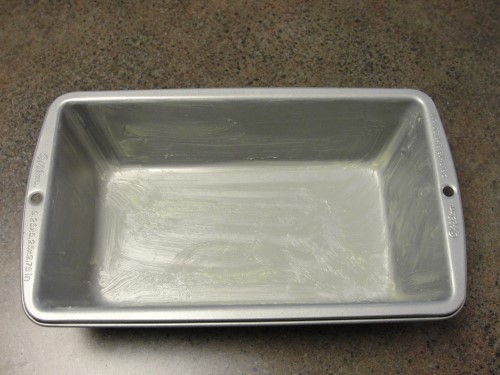
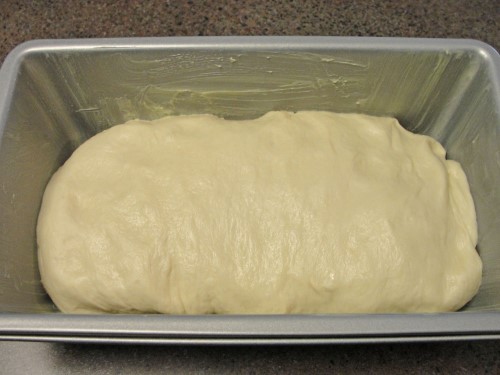
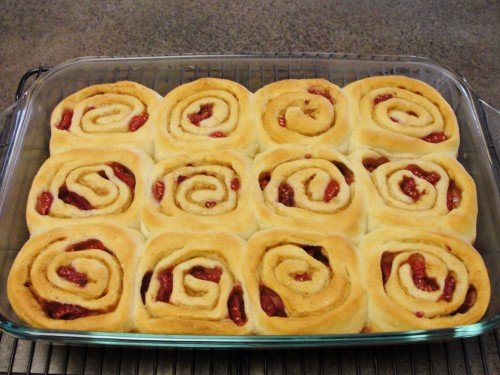
Place them into a liberally buttered pan and press down gently on the top of each one. (as you can see, there are only 12 here, I put the other 6 in another pan)

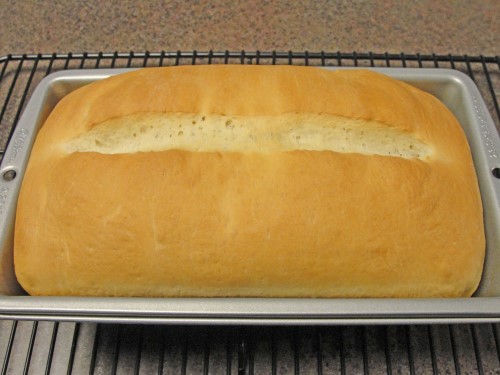
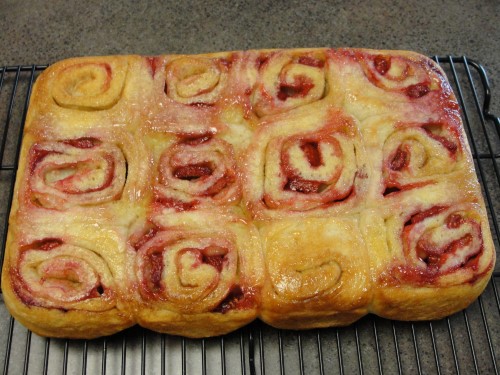
Cover them again with a damp towel. You want them to become nice and puffy and begin to press up against one another. That will probably take about 45 minutes. Somehow, I didn’t get a picture of that. I can’t even blame it on Elise, who was over visiting with me, because she reminded me repeatedly throughout the day to take pictures. What can I say? I’m scatter brained. Anyway, preheat the oven to 350°, then bake them for 30 – 35 minutes. They should be nice and golden on top.
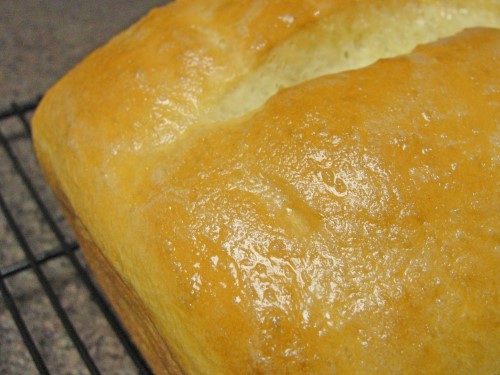
Turn them out onto a cooling rack so the melted sugary goodness on the bottom doesn’t glue them to the pan.
Now for the delectable raspberry, cream cheese frosting.
Here’s what you’ll need:
- 1 ½ cups raspberries
- 8 ounces cream cheese
- 4 Tablespoons butter
- 1 teaspoon vanilla
- ⅛ teaspoon salt
- 2 ½ - 3 cups powdered sugar
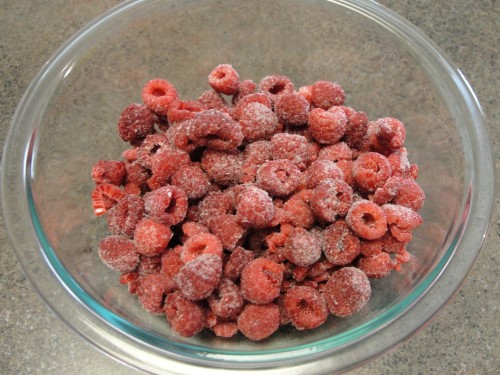
Pour some raspberries into a microwave safe bowl. I poured in a whole bag, but it was more than I needed in the end, so I’d say about 1 ½ cups of berries should be plenty. You can use either fresh or frozen for this.
Cover with plastic wrap and then poke a couple of holes in the top.
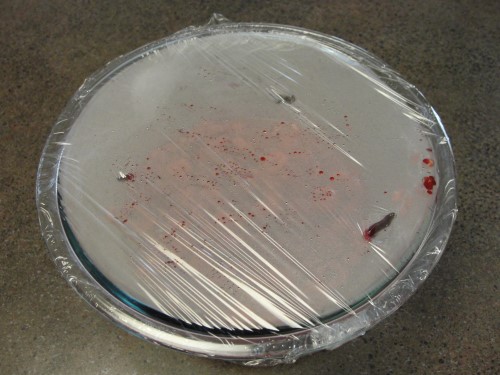
Microwave until the berries are nice and hot. Mine took something like 90 seconds, but just watch them.
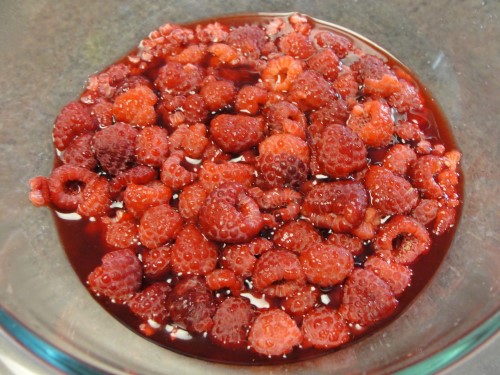
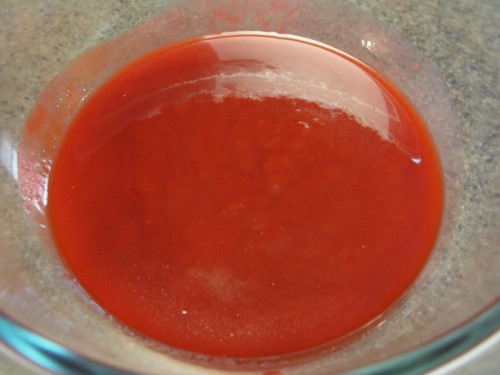
When they’re nice and soft and juicy, pour them into a mesh strainer set atop a saucepan or some other vessel. Using a spoon or silicone spatula, stir and press them, forcing the juice through the strainer.
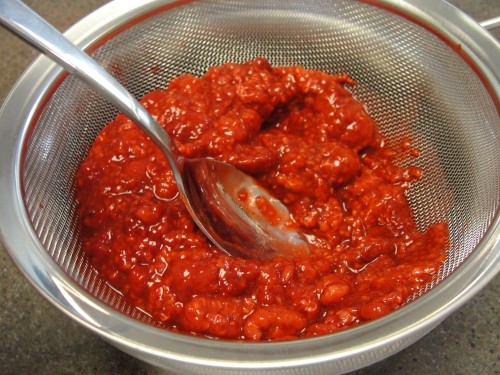
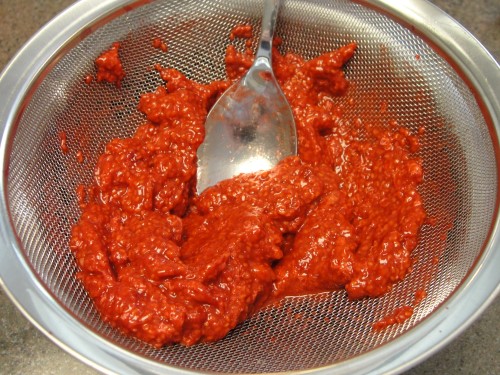
Continue working with it until the raspberries become quite thick and most of the juice is in the pan below. Discard what’s left in the strainer.
Place the raspberry sauce (the technical name is a coulis [pronounced koo-lee], if you’re interested) in a pan over medium-low heat. Stirring constantly, bring it to a simmer. If you start to get foam on top, throw in a small piece of butter.
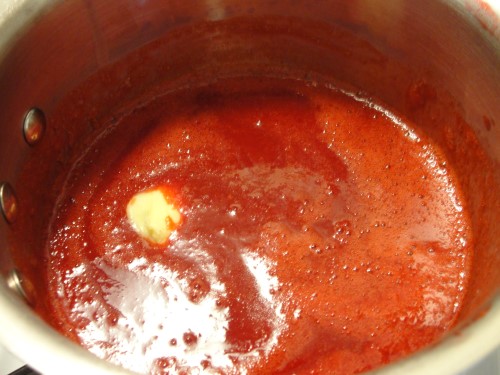
Continue to simmer and stir until it has reduced by about half and has a syrupy consistency.
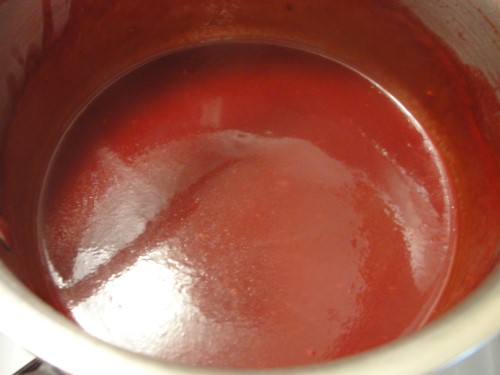
A few seeds managed to sneak through the first strainer, so I poured it through an even finer mesh at this point.

See, nice and smooth. Set it aside to cool.
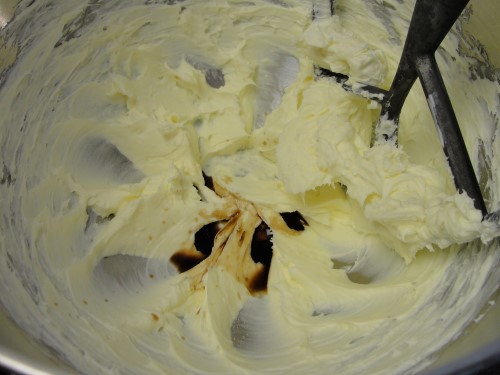
Put the cream cheese and butter into a mixing bowl. Make sure they’re room temperature.
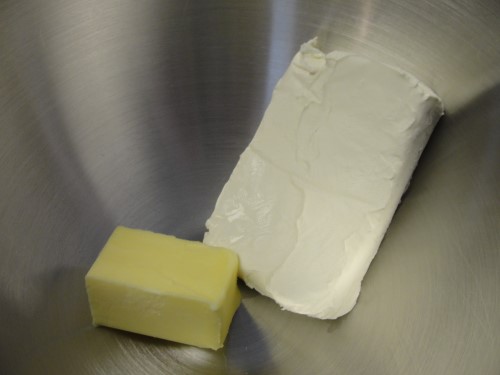
Beat them until they’re nice and soft and well combined, then add the vanilla and salt.
Mix, then scrape everything down, and mix again. Sift in the powdered sugar 1 cup at a time.
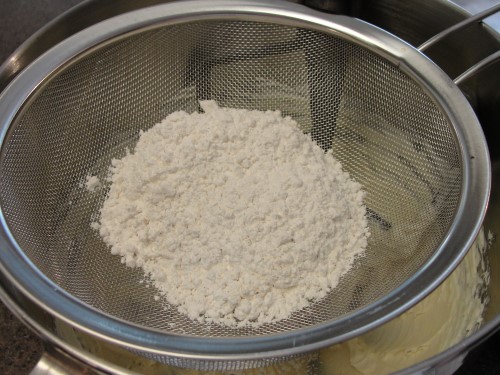
Frequently scrape down the sides of the bowl, and continue until you’ve added 2 ½ cups of powdered sugar. Add 2 Tablespoons of the reduced raspberry stuff. Make sure it’s no longer warm.
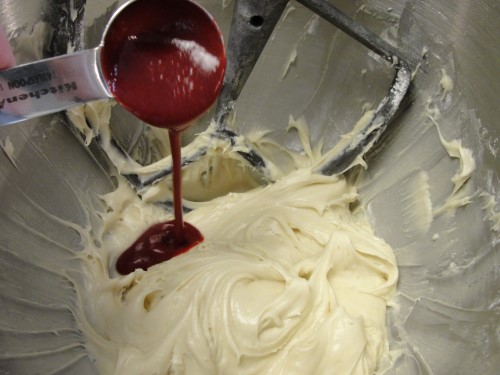
When that is incorporated, taste the frosting and check its consistency. Mine needed an additional ½ cup of powdered sugar. It doesn’t need to be stiff like a buttercream for cake, but you don’t want it too runny either. Look at that gorgeous color!

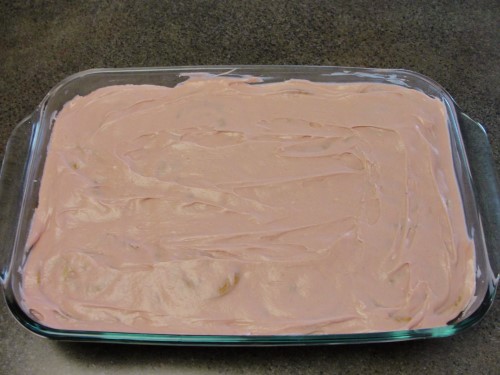
Turn the cinnamon rolls back into pan they were baked in and cut them apart.

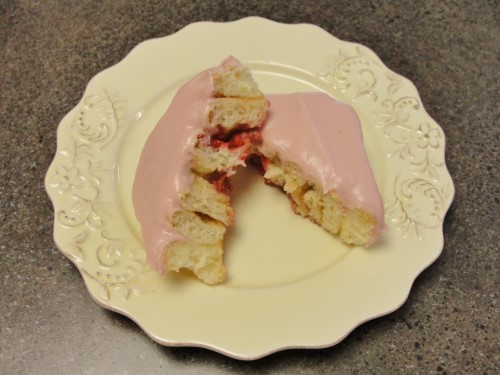
Now slather on lot of raspberry, cream cheese goodness. Yeah, I’ll never understand people who drizzle a tiny bit of icing on a cinnamon roll. They’re meant to be gooey and sticky and messy.
There you have it. You will be blown away by how amazing these are. Once again, homemade beats any box of chocolates or store bought treat.
What do you do for Valentine’s Day?