Oh Fudgy Fudge, Oh Fudgy Fudge
 Taneasha
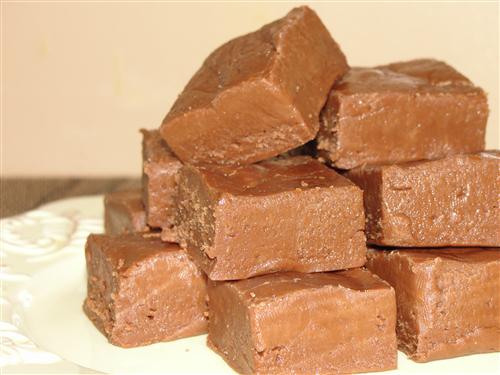
Hubby and I don’t really do a lot of gifts or decorations, so in my house, nothing makes it feel more like the holidays than the aroma of homemade candy filling the house. One of my favorites is fudge. I don’t mean the sweetened condensed milk and melted chocolate “easy fudge”. I’m talking about rich, creamy fudge, made with sugar, butter, cream, and love. Yes, love. Trust me, it’s a very important ingredient for good fudge. It takes a fair bit of time, as well, so let’s get started.
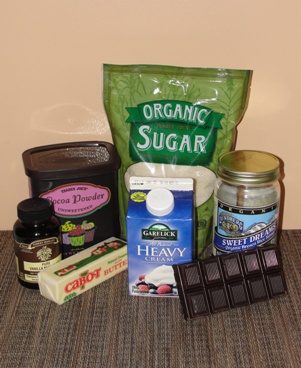
Here’s what you’ll need:
3 cups sugar
1 Tablespoon cocoa
½ teaspoon salt
3 Tablespoons syrup
1 cup half and half
6 Tablespoons butter
4 oz. good chocolate
1 teaspoon vanilla
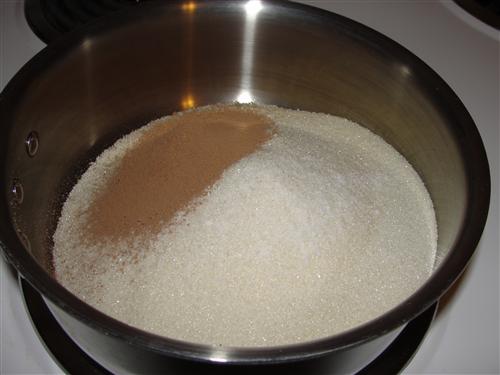
The first thing you need to do is butter a 9x13 pyrex pan and set it aside, on top of hot pads or a folded dish towel. Next, chop up your chocolate fairly small, and set it aside as well. In a heavy sauce pan (at least 3 quarts or larger), put your sugar, cocoa, and salt.
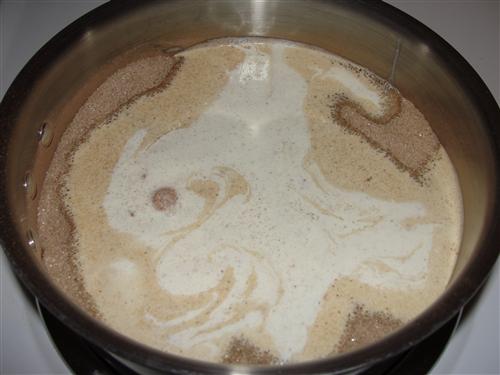
Whisk them together and pour in the half and half (I know the picture shows heavy cream, but I decided half and half would actually work better) and syrup. I used brown rice syrup, but I realize a lot of people don’t have that on hand, so you can use golden syrup or corn syrup. Turn your heat to medium low
Stir that until it’s all combined nicely and add the chocolate.
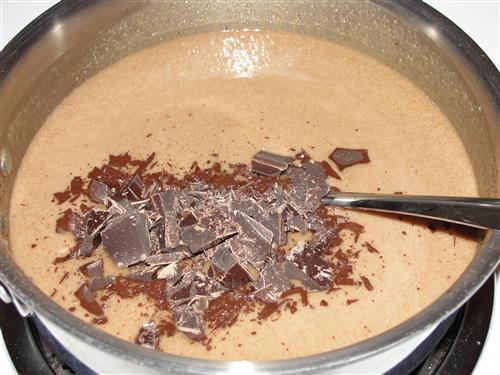
As the chocolate melts, the mixture will turn a much better color for fudge.
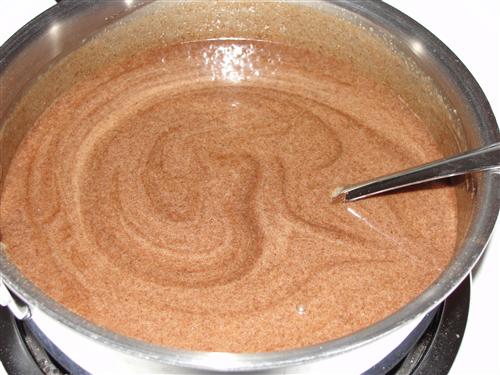
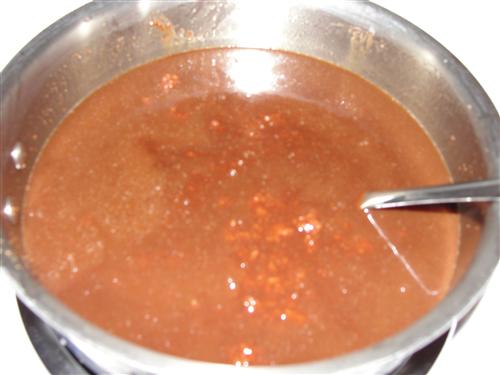
Keep stirring the mixture. You want the sugar to dissolve before it comes to a boil, so don’t rush it. See all of those crystals?
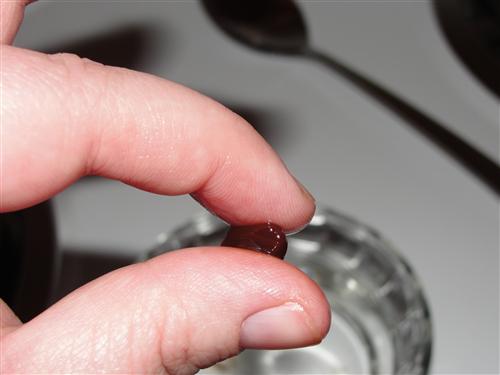
Crystals are evil. They will make your fudge grainy, rather than creamy and smooth. When you no longer see crystals on the spoon or hear them on the bottom of the pan, turn the heat to medium high and keep stirring until the mixture comes to a boil. When it reaches a boil, stop stirring and place the lid on for 3 minutes. During that time, wash your spoon to make sure it has no crystals on it. When the 3 minutes are up, remove the lid, but don’t stir. All the crystals from the sides of the pan should have been washed down by the steam. Time to start checking for temperature. As I’ve mentioned before, I don’t use a candy thermometer. I prefer to just test the consistency in ice water. Put your clean spoon into the mixture and get just a bit on it.
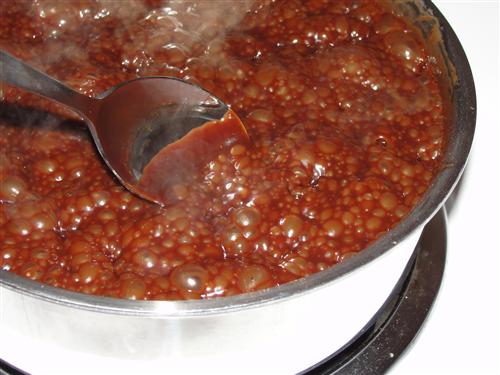
As you can see from the picture, my 2 ½ quart pan was not big enough to really be safe. Make sure yours is bigger than that. Anyway, back to testing. Drop a bit of the candy into a small dish of ice water.

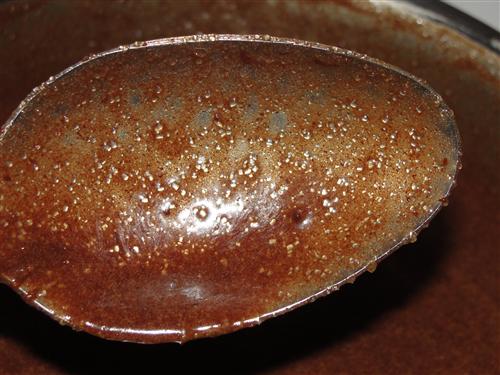
When you pick it up with your fingers, it should just form a ball, but be nice and soft still. This is also a good time to rub it between you fingers and make sure it's smooth.
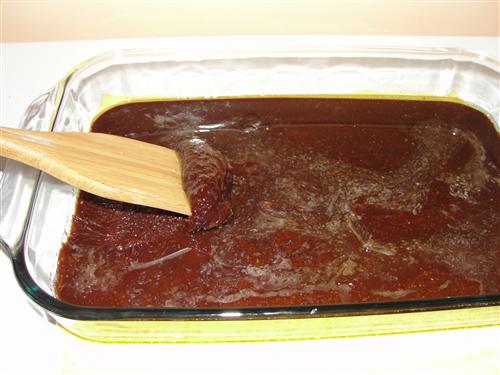
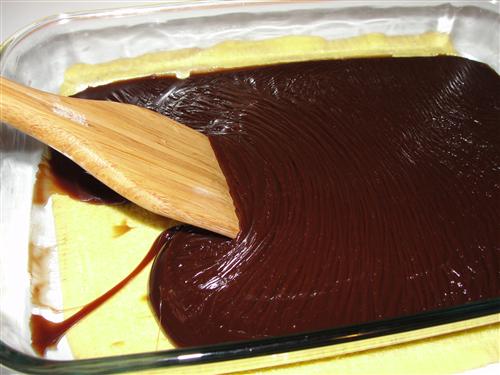
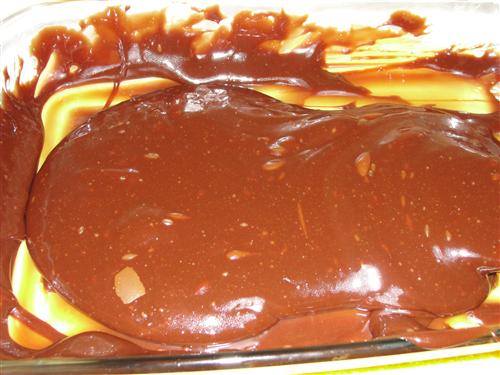
When you get to that point, get it off the heat and pour it into your prepared pyrex pan. This is why the pan needs to be on hot pads. This mixture is HOT! (Ignore the butter in this picture. This is where I’ve always added the butter, but yours is already in. I’ll explain later.)
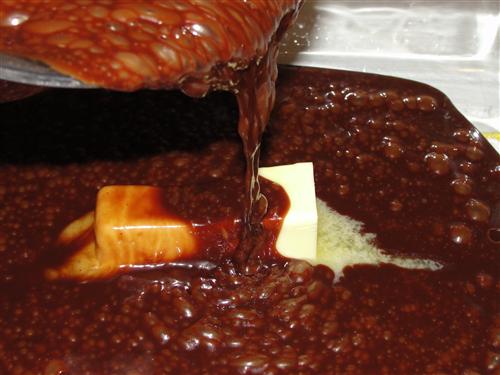 There will be a layer of chocolaty goodness in the bottom of the pan, but resist the urge to scrape it out, lest you bring unwanted crystals with it. You can scrape it out later if you want, and it'll taste a bit like a tootsie roll.
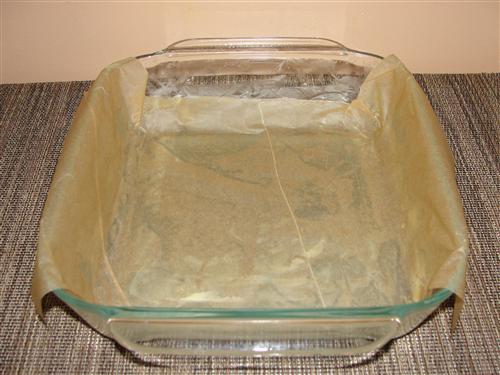
Now, leave it to cool, undisturbed. It needs to get to the point where the bottom of the pan is still warm, but not too hot to keep your hand against it. That will probably take 30 minutes or so. Just check periodically by picking up the pan and feeling the bottom. I know, not terribly scientific, but that’s how I roll. While it’s cooling, go ahead and prep the pan it’s going to end up in. A square pan works well for this. Butter the bottom and sides.
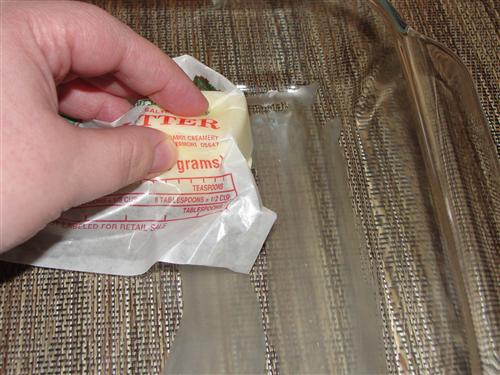
Then line with parchment, cutting it large enough that you’ll have ‘handles’. The butter is there to keep the parchment in place for you.
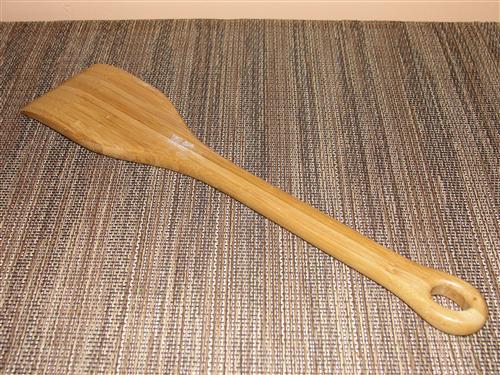
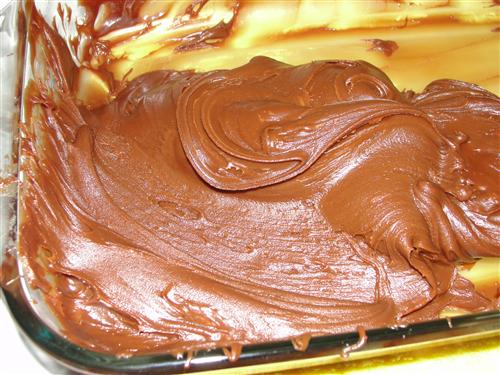
When your fudge mixture is to the proper temperature, it’s time to start stirring. If you have a tool like this, it is ideal for this purpose.
Place the pan on top of a damp dish towel to keep it from moving around. Pour your vanilla over the top and then start at the edge and scrape toward the middle.
Oh dear. That’s not good. If, in spite of your exhaustive efforts, you have a grainy mess like me, don’t panic. These things happen, even to the best of us.

Scrape the mess, butter, vanilla, and all, back into your (now clean) sauce pan with ½ cup of water and start the cooking process over.
I had trouble getting all the lumps to dissolve, so I eventually put it through a mesh strainer and back into the (clean again) sauce pan. Go through the same cooking process, stirring it until it boils, covering, and then testing for temperature in water again. Make sure you’ve washed your pyrex pan and rebuttered it, and pour your mixture in to cool again. So, as I mentioned earlier, I used to always place the 6 T of butter in the pan and pour the hot mixture over it. This is when I realized it was much easier to just put the butter in with everything else, and it certainly didn’t cause any problems.
So, while it was cooling, a package was delivered. It was my Christmas gift from my mom. Me being me, I didn't wait to open it. After much confusion as to what was in the box, I eventually figured out it was bottles of homemade salsa, jam, and pickles. Squee!!
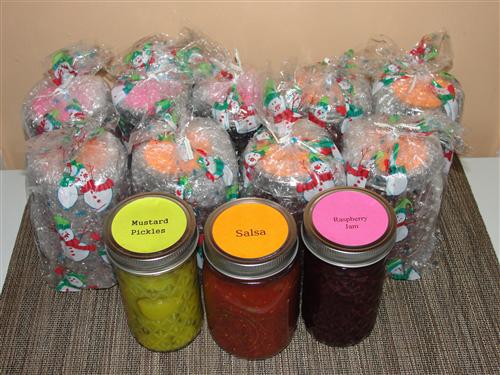
That might not sound terribly exciting to you, but it was a happy dance moment for me. Bottling is something I do with my mom every year. Because of my move, not only was I unable to do it with her, but I was living in hotels and other craziness, so I couldn’t even bottle my own stuff. I didn’t think I’d get to enjoy a bottle of homemade salsa or jam until summer. Admittedly, I may have shed a few tears after my happy dance, as I experienced my first truly homesick moment. I miss you, Mom. Thank you.
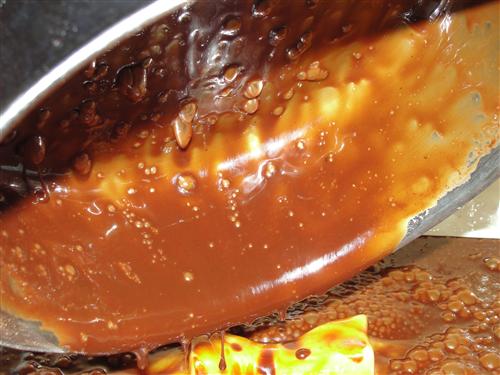
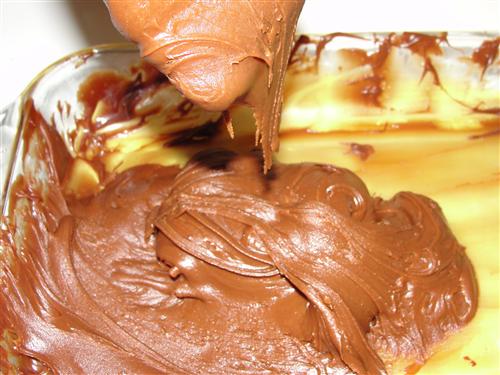
Ok, *deep breath* back to the fudge. Even if you already added vanilla once, the flavor will have mostly cooked out, so go ahead and add it again. Make sure your stirring tool is clean, and scrape from the edges into the middle.
Ah, much better! It should be smooth and sticky, and it’ll kind of run in ribbons.

Stir, scrape, stir, scrape. After a few minutes, you’re going to say, “That Taneasha chick is up in the night. This is not fudge.” But slowly it will become more opaque and less shiny. Keep stirring.
At this point, you’ll start getting excited. “I think it’s going!” But keep stirring.

And next comes, “It’s fudgifying!!” By now your arm is probably really tired, unless you have someone to relieve you from time to time, but push through it. You’re almost there. If you want nuts, marshmallows, chocolate chips, etc. in your fudge, now's the time to add them.
Houston, we have fudge!
Definitely opaque, very stiff, and no longer stretchy or sticky. See?
Glop it into your lined pan.
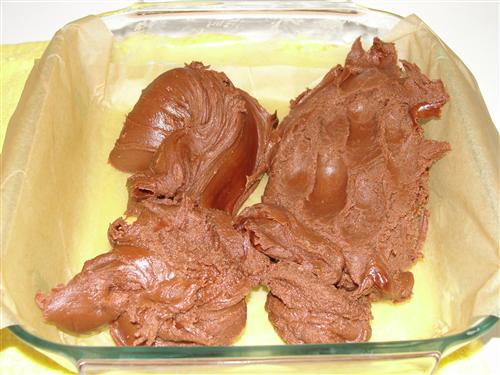
Unlike when pouring the hot liquid, this time you want to scrape every last bit of it from the pan. (Except for a small sample for yourself, of course.) Press it down with your fingers or a spatula so that it’s smooth-ish across the top.

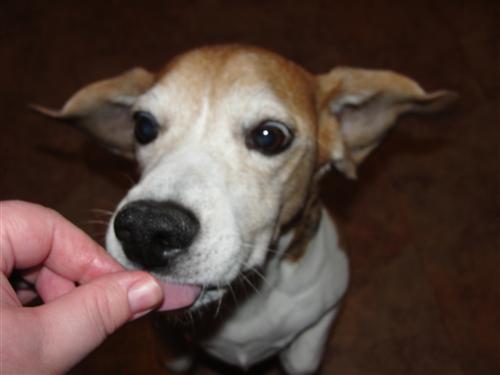
I had to share a taste of my sample with my little spectator because he was so good. It’s got to be torture for a hound to smell food cooking for hours. I mean, he can smell a cat walking by outside on the sidewalk while he lies on the couch with all the windows and doors shut.
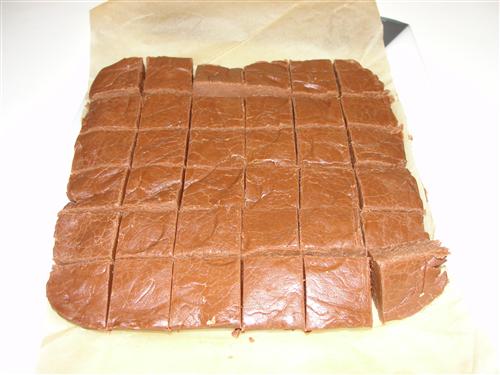
Now, walk away from your fudge and allow it to just sit, uncovered for a few hours. Not easy, but you’ll be busy licking the other pan and spatula clean for a while. When you’re ready, carefully pull the whole thing out of the pan using the parchment ‘handles’, and place it on a cutting board. Then, with a pizza cutter or a large knife, cut it into squares. This fudge is really rich, so you don’t want them to be brownie sized.
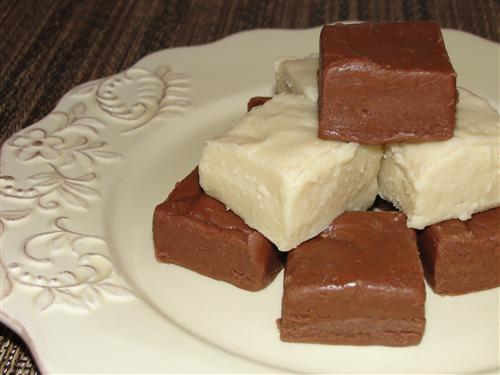
Since I was giving my fudge as a gift, I decided to make vanilla, as well. Fudge is really versatile. Want ‘nutella’ fudge? Add hazelnut extract or Frangelico. Want vanilla fudge? Leave out the chocolate and add extra vanilla extract. Want penuche? Leave out the chocolate and replace the sugar with brown sugar. Be creative. You can make chocolate orange, almond, peppermint, irish cream, you name it.
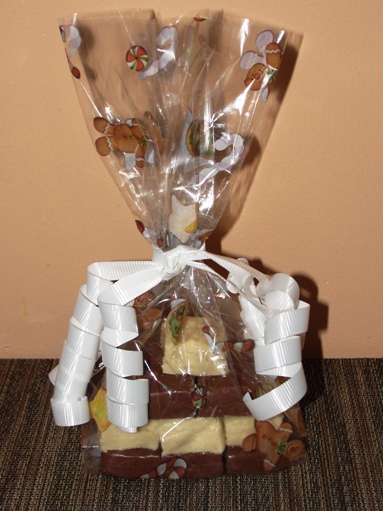
Homemade gifts are inexpensive, but very appreciated gifts. Just stack up your fudge varieties inside a cellophane bag and tie it with ribbon. How pretty is that?
Just make sure you make plenty for yourself, because I guarantee, if done correctly, using high quality ingredients, this will be better than any fudge you've ever tasted. Even stuff you pay $20/pound for, or more.
What is your favorite homemade gift to give or receive?
Taneasha, dessert, holiday, snack 


