The Best Raspberry Cheesecake Ever!
 Taneasha
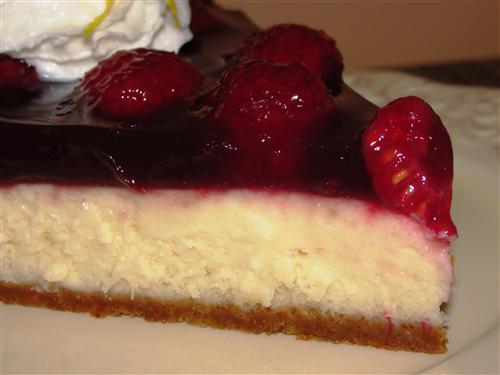
So, this probably isn’t exactly the picture that comes to mind when someone says the word cheesecake, but this is the cheesecake from my childhood. It was a rare treat we’d usually only get during raspberry season, but it's always been one of my favorite things. I’ve tasted different varieties of cheesecake from all kinds of restaurants, even including the Cheesecake Factory, but none of them was ever as good as Mom’s. Now I’m going to show you how to make it.
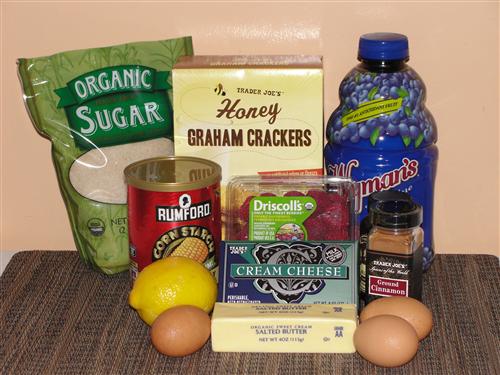
Here’s what you’ll need:
Crust:
13 graham crackers
1 Tablespoon sugar
½ teaspoon cinnamon
½ cup butter
Cheesecake:
12 oz. cream cheese
¾ cup sugar
1 ½ Tablespoons lemon juice
2 teaspoons vanilla
3 eggs
Fruit topping:
1 ½ cups juice
2 Tablespoons corn starch
½ cup sugar
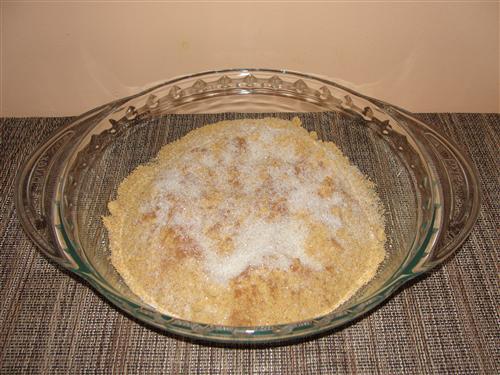
First up, the crust. Melt one stick of butter and set it aside. Then, in a food processor or blender, grind the graham crackers into very fine crumbs. Pour them into a 9 inch pie pan and sprinkle on the cinnamon and sugar.
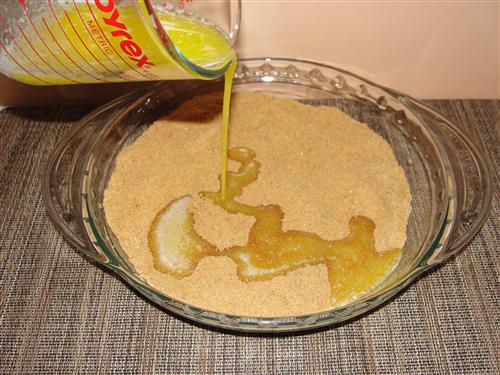
Mix those ingredients together and pour on your butter.
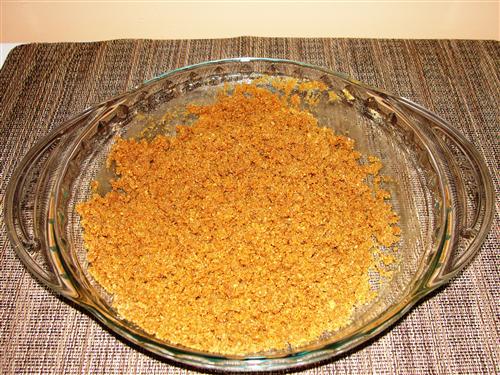
With a fork, stir the crumbs and butter together until you get something that resembles wet sand.
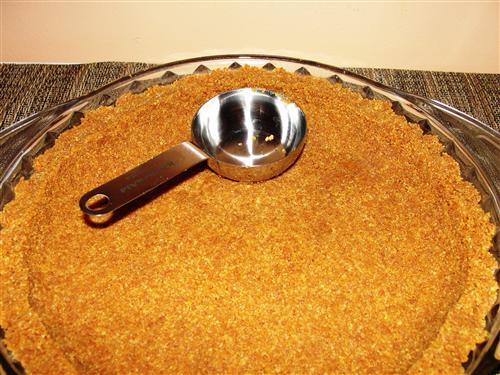
Now, spread the crumbs evenly in the pan, and press them into shape. I used a small measuring cup, which has a flat bottom and is the basic shape I want for the edges as well. If you don’t have measuring cups like these, be creative. I’m sure you can find the perfect tool somewhere in your kitchen.
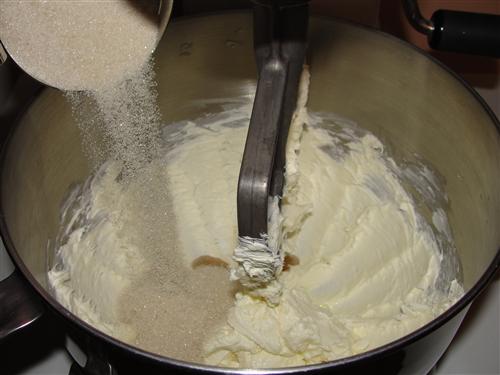
Now, place the crust in the fridge and preheat your oven to 325°. It’s best if all the ingredients for the filling are at room temperature, so pull them out several hours ahead, or even the night before will be fine. Put the cream cheese in a bowl and mix until it’s nice and smooth. Then, add the lemon juice, vanilla, and sugar.
Mix those together, and you’ll end up with something like this.

As evidenced by the glops of unincorporated cream cheese, this bowl and beater need to be scraped down.
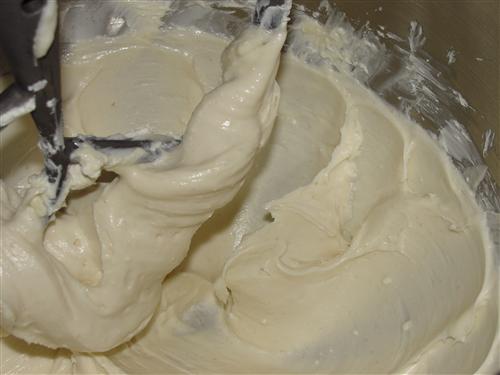
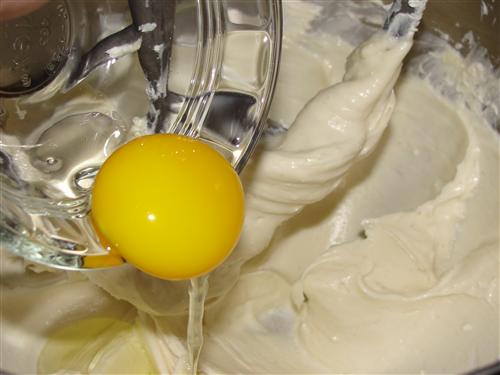
Ah, that’s much better. You’ll want to scrape down the sides and bottom of the bowl, along with the beater, several times throughout this process. So, where were we? Oh yes, time for the eggs. I like to crack mine into a separate little dish and add them from there. Not only does it give you a chance to pick out shells if you get them, but it’s also the perfect place to pick the white goobers off of the yolk. Yes, my mom assures me that goobers is in fact, the scientific term for those things. And yes, I do remove them from every egg I use. You all were starting to wonder where I get these magical eggs that don’t have goobers, but really, it’s just a bit of my OCD showing. Now that we’ve covered that, add your eggs, one at a time, to the mixture. Make sure each one is fully incorporated before adding the next.
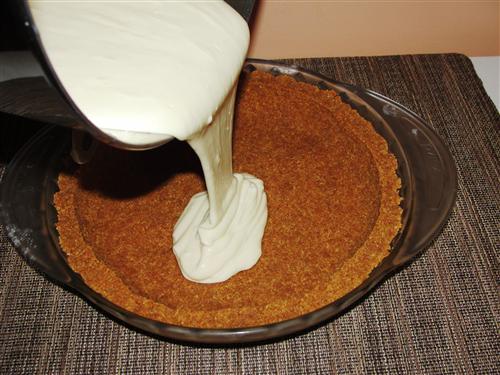
Scrape and mix a few times until everything is nice a smooth, then pull out your pie crust and pour in the cheesecake mixture.
Pop it into the oven and bake for 40 minutes. There will still be a bit of jiggle factor when you remove it from the oven, but it should all move the same. If the center is softer, give it a few more minutes of cooking time.
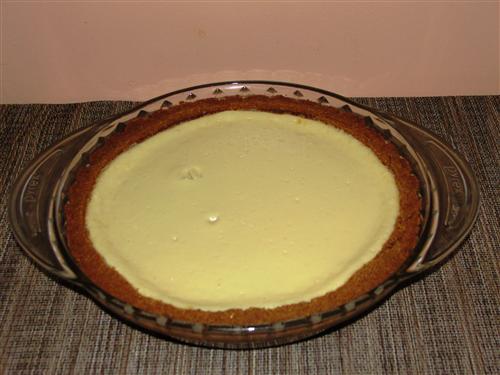
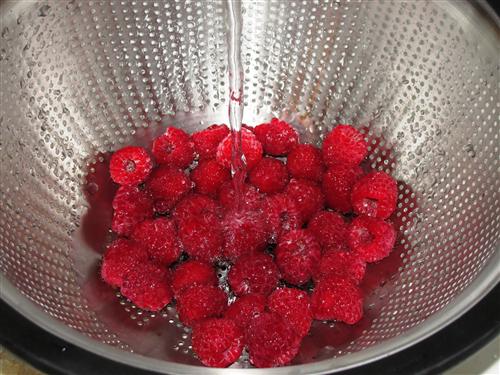
As you can see, mine had a couple big air bubbles, but not to worry. Those will be completely covered soon enough. For now, leave it to cool for an hour or so before starting on the fruit topping. If it doesn’t have time to cool down, the steam it gives off during that process will cause the cheesecake and fruit topping to separate. For the filling, the first thing you need to do is wash your berries. I don’t know how many times I’ve seen tv chefs just open the container and dump them in. Personally, I’d like to get rid of as many bugs as possible. Be gentle, though. Raspberries are fragile.
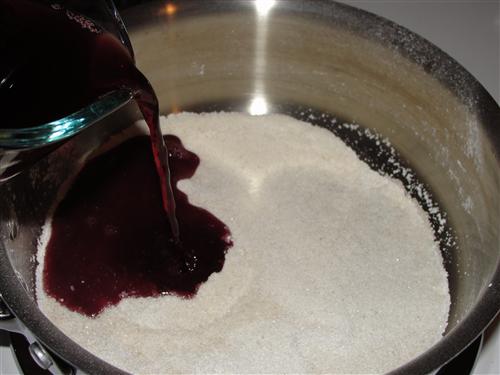
Now for the sauce. Put your sugar and cornstarch in a pan and whisk them together. This ensures you won’t have any lumps of cornstarch.

Pour in your juice and turn the heat to medium. I used a mixed berry juice. You can use whatever flavor you like, but the closer you can get to raspberry, the better.
Stir, making sure you get all the way into the corners of your pan, so you don’t miss any of the cornstarch. Keep stirring until the mixture just comes to a boil, then turn off the heat. Add the raspberries and stir gently.
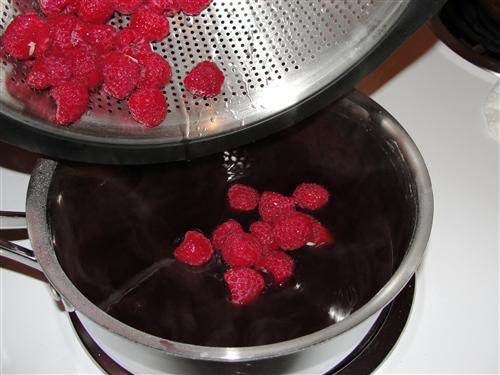
Let the mixture sit for a few minutes to give the raspberries a chance to give off whatever liquid they’re going to, then stir it once more, and pour it over the top of your cheesecake.
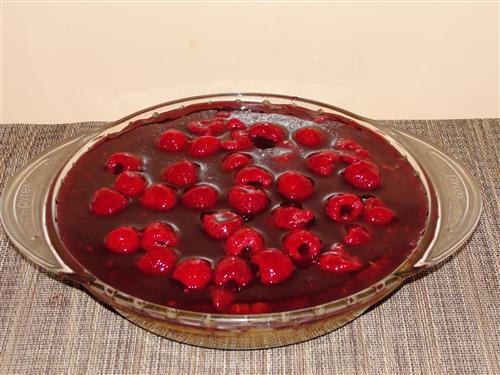
Place the whole thing in the fridge and allow it to chill for several hours. Don’t rush it. For me, it’s best to do this right before bed.
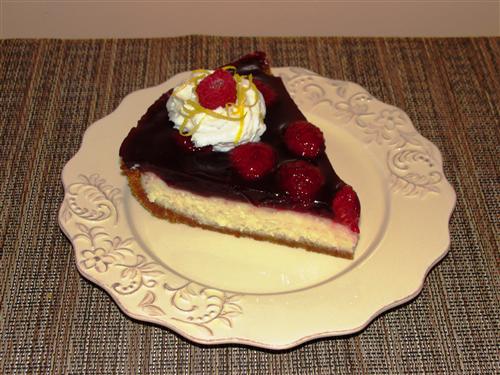
Mmmmmm. Cheesecake for breakfast. What? It’s fruit and cheese and… ok, it’s cheesecake, but it’s fabulous, whenever you eat it.