Search
Categories
Have a request?
This form does not yet contain any fields.


    Entries in cheesy goodness (30)

    Friday
    Mar112011

    Tacos in Pasta Shells

    Ok, let’s be honest here, this isn’t the prettiest food ever made.  What it lacks in beauty, however, it more than makes up for in flavor.  I don’t know if I can say for certain that this is my husband’s favorite meal I make, but it’s definitely top three. 

    Unfortunately, I can’t take credit for this fabulous creation, and I have no idea who to give credit to for it.  I got the recipe from my sister-in-law, who got it from a church cookbook, I believe.  I have made very few changes to the original I was given, so a big thanks to whomever the original creator may have been. 

    Alright, let’s get started.  Here’s what you’ll need:


    1.25 Pounds lean ground beef

    8 oz. cream cheese

    5-6 green onions

    1 Large bottle of Taco Sauce

    3 cups grated cheese (I used Colby jack and extra sharp cheddar)

    1 box Jumbo Shells Pasta

    3 cups broken corn chips


    I forgot to include the ground beef in the picture of ingredients (I'll probably do that a lot), but here it is. 


    Chop the green onions and throw them into a bowl with the cream cheese.  Set them aside for now. 


    Brown the ground beef, draining excess oil if necessary, and pour the hot meat over the cream cheese.  Yes, that is diced onion you see in my ground beef, and no, I didn’t include it in the list of ingredients.  It’s not strictly necessary, but pretty much, if I’m using ground meat, there is going to be diced onion cooked in with it.  Not only does it add flavor, but when you’re buying organic meat, it can get pretty expensive, and adding onion makes it go a bit further.


    Cover the bowl and leave it while you work on the pasta.  Basically just follow the directions on the package.  When it’s cooked, drain it and rinse it with cold water to cool the shells down.  Stir together the meat mixture.  My husband said I couldn’t post a picture of the filling by itself.  He says it looks like brains.  So, let’s just get to the stuffing part. 


    First, this is probably a good time to preheat your oven to 350°.  Also, you’ll need to drizzle the bottom of your pan/pans with taco sauce.  Just enough to keep the shells from sticking.  This recipe makes 24 shells.  I like to separate them into two pans, because with only two of us in the house, that easily feeds us twice.  I just put one pan in the fridge uncooked.  You can plan on about 4-6 shells per person, depending on how hungry everyone is.    


    Ok, stuffing… Gently open a shell and allow the excess water to run off. 


    Using a spoon, fill it with meat mixture, but not so full that it can’t close.  I like to overfill them slightly, then squeeze them shut (gentle, they split easily) and wipe any excess off, back into the bowl.


    Line them all up in the pan and drizzle them with taco sauce.  Don’t skimp here.


    Cover with foil and bake for 15 minutes.  Now for the fun part.  Break up your corn chips and sprinkle them over the top.  Looking better by the minute, isn't it? 


    Next comes the cheese.  When it comes to cheese, I rarely think a little is sufficient. 


    Now pop it back in the oven for another 15 minutes.  It’s amazing what a little heat does to a pile of shredded cheese.  It has now transformed into bubbly, golden, deliciousness. 


    Ok, so it kind of looks like nachos in that shot, but it is so much more.  Scoop out the desired number of shells and sprinkle with a few more green onions. 


    **Disclaimer**  

    Authors Kitchen is not responsible for discomfort or missing buttons caused from eating “just one more shell”.       

    Friday
    Feb182011

    Not your Grandma's Macaroni and Cheese.

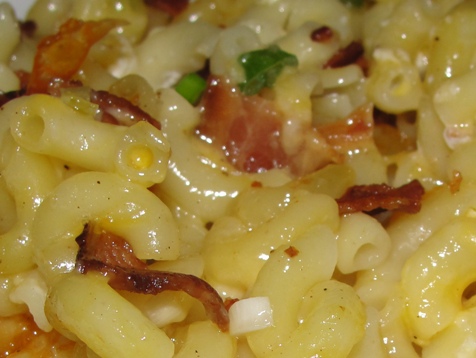
    Or perhaps it is.  The inspiration for my version of Mac n’ Cheese does, in fact, originate with my grandmother.  Although she never actually made it for me, my dad improved upon her recipe and fed it to us over the years.  I have since made changes of my own, until getting to where it is now.  Perfection.  That’s right, I said perfection, and I’m standing by that.  This isn’t made with a cheese sauce or topped with bread crumbs, it’s not the mushy gloop you might find at the deli or on a buffet, and it certainly isn’t that neon orange Krap from a box.  It’s hot, bubbly, cheesy, bacony goodness, like you’ve never experienced before. 


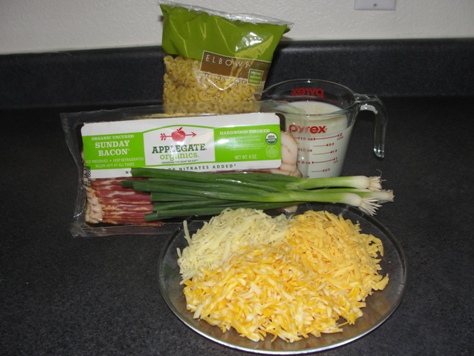
    What you’ll need:

    1 ¼ cups each, of 3 different kinds of cheese*

    ½ pound bacon*

    1 pound macaroni

    4 or 5 green onions

    1 ½ cups milk

    Liberal amounts of salt and pepper


    *Ingredient notes:  Use good quality cheese.  Don’t buy the pre-grated stuff.  Grate your own.  For a commercial brand, I like Tillamook, but I also like to buy local and imported cheese from the cheese monger.  You can get pretty good stuff from the cheese counter at most grocery stores these days.    

    As for the bacon, use one that’s just a regular slice.  The thickly sliced stuff isn’t the best in this dish.  Also, I am very passionate about the treatment (or mistreatment) of pigs, so please buy bacon that comes from humanely raised pigs if you can.  Niman Ranch and Beelers are a couple of good examples. 


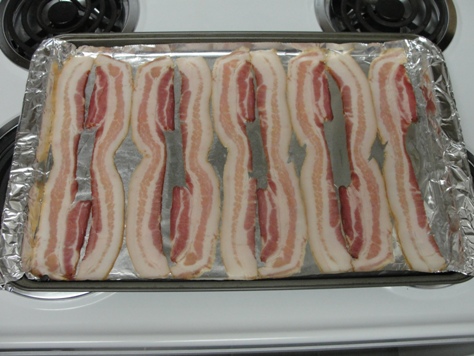
    Onto the actual cooking.  I like to cook bacon in the oven.  It’s easy to make, and easy cleanup.  Line a sheet pan with aluminum foil and lay out your bacon slices.  That way, when it’s all done, and the bacon grease solidifies, you can just take the foil off and throw the whole thing away.  Slide the pan into a cold oven and then turn it to 350°.  If your husband is around, you might want to make two pans so that you'll still have enough after he's finished snitching.   

    Now is a good time to chop your green onions and grate the cheese.  The combination of cheeses I used was Colby Jack, Extra Sharp Cheddar, and an Apple Walnut Smoked Cheddar. 


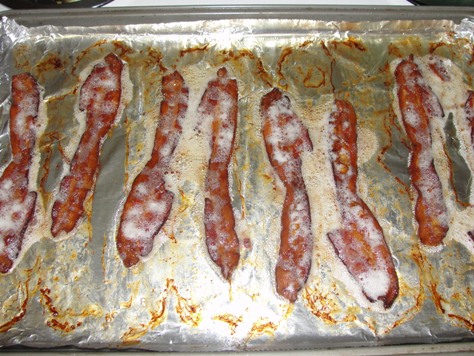
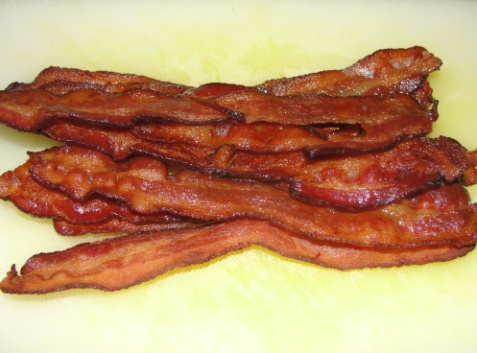
    Ok, back to the bacon.  The thickness of the slices can really affect the time it will take to cook.  After it’s been in for about 12 to 15 minutes, start to check on it.  You might even want to flip the slices over.  To me, bacon is not cooked until it’s crisp, so it should look about like this:


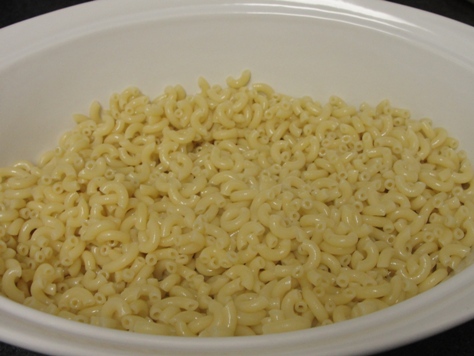
    Move it to some paper towels to drain.  For the pasta, fill a pan with plenty of salted water, and bring it to a boil.  Follow the package directions, but make sure the pasta is al dente.  It’s going to cook some more in the oven, so you don’t want it too soft now.  Drain the macaroni and rinse it with cold water.  After allowing the excess water to drain off, pour the noodles into your casserole dish, drizzle with about 2 tablespoons of olive oil, and stir to coat.

    Now, let’s chop our bacon.


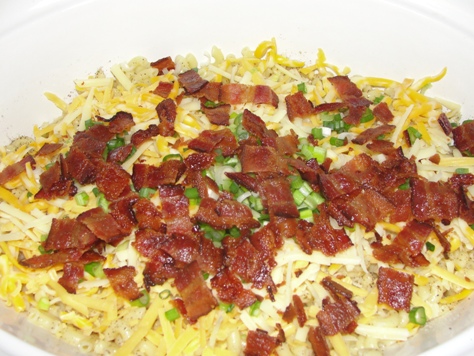
    If your oven is not already preheated to 350° from cooking the bacon, do so now.  On top of the macaroni, sprinkle salt and freshly cracked pepper.  Reserving about ¼ cup of each of the cheeses, spread the rest on top, mixing them together as you do so.  Set aside a couple tablespoons each of the bacon and green onions, and throw the rest into the pot. 


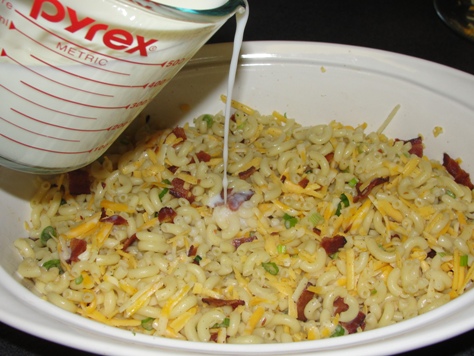
    Now stir it all together until everything is evenly distributed.  Drizzle the milk over the top, covering as much area as you can. 


    Top with the remaining cheese and press the mixture softly into the pan with your hand. 


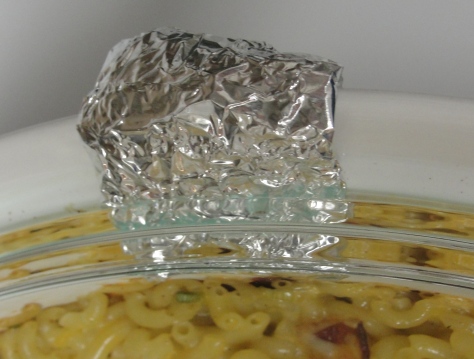
    At this point, you want to cover the pan, but some steam needs to escape as well.  My dish has a lid, so I like to fold up a piece of foil to place under it, which creates a bit of a crack. 


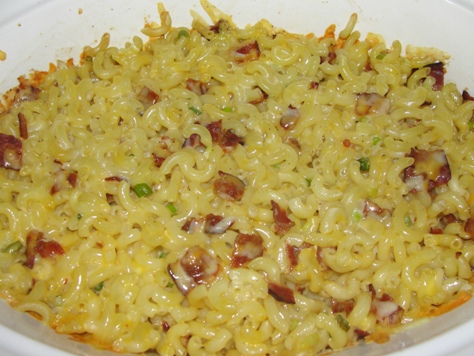
    If you’re covering your dish with foil, just poke a few little holes in it after you’ve got it in place.  Bake for about 45 minutes, or until it looks like this:


    When you put a spoon down the inside of the pan to the bottom, there should be very little or no liquid down there.  That’s how you’ll know it’s done.  If there is still liquid down there, simply remove the cover and bake for a few more minutes. 


    Allow to rest for a good ten minutes before serving.  It’ll be the hardest thing you’ve ever had to do, but it really is worth it. 


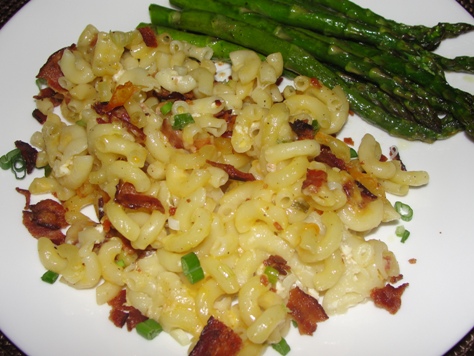
    Garnish each portion with a sprinkling of the remaining bacon and green onions and serve with your favorite vegetable.  You’ve got to have something nutritious on the plate, right?  I went for roasted asparagus. 


    If you have leftovers, freeze them in individual servings, and you’ll never have to feed your kids (or yourself) that artificially flavored and colored stuff again. 


    Have a macaroni and cheese recipe you think can outdo mine?  Without posting the whole recipe, tell me what's special about yours and why I should try it.  The one that interests me most, I'll make and feature here on our blog.      


    Page 1 ... 11 12 13 14 15