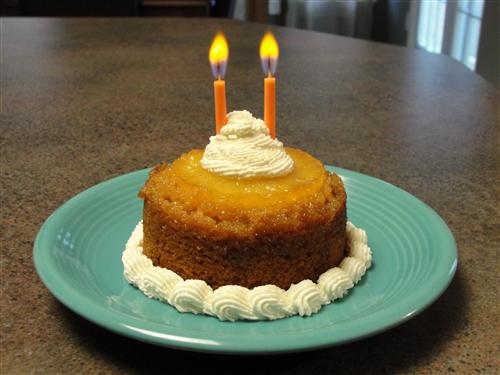
World's Best French Toast
 Taneasha
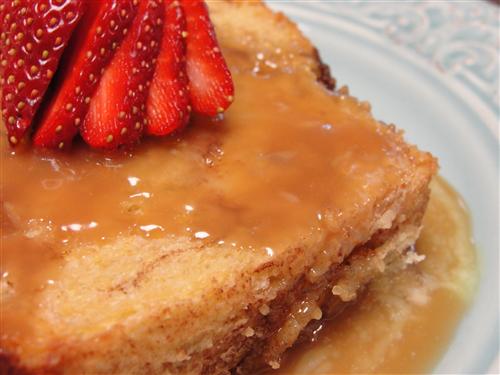
That’s right, I’m claiming it. And not just to make it sound good, but because I’m pretty sure this really is the world’s best French toast. It’s certainly the best I’ve ever had. As I mentioned last week when I made cinnamon swirl bread, there are a few things from Utah I miss. One of the places I mentioned was a place called Kneaders. It’s a bakery/café that has fabulous bread, sandwiches, and pastries. What I didn’t mention specifically, was their French toast. I used to have it, usually with my sister, and it was delicious. I was missing that, before I made my own. I had been hoping to make something comparable to their “chunky cinnamon French toast”, but didn’t. To even my surprise, mine surpassed theirs in every way imaginable. Seriously, you have to try it.
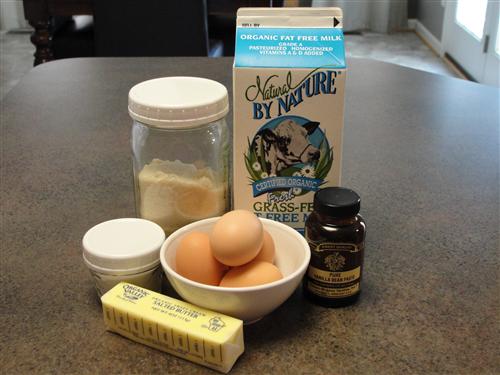
Here’s what you’ll need:
- 1 loaf cinnamon swirl bread
- 4 eggs
- 1 ½ cups milk
- 1 Tablespoon sugar
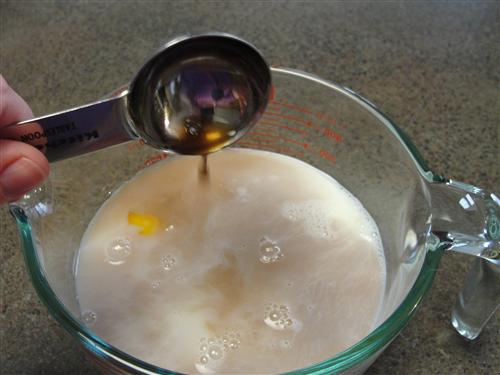
- 1 Tablespoon vanilla
- ¼ teaspoon salt
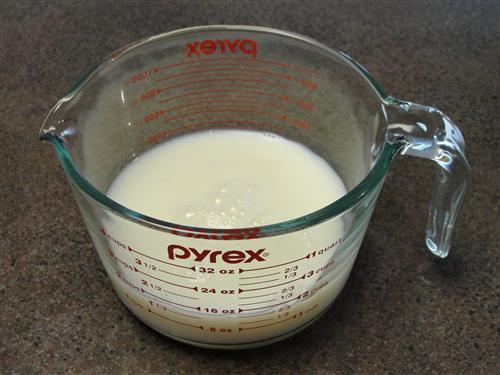
Go ahead and measure out your milk. As I commonly do, I’m using a large measuring cup as a mixing bowl because it performs double duty that way.
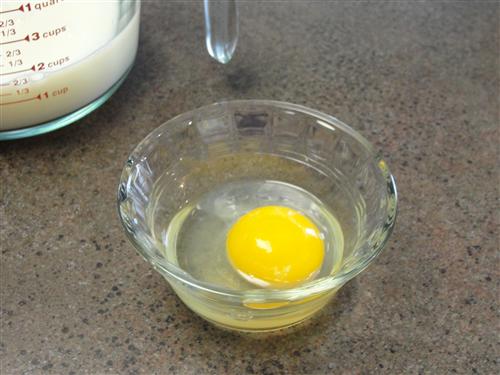
I like to crack the eggs into a separate dish. That way you can make sure there’s nothing wrong with it, you can make sure you don’t get any pieces of shell in it, and in my case, it gives me a chance to remove the goobers. (That’s the technical name for the white things attached to the yolk.)
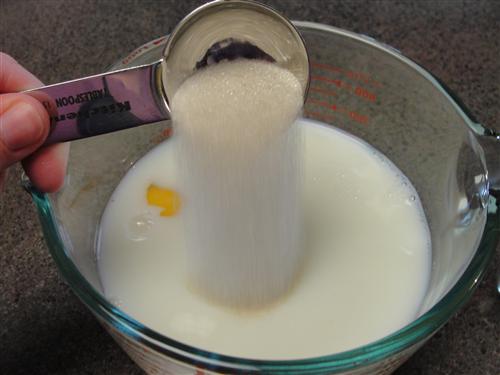
Put them in with the milk, along with the salt, and sugar.
Add the vanilla.
For this, I’m using my hand mixer.

Unfortunately, this is one of the few things in my kitchen I kind of cheaped out on. About the only things I use it for are to whip cream or egg whites, and the occasional batter. After this lovely incident, however, I just might be upgrading. Even though it claims to have a slow start, it lies, and well…
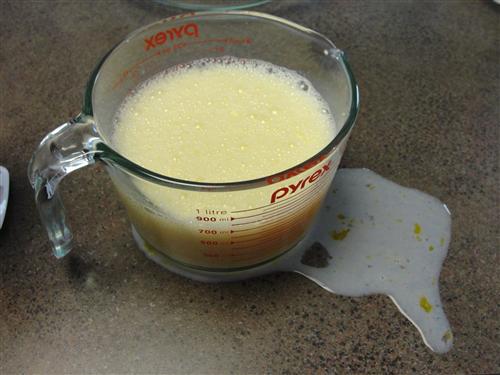
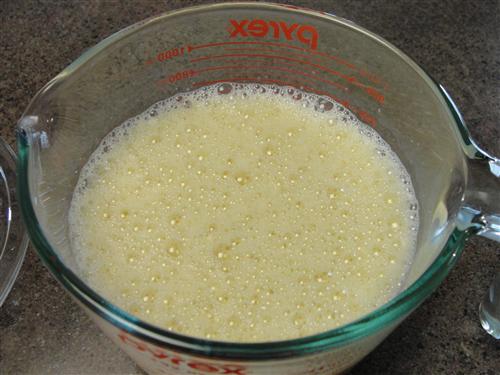
Anyway, you want to beat it until it’s nice and foamy on top.
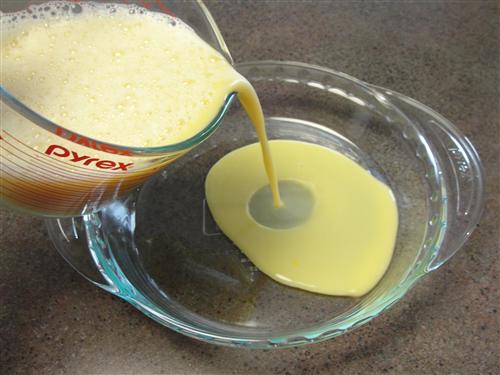
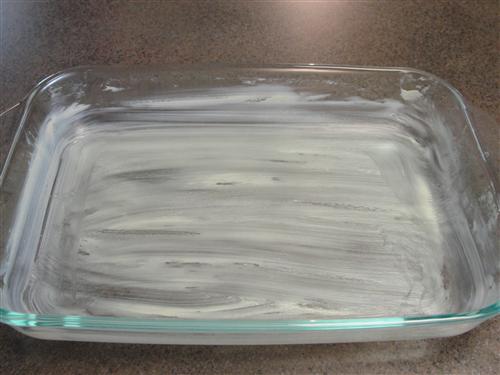
Pour it into a shallow dish. A pie pan works great for this.
Unfortunately, it’s something I rarely use, so I keep it on the top shelf in my cupboards. Usually that means using a long utensil, dragging it off of the shelf, and catching it. Miraculously, I’ve managed to keep the dish, and my head, in one piece. But the last time we were the hardware store, we walked past a display of stools, so I grabbed one. I feel like the king (queen?) of the mountain on that thing. I can reach anything in my kitchen! I realize that doesn’t sound like much of an achievement for most people, but for someone who’s pushing it claiming 5’2”, it really is.
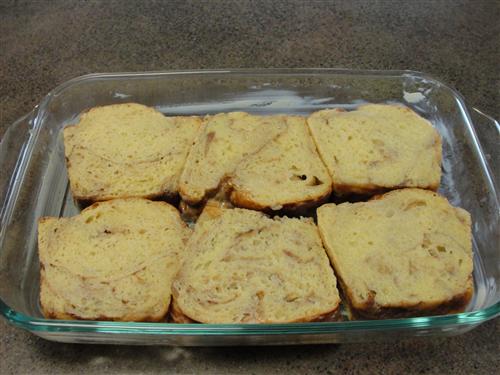
Anyway, liberally butter a 9x13 pan.
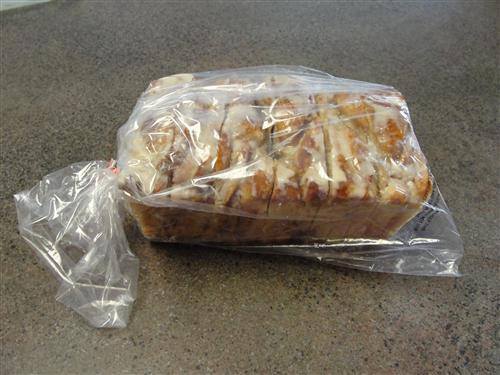
Remember the cinnamon swirl bread I made last week? I just cut off both ends and then sliced it into 6 thick slices. I highly recommend making that bread, but if you prefer, you could pick something up from a bakery if you have a good one nearby. Keep in mind, though, I am claiming this to be the world’s best. The end result can only be as good as the quality of your ingredients.
But whatever bread you choose to use, slice it thickly and place it in the egg mixture.
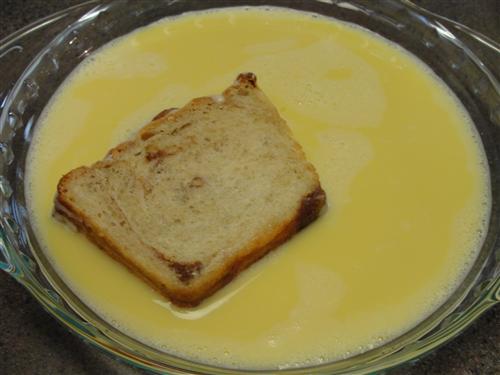
Leave it for about a minute, then flip it over.
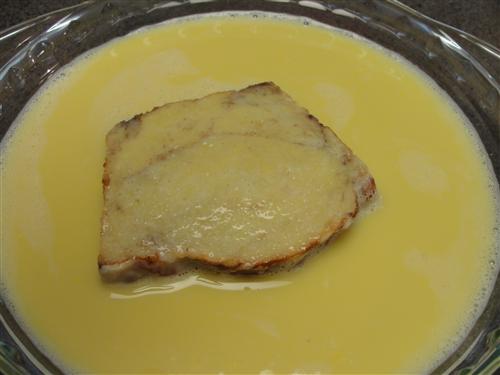
Leave it for another minute, then pick it up, allowing the excess to run off,
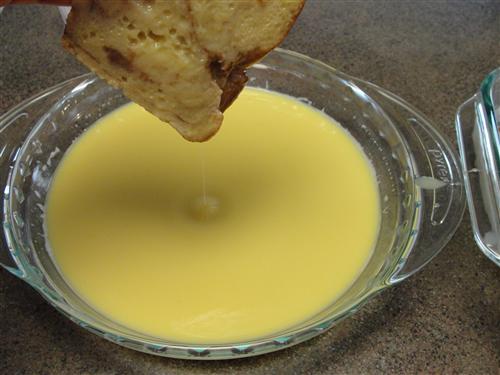
And place it into your buttered pan.
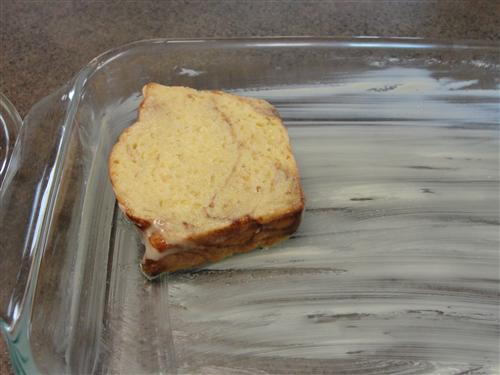
If you do two slices at once, it’ll go a bit quicker.
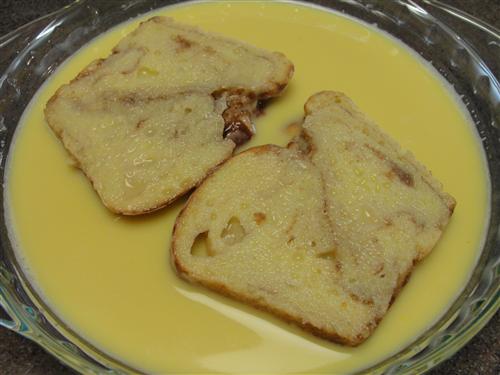
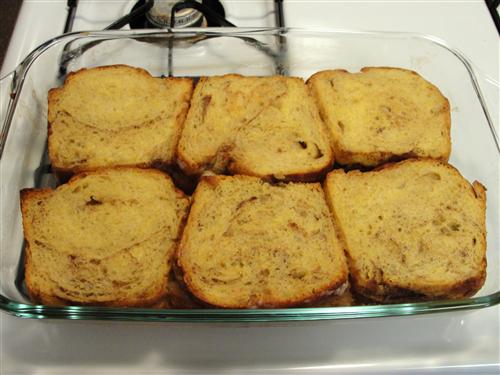
You should be able to just fit all six slices in the pan.
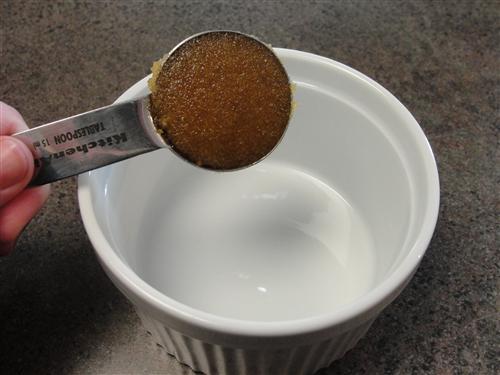
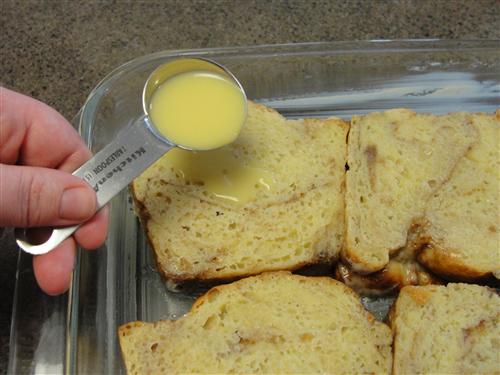
Now slowly drizzle a tablespoon of the egg mixture over each slice. Cover and refrigerate for at least an hour. Overnight would even be fine.
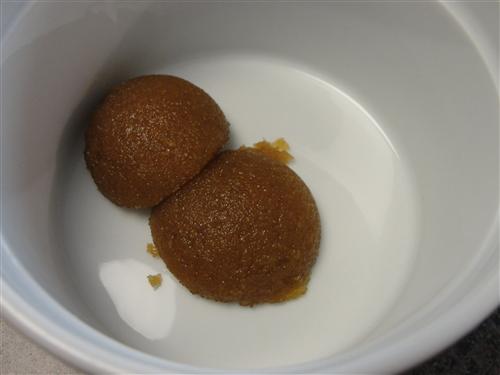
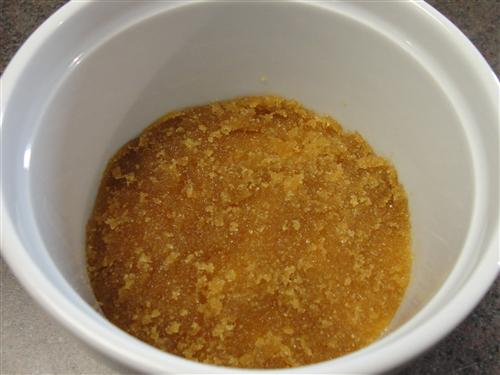
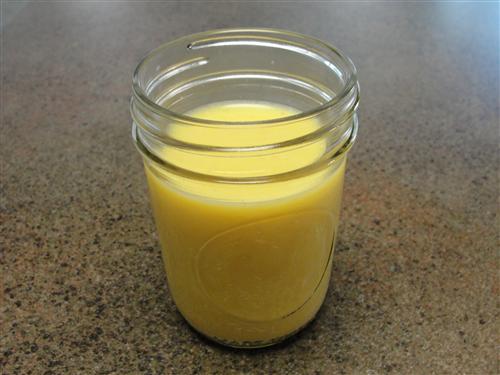
If you have extra, pout it into a container to use for another day. I’m not sure if it will freeze well or not, but I’m assuming it will be fine. That’s where I put mine.
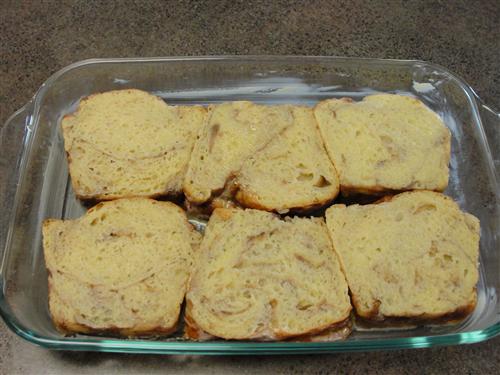
When you’re ready, go ahead and take your pan o’ bread out of the fridge and preheat your oven to 350°.
Now, Kneaders serves their French toast with ‘caramel syrup’. I’m pretty sure it’s just corn syrup with some brown sugar and cream mixed in. Well, that’s not how I roll. If I’m calling it caramel syrup, it’s going to be real caramel syrup.
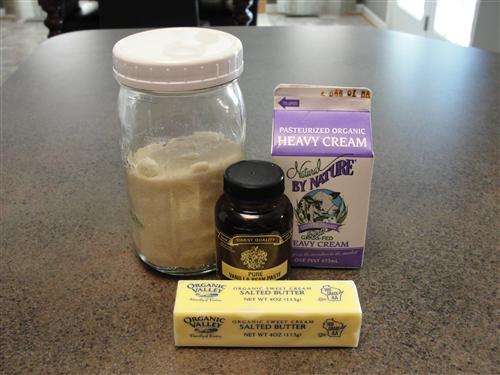
Here’s what you’ll need:
- 1 cup sugar
- ¼ cup water
- 1 cup cream
- 2 Tablespoons butter
- 1 teaspoon vanilla
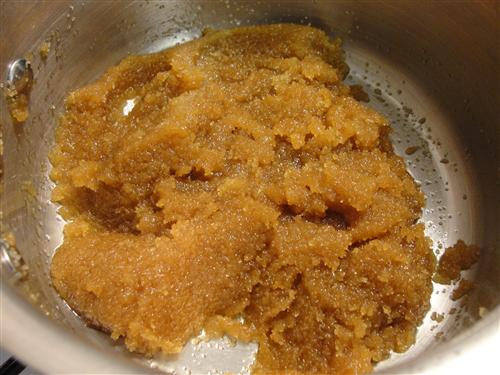
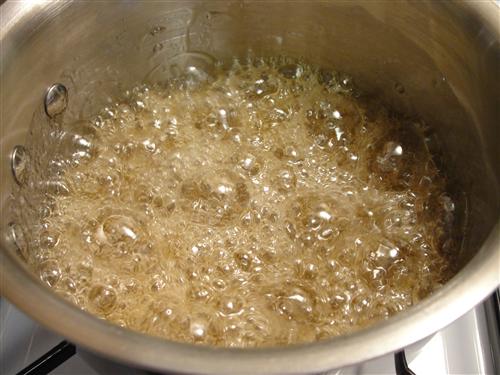
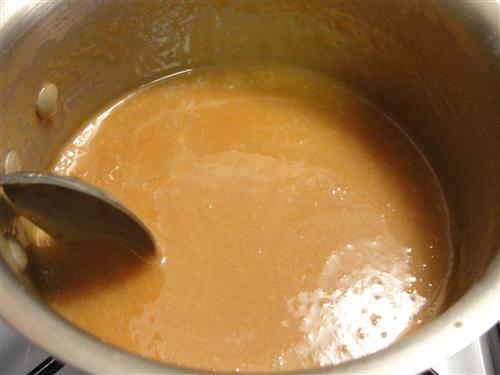
Put the sugar into a pan and add the water.
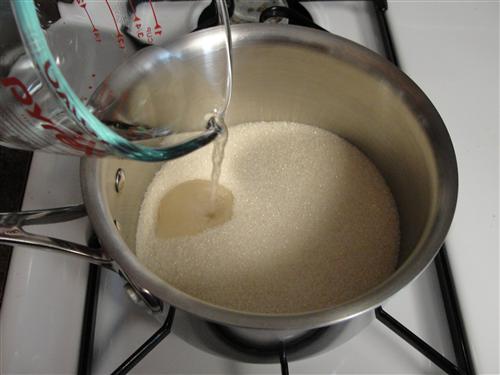
Stir constantly over medium heat until the sugar is dissolved and it comes to a boil.
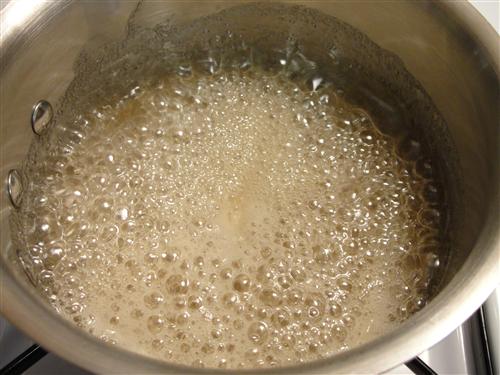
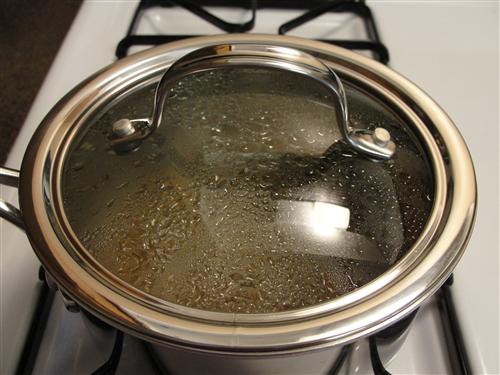
Pop on the lid for 2 minutes. This step will create a buildup of steam which will take care of any sugar crystals on the sides of the pan. During that time, wash your spoon or get a clean one out.
After 2 minutes, remove the lid and watch the mixture closely. When you start to see large bubbles forming, you’re getting close.
And when you see the color just start to change, you’re there.
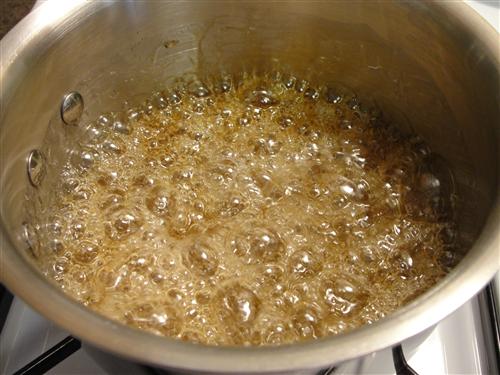
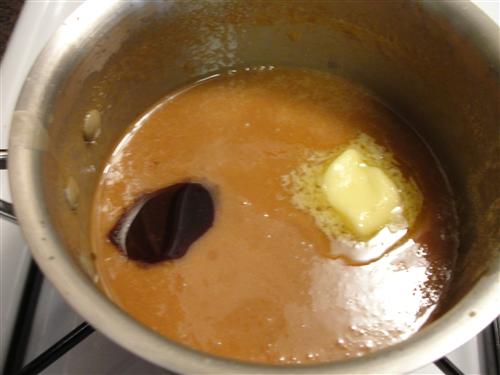
There’s a very fine line between caramel and burnt, so quickly turn off the heat and add the cream.
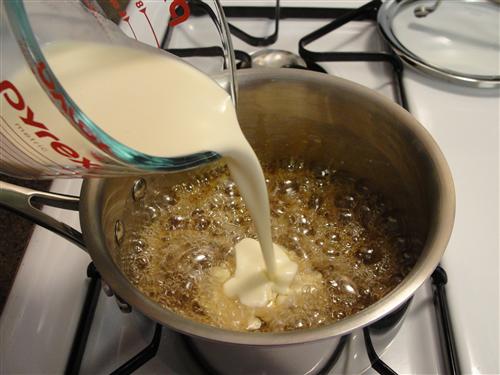
Adding the cream will cause it to bubble up and hiss.
Carefully stir the mixture until everything comes together and you have a nice smooth caramel.
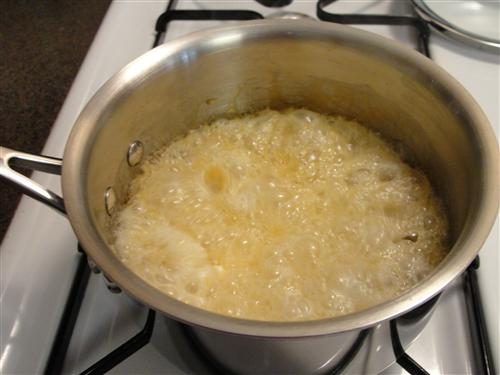
Add the butter and vanilla.
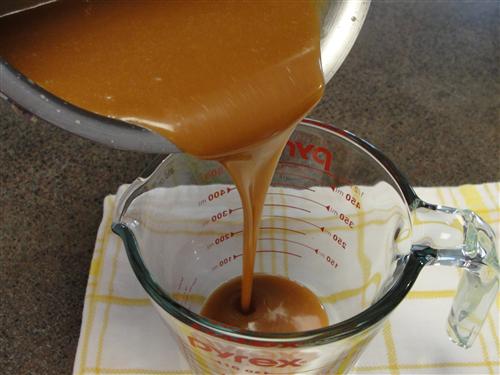
Stir them in, and pour the liquid loveliness into a heatproof vessel. Now that is caramel syrup, and oh my god is it good. Seriously, it would be good on anything. You could put it over ice cream, or dip apple slices in it, or… well, you get the idea. Just try not to eat it all with a spoon before the French toast is ready.
Bake the French toast, uncovered, for about 45 minutes. It’ll just barely be starting to brown on top.
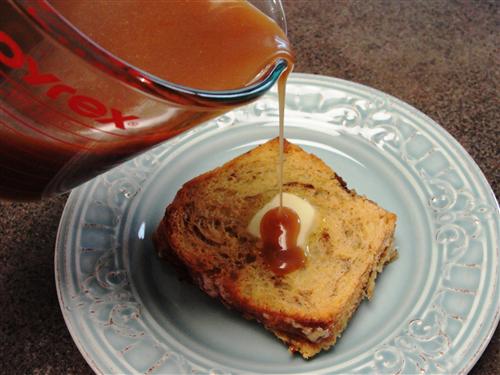
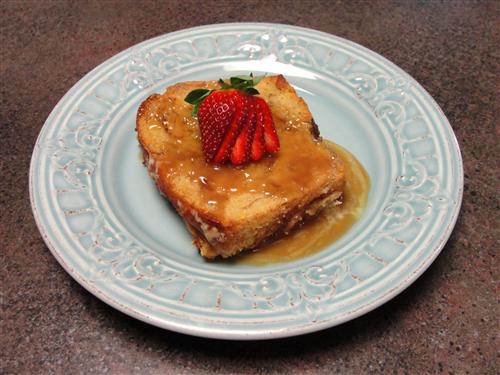
Top with a pat of butter and a heavy drizzle of caramel syrup.
Seriously, heaven on a plate, and probably just as good for dessert as for breakfast.
Now, speaking of things from Utah that I miss… my lovely friend Kerrigan Byrne has a fabulous new release this week, making me miss her all the more. Until I can make it out for a visit, I’ll have to pass the time by losing myself in Released.

If you haven’t yet read her amazing berserker trilogy, Unleashed, you really must. Scottish Highlands, action, suspense, romance, and sexy Celtic men in kilts. Need I say more?

Prepare to be instantly hooked as she sweeps you away into the historical world of the Scottish Highlands.