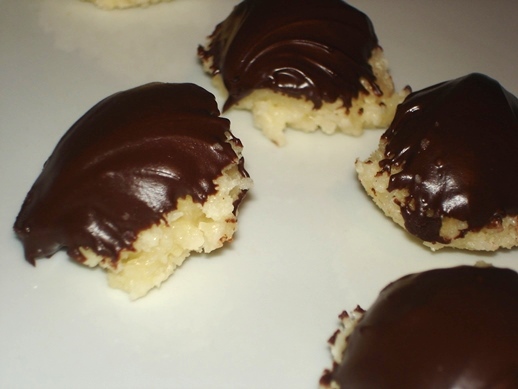
Mounds of Coconut
 Seeley deBorn
 Gluten free mounds! (yes, I'm hitting a food blog buzzword)
But it's true. There's no gluten in these.
There's coconut and chocolate though, and really, that's all that matters.
There are a few no-gluten people at work and I feel bad every week when they have to pass on the cookies, so I thought I'd give the gluten free thing a shot.
These are more of a candy than a cookie, but I doubt anyone will complain.
Chocolate Coconut Candy Cookies
Filling
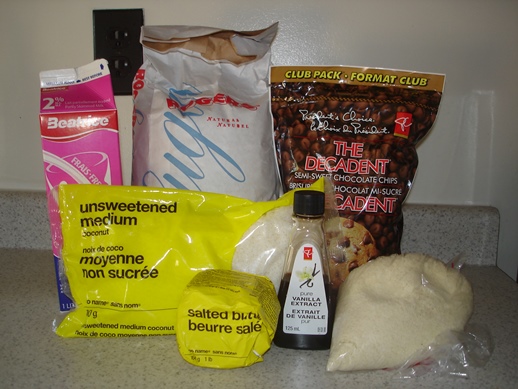
- 2 c sugar
- 1/2 c milk
- 1/2 c butter
- 1 tsp vanilla
- 1 c ground almonds
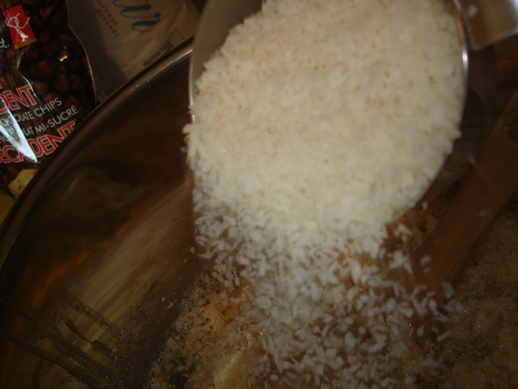
- 3 c unsweetened shredded coconut
Coating
- 2 c semi-sweet chocolate chips
- 1 tbsp butter
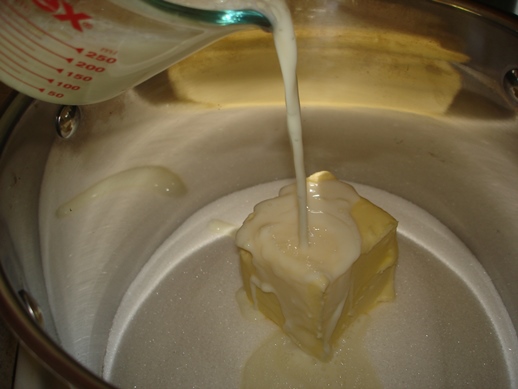
In a pot big enough to hold all the ingredients, combine the sugar, milk, and butter over medium heat.
These are basically a variation on Taneasha's No Bake Cookies and she has some great tips there on how to make the "candy" part of these "cookies" come out perfectly. I didn't follow any of them.
What?
You expected me to follow rules?? Seriously, I'm amazed I managed to measure the sugar and the milk. No comment on the butter.
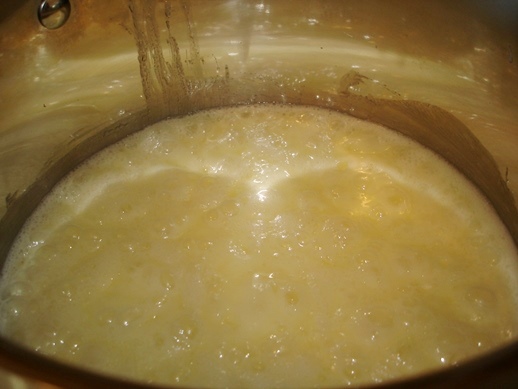
Bring the candy combo to a boil and set a timer for 3 minutes. (I let mine go an extra couple minutes and I think that I won't next time)
After 3 minutes, remove the pot from the heat and pour in the vanilla. You can even measure it if you want to.

Stir that in and then dump in the almonds and coconut. Yes, I know Taneasha's tips said to pour this onto the dry stuff, but this way, there's only one pot to wash.
If you want pure coconut you can replace the cup of ground almonds, but I'm thinking it might be fun to go the other way and do these with ground almonds only.
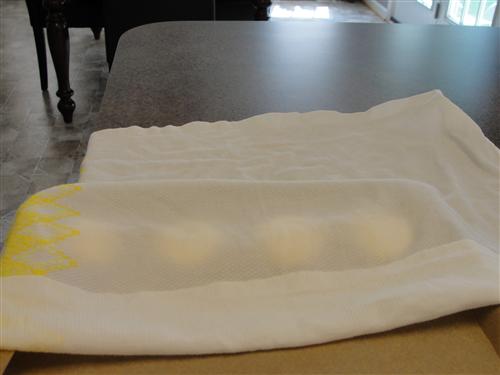
I recommend using the 3 minutes of boiling to lay out parchment paper on the counter or a table.
Since my air conditioner is in the bedroom, and the air in the rest of my apartment is distinctly not conditioned, I moved my kitchen table into the bedroom and laid out the parchment.
Fill a small scoop by pressing it against the edge of the pot. If you have a melon baller that wold work. Do people even have melon ballers any more? Me, I have a tablespoon measure that is dome shaped. Look! I measured something!
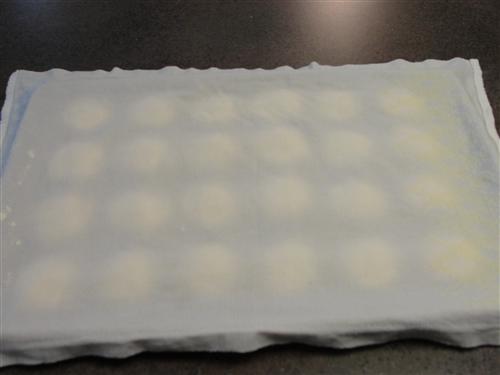
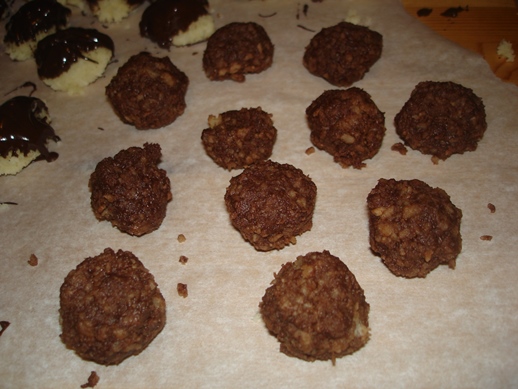
Drop these little mounds of coconut candy onto the parchment.
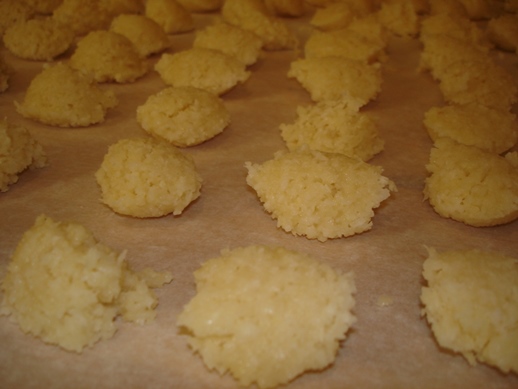
They will start to set pretty quickly, but the stuff in the pot will still be hot. Be careful if you decide that you want to use your hands to try to shape them a bit.
You can't roll them, or they'll fall apart; you have to press them into shape. Which was more work than I wanted to do so I went back to the scoop.
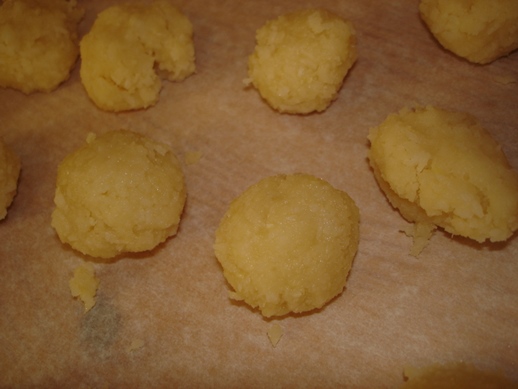
Now, you could leave these things as is, and everything would be lovely.
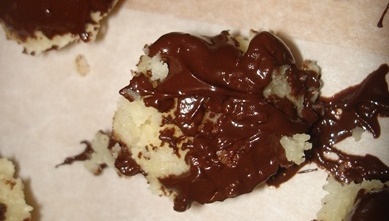
Or, you could decide that they need some chocolate drizzled over top.
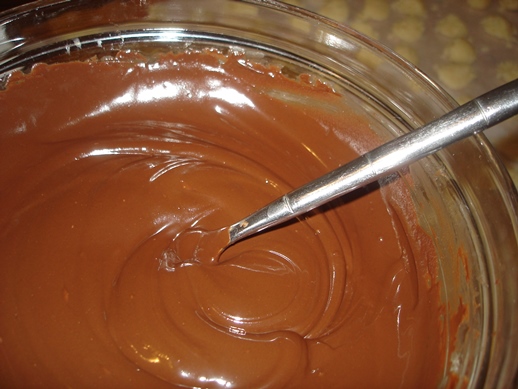
I totally forgot to take pictures of the chocolate part, but if you follow Taneasha's chocolate tempering steps you'll be just fine. Okay seriously, is there anything candy-related the woman can't do?
Mine came out beautifully. Damn she's good.
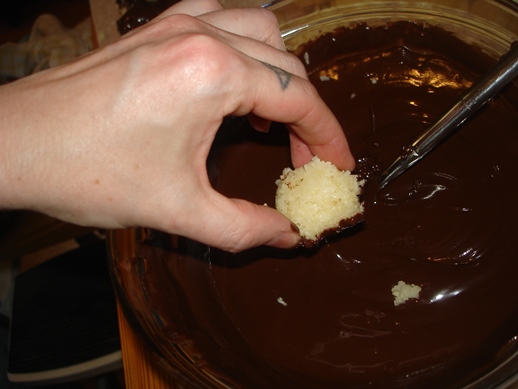
Drizzling didn't work out so well.
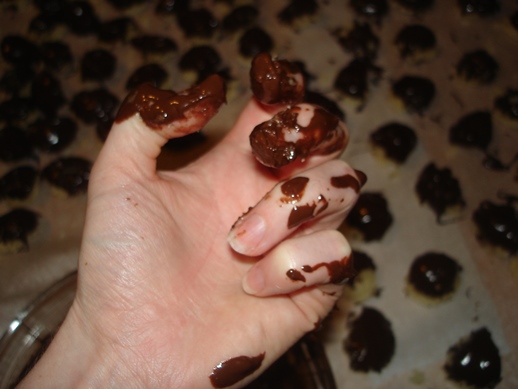
So I dipped.
And dipped
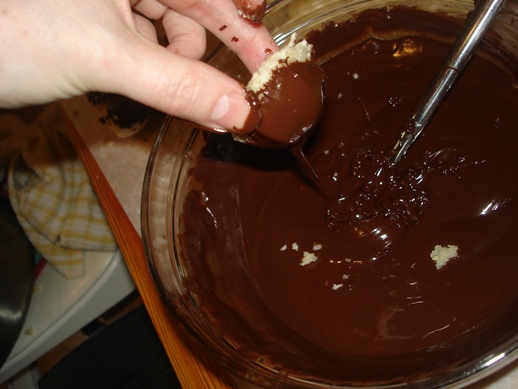
and dipped.
And managed to avoid licking my fingers between dips.
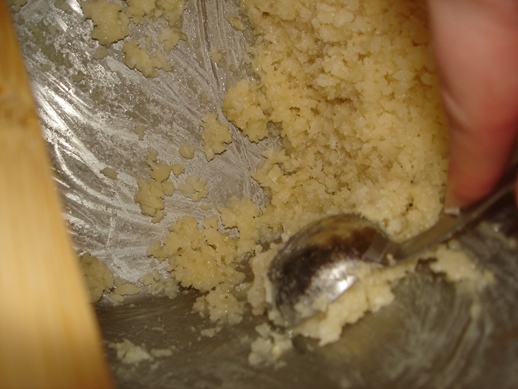
And if you're wondering what to do with the crumbles left in the bottom of the pot, and the last bit of chocolate in the bowl, I recommend balls.
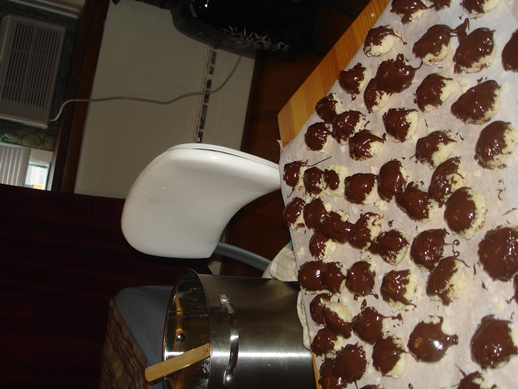
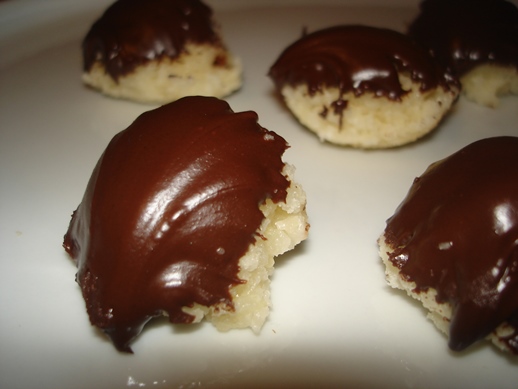
Some of the dips will come out looking like they were made by a 5 year old (actually, most of them will... or maybe it's just me),
but some of them will be lovely.
And all of them will need about an hour for the chocolate to set.
So, are you willing to try gluten-free recipes?