Spanish Rice - Let the Mayhem Begin!
 Taneasha
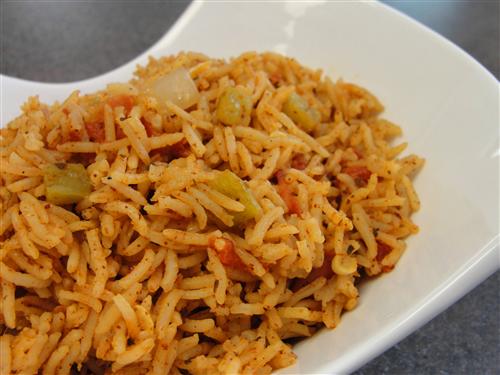
Well, this year it was April that brought the chaos with it, but April-hem just didn't have the same ring to it. I’m sure May won’t disappoint, though. Hopefully I can at least get through it this year without a cross country move. But as you’ll see, I didn’t waste any time getting started with the Mayhem anyway. But don’t worry, it had a happy ending. No, not like that, you pervs! Delicious Spanish rice that’s super simple and is all cooked in one pan.
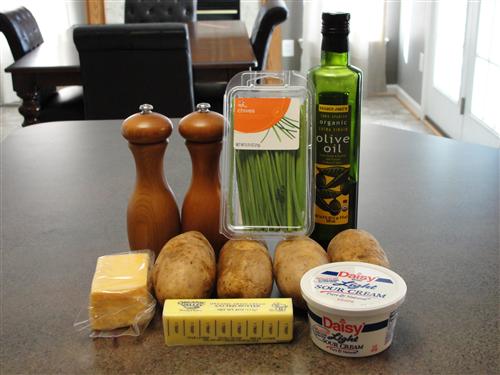
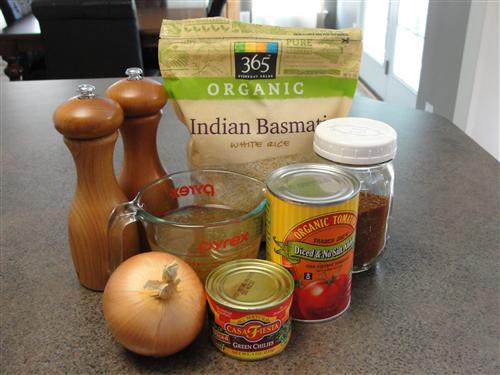
Here’s what you’ll need:
- ½ of a medium onion, diced
- ½ teaspoon salt
- 2 cloves garlic, minced
- 2 cups rice
- 2 Tablespoons chili powder
- ½ can green chilies (about 2 Tablespoons)
- ½ can diced tomatoes (about 1 cup)
- 1 cup chicken stock
- 2 ½ cups water
*This is perfect for making the same week as Mexironi and Cheese because they both use half cans of the same stuff.
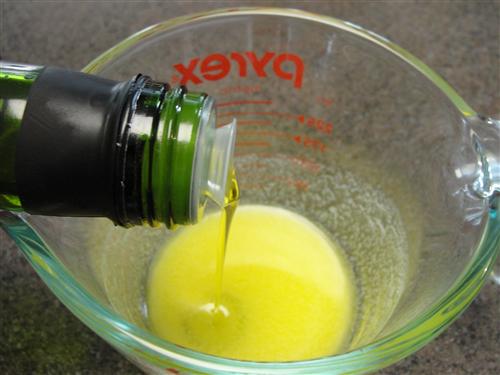
In a pan over medium heat, put 2 Tablespoons of olive oil followed by the diced onion.
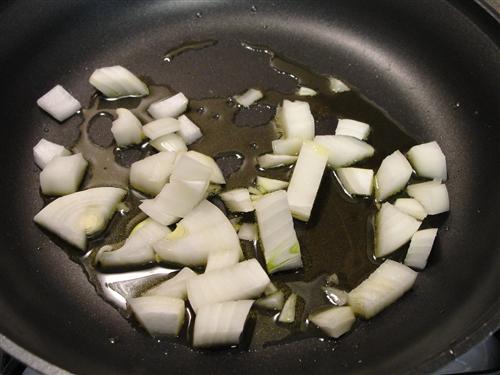
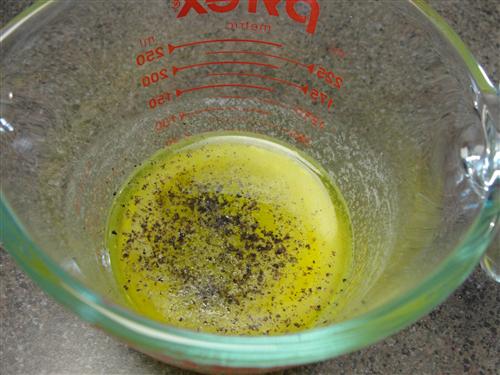
Sprinkle ½ teaspoon salt over the top and cook until it’s translucent, then add the garlic.
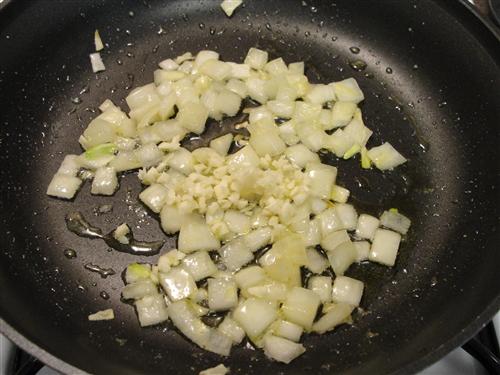
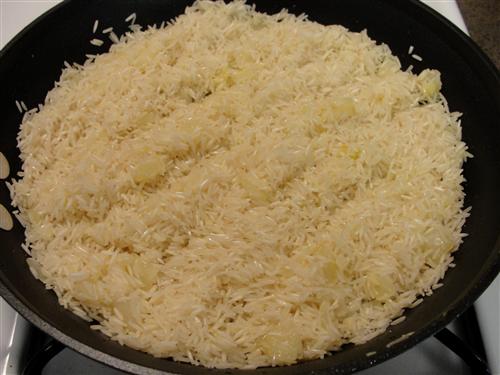
Stir that in and pour in the rice.
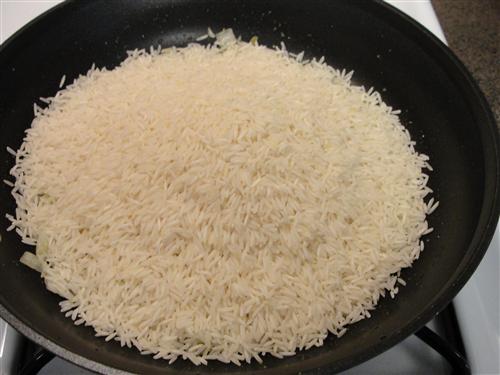
Stir the rice so that every grain is coated with a bit of oil. (Does that look like a lot of rice for this size pan? Nah… it’ll be fine.)
Sprinkle on the chili powder.
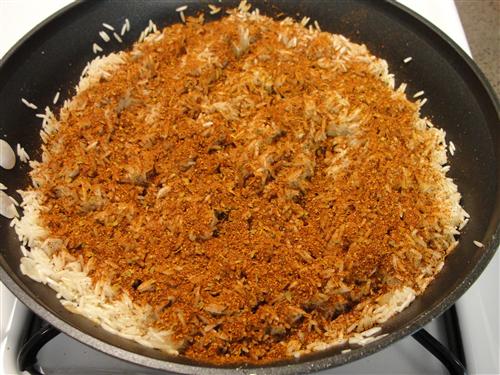
And once again, stir until the rice is all evenly coated.
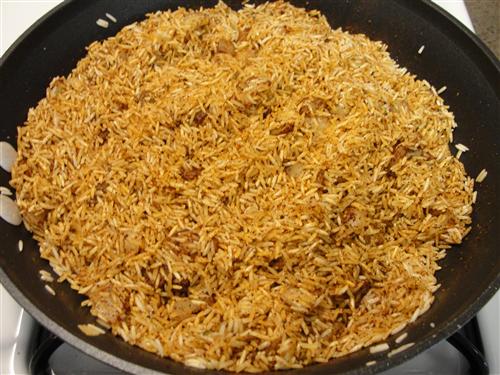
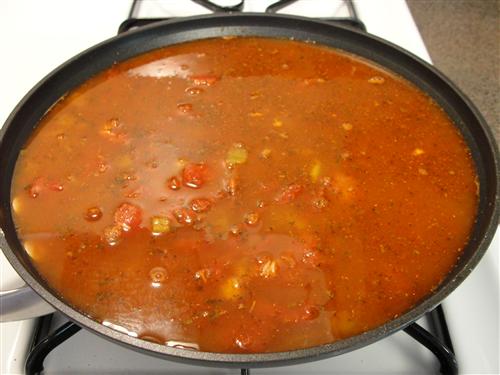
Add the chilies and tomatoes.

Stir those in and add the liquid.
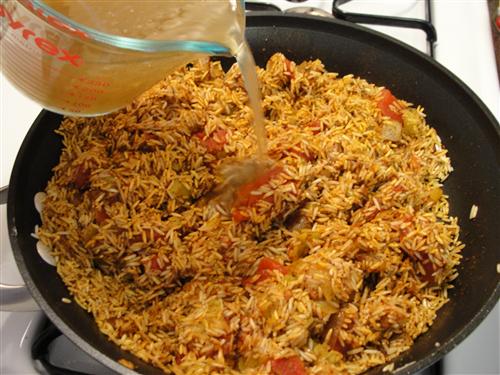
Umm… I said it’ll be fine, right? Well, here goes nothing. (May-hem!)
Bring it just to a simmer, then turn the heat to low, and pop on the lid.

Leave it for 25 minutes. No peeking! Well, no lifting the lid, anyway. This is why I love glass lids.
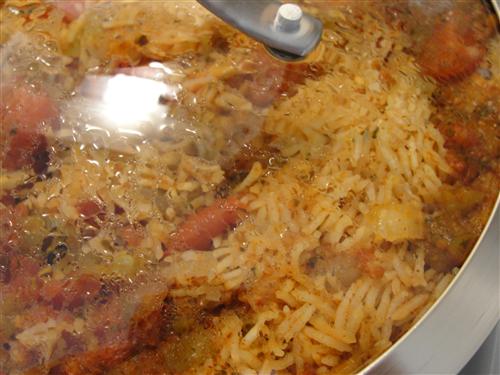
Turn the heat off and leave it for another 5-10 minutes. Then finally, you can remove the lid. See, I told you it would be fine. (whew!!)
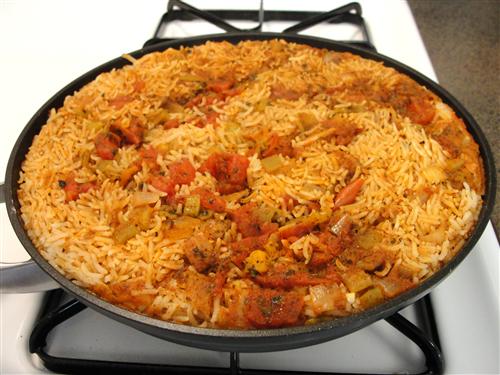
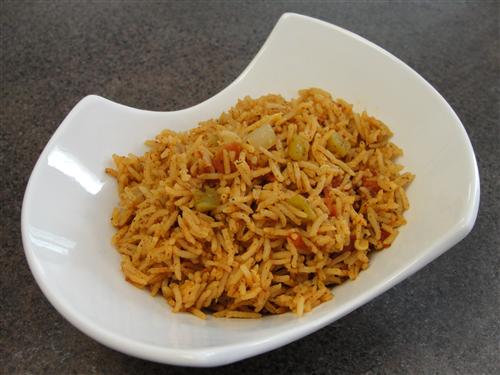
And lastly, fluff it with a fork. (D’oh!) If your pan is as full as mine, you’ll have to fluff it into a big bowl. Although, I highly recommend either using a bigger pan, or halving the recipe. Either way it will be fabulous.
Here at Authors Kitchen, we just can't have May without the hem. Which month usually brings the most chaos for you?