It's Our Birthday Today, and We're This Many!
 Taneasha
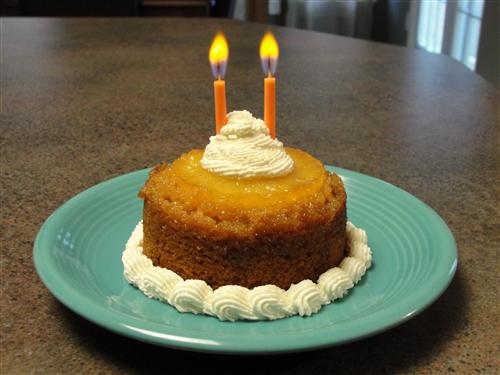
That’s right, we’re turning 2 today! Can you believe it? And of course with birthdays, come cakes! As you know, here at Author’s Kitchen, we rarely follow tradition, so it shouldn’t come as a surprise that I decided to steer clear of the usual layer cake covered in frosting. Instead, I opted for pineapple upside down cake, and even better, for little individual cakes. Well, you know, two year olds aren’t very good at sharing.
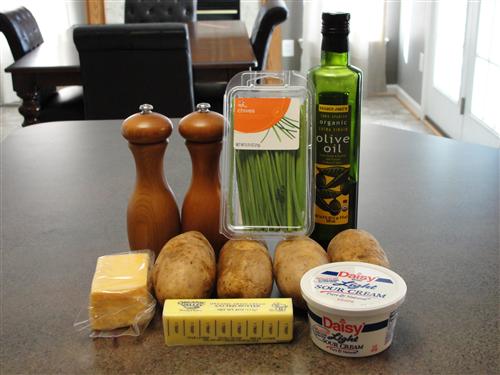
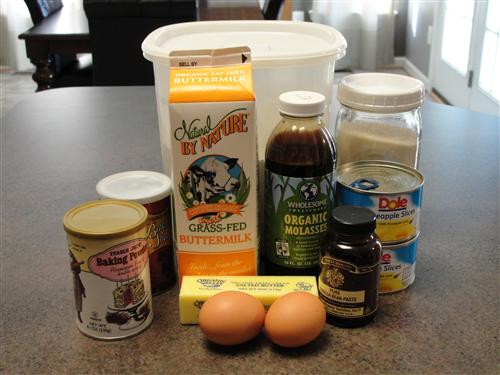
Here’s what you’ll need:
- 3 Tablespoons butter
- ⅔ cup sugar
- 1 teaspoon molasses
- 6 pineapple slices
- ½ cup butter, softened
- 1 ½ cups granulated sugar
- 1 Tablespoon vanilla
- 3 eggs
- 1 teaspoon baking powder
- 1 teaspoon baking soda
- 2 cups flour
- ¼ teaspoon salt
- ⅓ cup pineapple juice (from the canned pineapple)
- ⅔ cup buttermilk
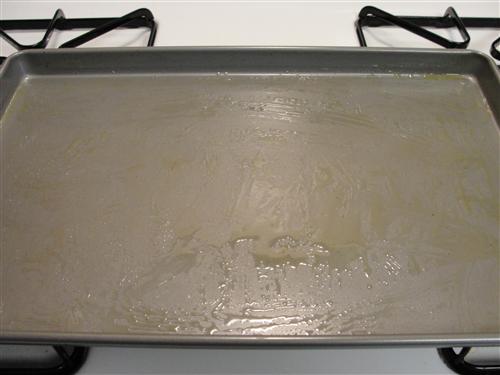
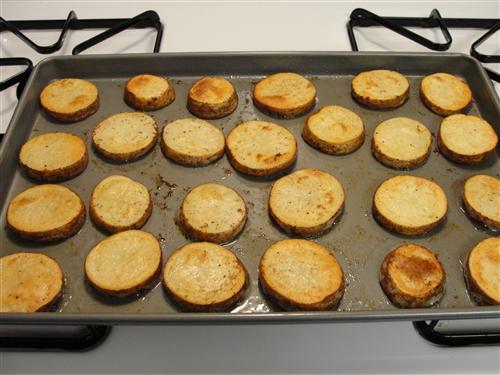
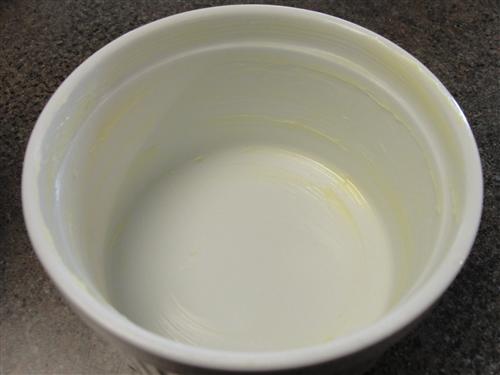
The first thing you want to do is butter the sides of your baking dishes. For this I used 14 ounce ramekins. That’s what I have, and it was a good size for the pineapple slices. Use whatever size you have, or even put it all into one 9x13 pan. Just keep in mind that you might need to adjust the baking time slightly.
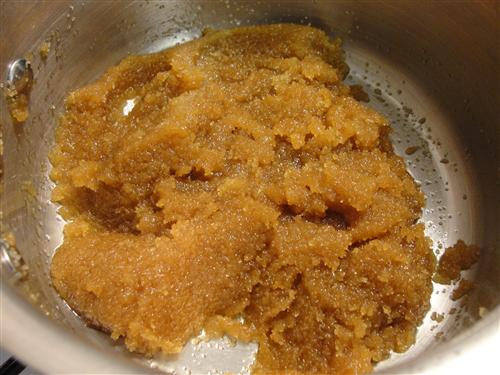
In a pan over medium-low heat, melt 3 Tablespoons of butter. When it’s about melted go ahead and add the sugar and molasses. (If you don’t have molasses, but do have brown sugar, go ahead and substitute brown sugar for the sugar and molasses. I just don’t keep brown sugar on hand because I always end up with a useless brown brick.)
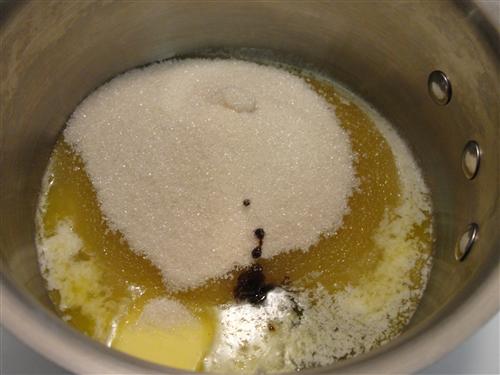
Stir until everything comes together, then remove it from the heat.
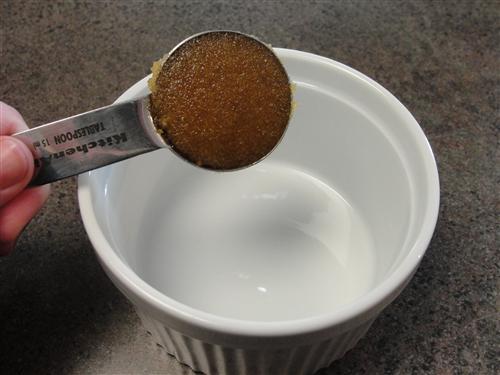
Scoop out a level tablespoon.
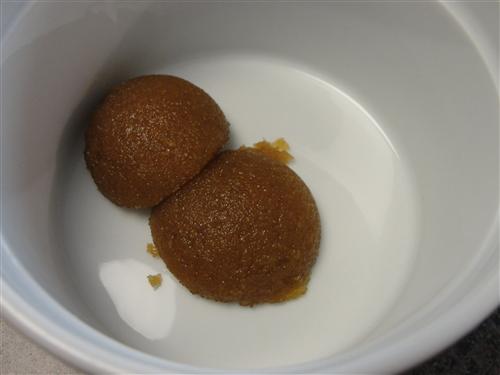
And drop two of those into each dish.
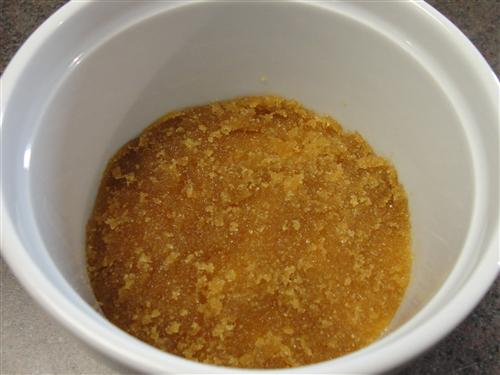
Tap it down, spreading it to the edges of the dish. Place a slice a pineapple right on top and repeat until you’ve done all 6 ramekins.
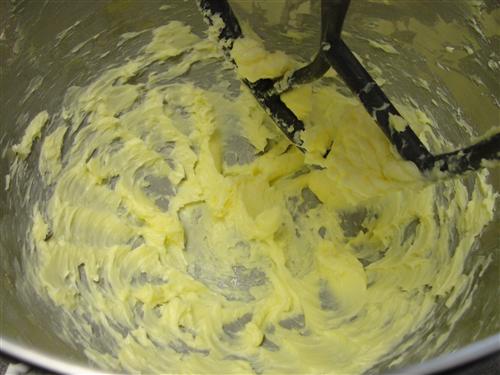
Now onto the cake part. First, go ahead and preheat your oven to 350°. (After 2 years, we’re finally starting to get the hang of the preheating thing.) Place your softened butter into your mixing bowl. (If you forgot to get all of your ingredients to room temperature, see how to do it quickly here.) Give it a quick stir just to make sure it’s nice and soft.
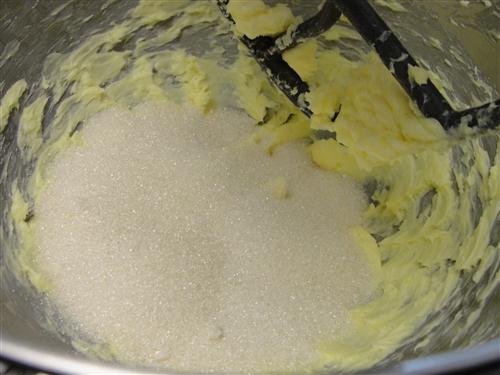
Add the sugar and beat those together for about 2 minutes.
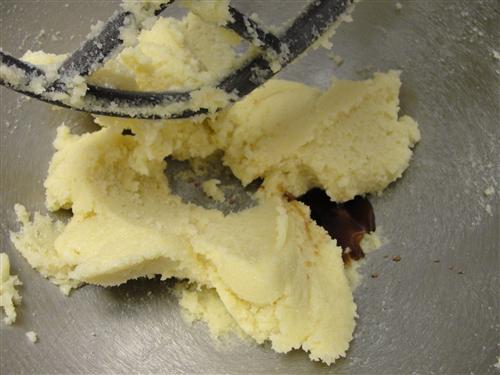
Scrape everything down and add the vanilla.
Once that’s mixed in, add the first egg.
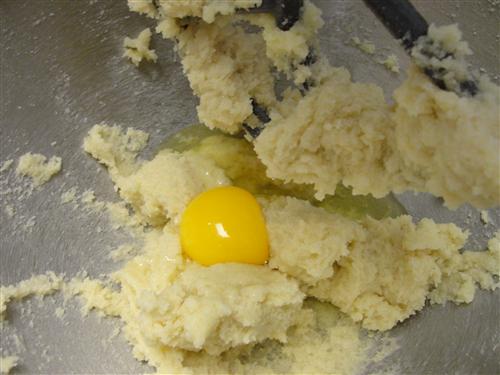
Wait until that one is completely incorporated before adding the next one.
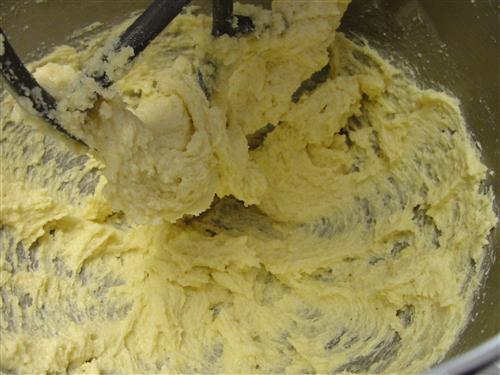
Once all three of them are in, it should look something like this.

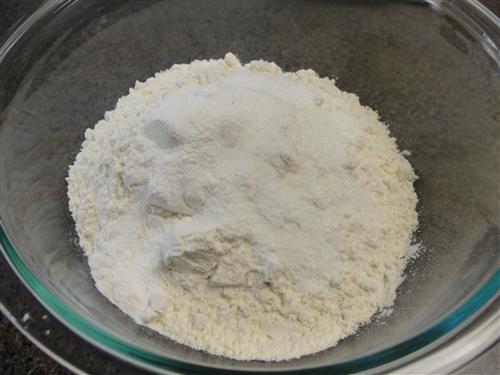
In a separate bowl, mix together the flour, soda, powder, and salt.
Add about ⅓ of the dry mixture to the bowl.
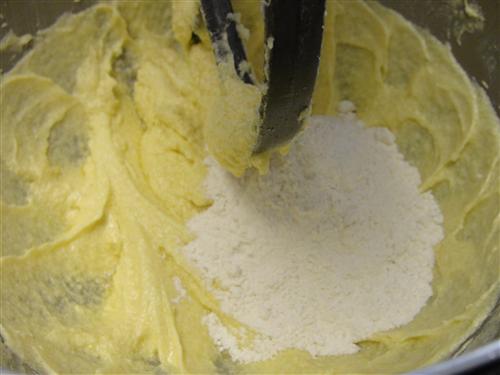
Stir that in and add half of the wet mixture. I did tell you to mix the buttermilk and pineapple juice together in a measuring cup, right? No? Well, go ahead and do it now, then pour half of it into the mixing bowl.

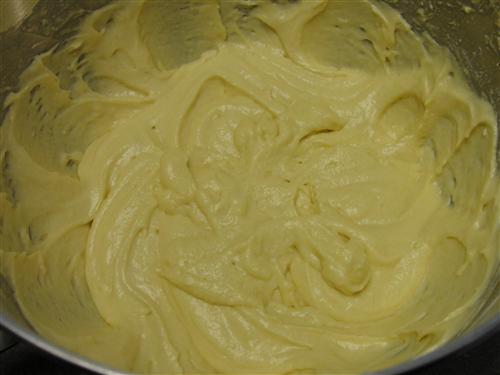
Continue alternating with the remaining dry, then wet, then dry, until you have a gorgeous cake batter.
Scoop ⅔ cup of the batter into each ramekin, and place them all onto a sheet pan.
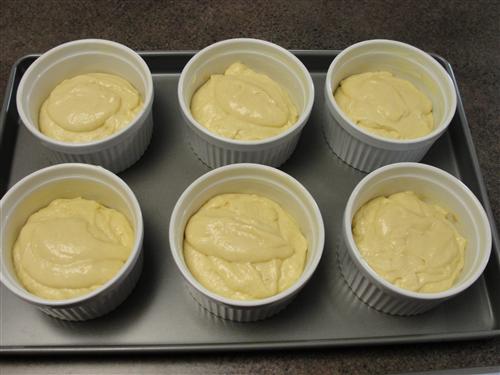
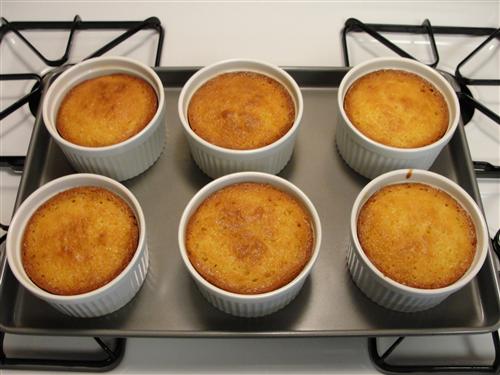
Level them out on top, then into the oven for 35 – 40 minutes. A toothpick inserted into the center of the cake should come out clean, and they should be a beautiful golden brown on top.
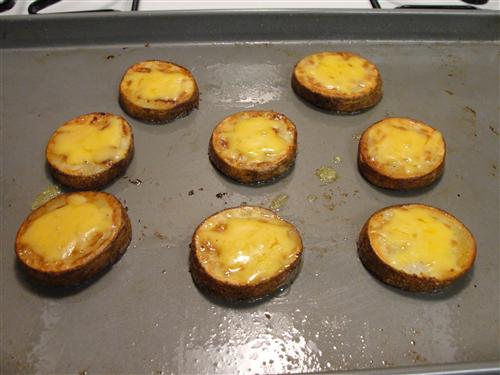
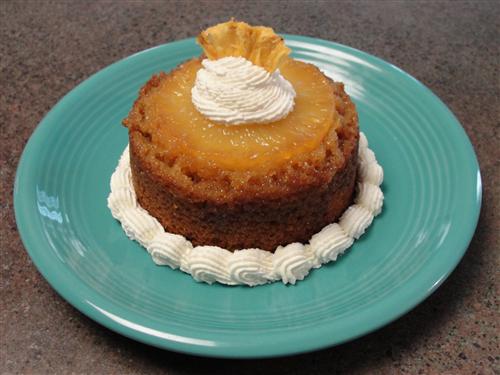
Allow the cakes to cool for 7 minutes. Yes, I know 7 minutes sounds picky, but trust me. Invert each cake onto a plate and behold the fabulousness it’s been hiding below. Look at that sumptuous, caramel, pineapple, sticky, cakey goodness. (Pardon me while I wipe the drool away.)

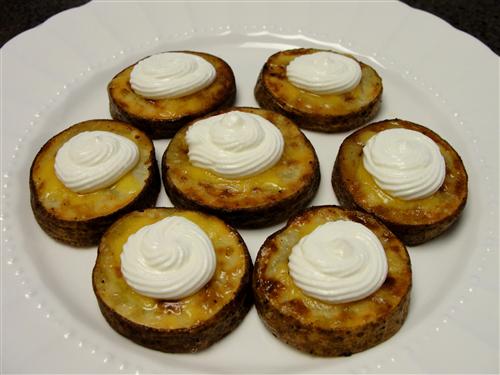
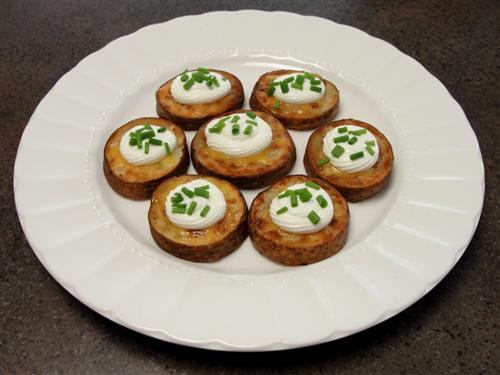
Eat just as it is, or garnish with whipped cream or a scoop of really good vanilla ice cream. Who says birthday cakes need frosting?
These are a bit big to really be called individual servings, but whatever, it’s our birthday and we don’t want to share.