Am-ish Chicken
 Taneasha
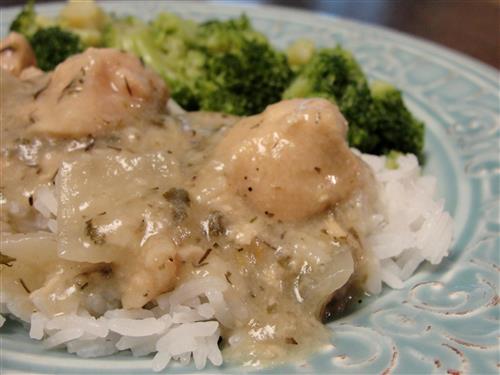
I came across a recipe online recently for something called Amish Chicken. I don’t remember where it was or what was in it, but the principle caught my attention. Chicken that creates its own gravy as it cooks. Sounds fabulous, right? So I took that little nugget, and created my own version, so I’m calling it Am-ish Chicken.
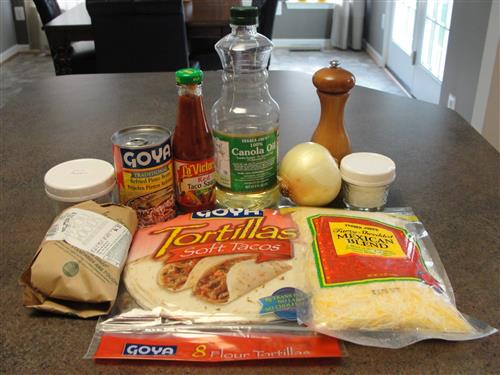
Here’s what you’ll need:
- 2 boneless, skinless chicken breasts
- 1 medium onion
- ⅓ cup flour
- 1 teaspoon dried parsley
- 2 teaspoons dried herb mix
- ½ teaspoon onion power
- ½ teaspoon garlic powder
- ½ teaspoon salt
- ½ teaspoon pepper
- 1 cup water
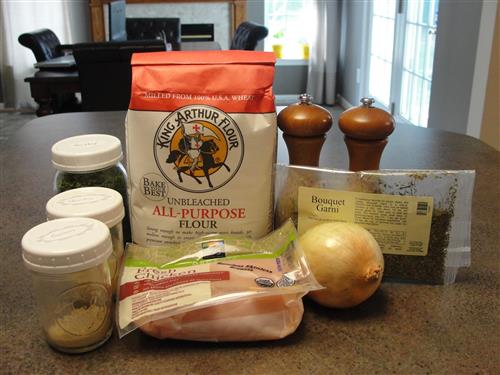
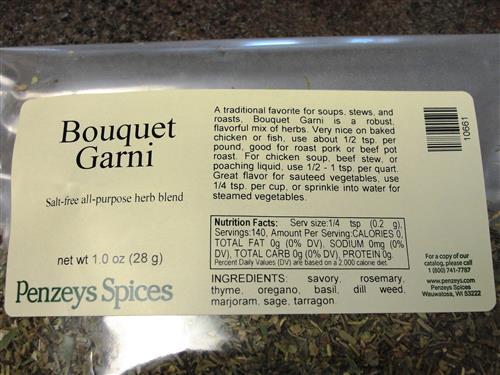
The dried herb mix I’m using is called bouquet garni. It's a blend of lots of different herbs. You can really use whatever medley of herbs you like, though, totaling 2 teaspoons + 1 teaspoon of parsley.
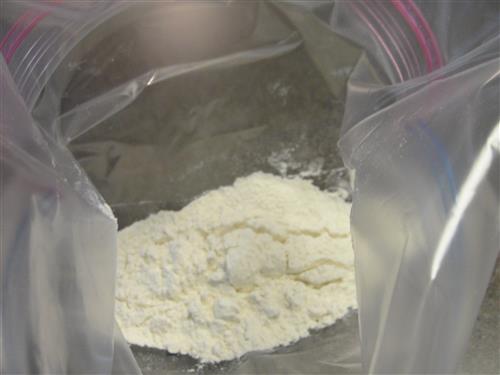
The first thing you want to do is put the flour in a large zip top bag.
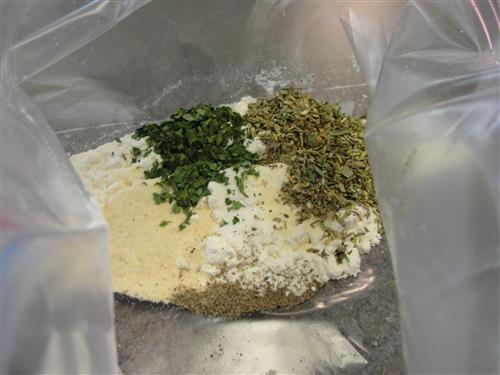
Add the all of the herbs and spices.
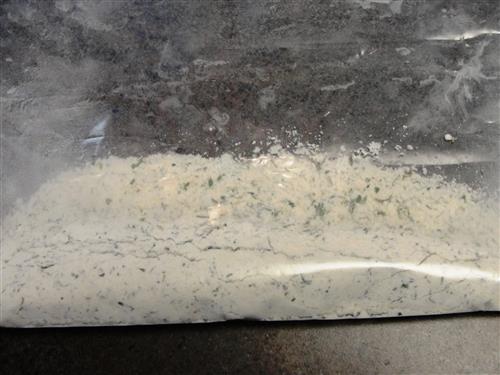
Then seal it up and give it a shake until everything is evenly distributed.
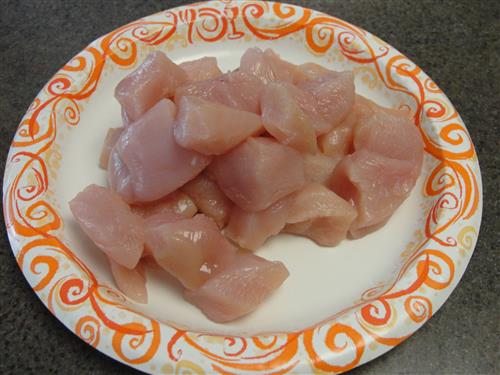
Set that aside, and cut your chicken into bite size pieces. I like to use scissors for this task. You’ll also notice the paper plate. That’s one less raw meat contamination I have to worry about. It can just go into the garbage.
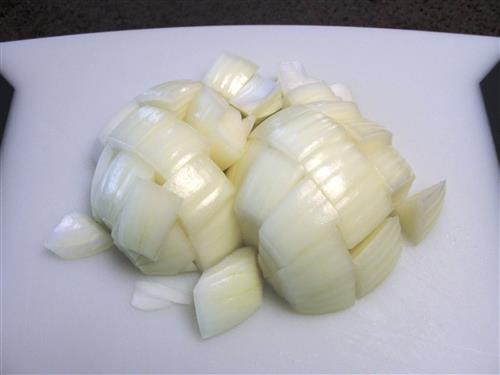
Next, cut the onion into chunks.
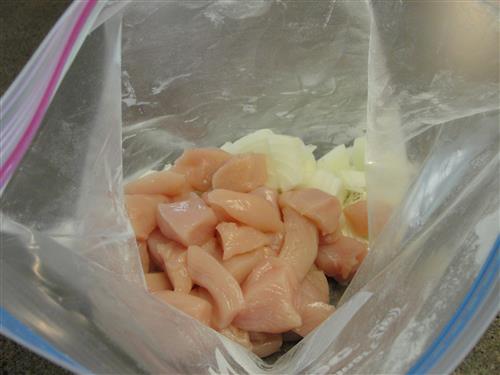
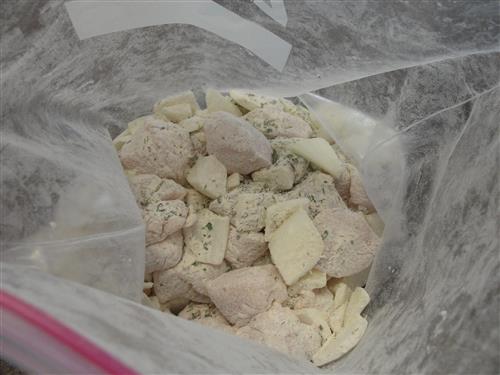
Place the chicken and onion into the bag with the flour.
Leave the last little bit open and blow air into it before sealing it completely. Sort of like a ziplock balloon.
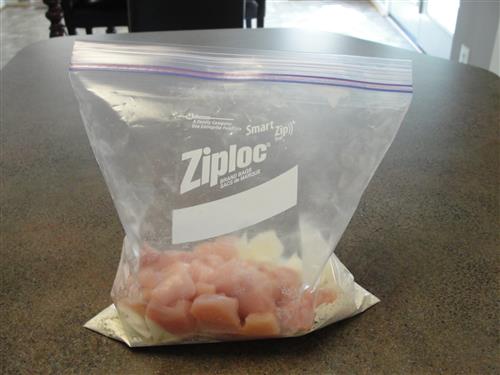
Now shake until everything is evenly coated.
Into the slow cooker, pour 1 cup of water, and add the chicken and onions.
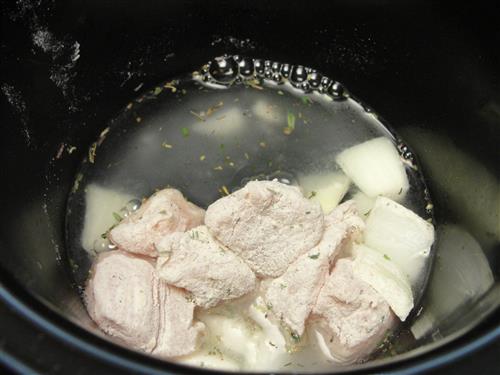
Depending on the size and shape of your crock pot, you may not be able to see the water once you’ve added all the chicken. That’s fine.

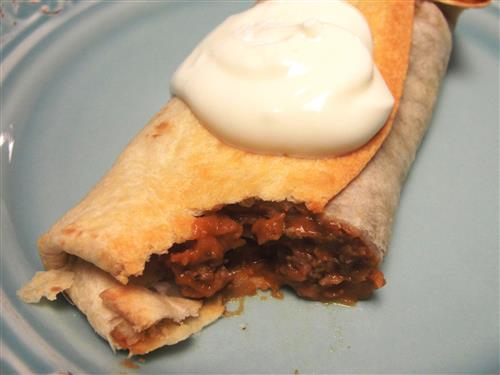
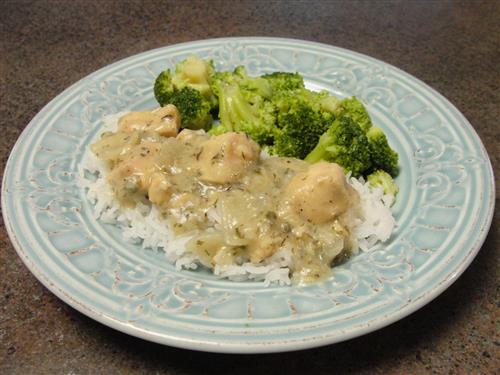
Cook it on low for 4 hours. I stirred mine once or twice during that time, but I’m not sure it’s necessary. You can probably just stir it at the end before serving it if you’re not going to be around. As promised, it is a chicken dish that creates its own gravy as it cooks. I served it over rice, but it would be fabulous over potatoes, or even pasta, as well.
Which recipes have you reconfigured into your own creations?