Search
Categories
Have a request?
  • Don't be shy!

    Is there something you'd like to see more of or a specific recipe you'd like us to make? Or do you have a question related to food or cooking? Even if you just want to say hello and introduce yourself, feel free to use the form below!
  • Your Name *
  • Your Email *
  • Subject *
  • Message *


Entries in baked goods (96)

Tuesday
Aug092011

Cookin it, old skool

It's still freaking hot, and I wanted cheesecake. Fortunately I have friends with recipes. Old Skool Recipes.

And zombie movies.

And what better to eat during a zombie movie than cherry cheesecake! Screw popcorn, chips, and nachos. If you're really going to get into things, you need to match the food to the flick. And we needed braaaaaiiinss.

Cherry brains!

On top of gooey, golden, lemony cheesecake.

No Bake Cheese Cake

What you need:


Crust:

  • ~3 c graham cracker crumbs
  • ~1/2 c butter

Filling:

  • 1 8 oz block of cream cheese
  • 1 tsp vanilla
  • 2 tbsp lemon juice
  • 1 tin of evaporated milk
  • 1 pkg of lemon jello (no, really!)

Topping:

  • 1 c water
  • 1 c sugar
  • 1 c dried cherries

What you gotta do:

We started with the topping. Combine the water and sugar in a medium pot over medium heat.


Once the sugar has dissolved and the syrup has started to bubble, add the cherries.


The plan here is to rehydrate these fabulous little things (omg they are the tastiest most luxurious dried fruit ever) and let their deliciousness infuse the basic sryup. The plan. That's it.

While the cherries are simmering, dump the crumbs into a 9 x 11 pan and spread them out. Drizzle the melted butter over them and start mixing.


A spoon is fine, but you'll probably end up getting your hands in there eventually to press it down into the pan. You want no more than 1/2 inch thick.

So, these next steps get a little dishes intensive, but hey, we're not at my house so I'm okay with that. :P

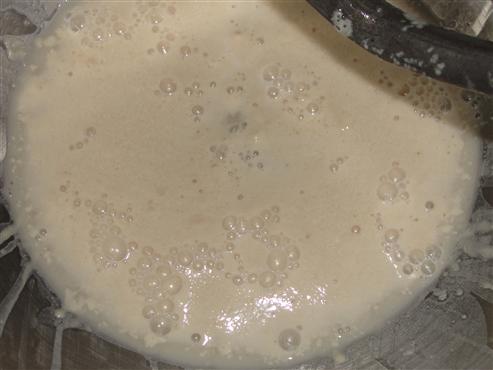
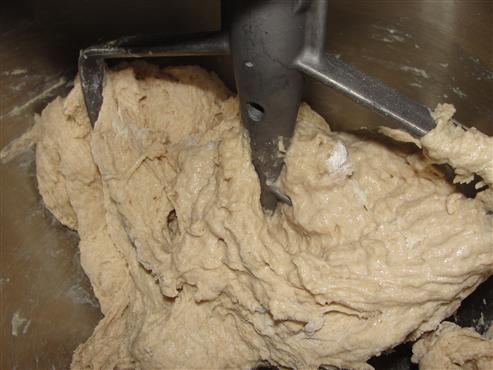
Start with the medium bowl and pour in the evaporated milk.

With a hand mixer, beat the milk for a few minutes. I'm thinking that you could also use whipping cream here, but you wouldn't want to whip it too much. Just enough to fluff it up, but not enough that you get peaks.

Take that off to the fridge to chill while you dirty more bowls. 

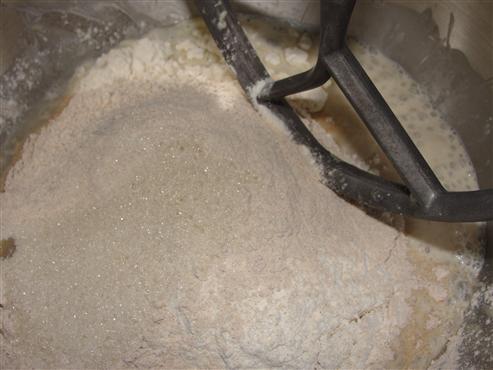
Next is the cream cheese. Dump it in the big bowl with vanilla and lemon juice.

Works best at room temp, but an electric mixer will bring it into line pretty quickly. Beat it up with the vanilla and the lemon juice. We didn't have lemons on hand, but the bottle will suffice in a pinch.

And in the third bowl, combine the lemon jello with one cup of boiling water. I'm thinking that you could get a sharper, brighter lemon flavour in this step if you went with plain gelatin and some lemon zest, but as I mentioned, no lemon, so we jello'd it. 

And if you mix it with the spoon that you used to scrap the sides of the cream cheese bowl, you get all kinds of fun cheesey floaties in the jello.

Don't worry, it's all going to end up in the same place. Let it cool for a bit so that you're not adding boiling hot stuff to your cold things. Hm. This step maybe should have come a little sooner. Oh well, it all worked out in the end. The cheesecake did.

And in it goes.

Cooled lemon gelatine mixture, chilled beaten evaporated milk (or whipped cream, if that's what you opted for) into the big bowl of lemony, vanillay cream cheese.

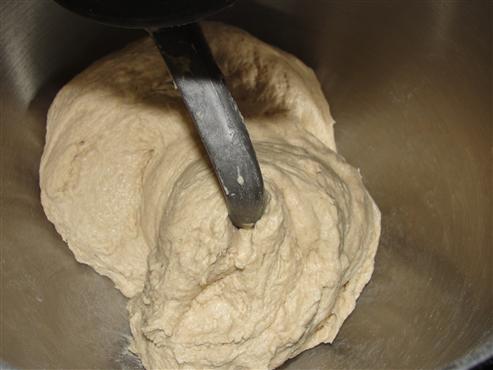
And beat it some more! Power tools are fun.

Once you've got it all combined and whipped up into a frothy gooey mess, pour it onto the crust.

Oh crap, the cherries.

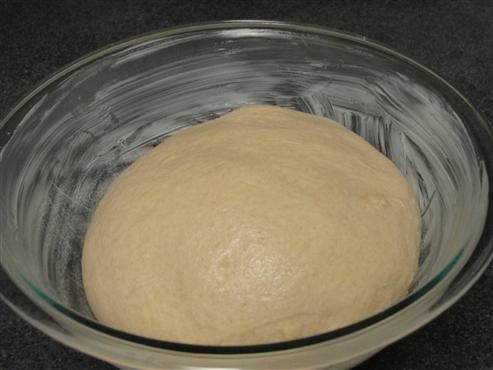
Remove them from the heat and let them cool while the cheesecake chills in the fridge for a couple hours. It will be just barely jiggly when it's ready.

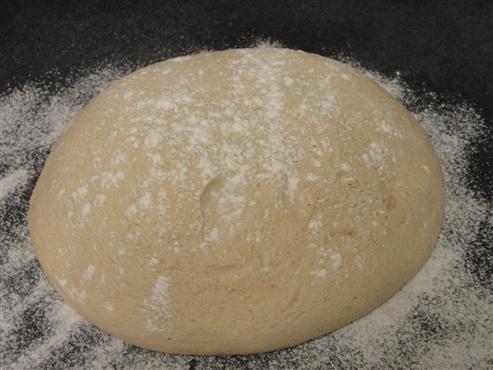
The cheesecake layer ended up a little shallower than we were hoping,

so you could do this in a smaller pan to get a ratio weighted more to the cheesecake, just make sure that you decrease the crumb amout so you're still below the half inch mark.

Now, the plan for the cherries (you remember the plan, right?) was to have a nice gooey syrupy pile of brains to pour on top of our cheesecake. Um.

Yes, that is the spoon stuck to the pot.

I highly recommend not boiling the cherries for as long as we did. And I have no idea how long we boiled them. Don't do that.

We ended up with something more like toffee than syrup. Very stringy toffee.

But, a little more heat was enough to get it moving again and we were able to blob some onto the cheesecake. The rest, we poured into a gratuitously buttered pan.

Cherry. Toffee. Okay, some things are good ideas after all. Chewy, stick your teeth together good.

Of course, the warm toffee melted the cold cheesecake, but it sure tasted good and it really did look like... BRAAAAAAAIIIIIINS!!!!


Now that you've got your braaaaiins, thick and chewy braaaaaiiiiins, all you need is a copy of Dead Snow.

http://www.youtube.com/watch?v=3-KQh87_V2Q

Watch for the cherry topping. It's there.

I once knew a guy who would eat baked beans out of a pot with a wooden spoon while waching westerns so he could get right into the characters. Me, I'm happy with cherry brains for my zombie cheesecake.

What's your favourite food and movie combo?

Thursday
Mar032011

PITA - and I don't mean Pain In The Ass.


I’ve been having a serious craving for a pita sandwich, and well, I don’t really have a place to get good pita bread.  On top of that, Seeley’s last post made me really want to try my hand at hummus, and what’s my favorite accompaniment to hummus?  You guessed it… pita bread.  Well, as I’ve learned with a lot of other things, when you can’t buy what you want, make it.  So I did. 


Here’s what you’ll need:

1 ½ - 2 cups all purpose flour

1 cup whole wheat flour

1 packet active dry yeast*

1 ¼ warm water

2 Tablespoons + 1 teaspoon sugar

½ teaspoon salt


I really like to use my stand mixer for making bread, but if you don’t have one, feel free to pull out the ol’ wooden spoon and elbow grease.  Either way, in your mixing bowl, put a teaspoon of sugar and about ½ cup of the warm water.  Sprinkle the yeast over the top.  *(if you’re using instant yeast you can skip this step and just throw everything into the bowl together)


Stir it in and give it a good five minutes or so.  If you’re yeast is healthy, you should start to see bubbles.  This means your yeast is working.


Add the rest of the water and the remaining ingredients to the bowl, minus ½ cup of the all purpose flour.  (so just 1 cup of each flour at this point)


Mix on medium low speed until it comes together into a messy dough. 


Switch to your dough hook and sprinkle the reserved ½ cup of flour over the top. 

Knead on medium speed for 5 – 7 minutes (if you’re kneading by hand, it’ll be about 10 minutes).  If, after a minute or two, the dough is still really sticky and hasn’t cleaned the sides of the bowl, add the remaining flour a tablespoon or two at a time until the dough cleans itself off the sides of the bowl. 


While it’s kneading, butter the sides and bottom of a bowl or container at least twice the size of the dough.  With floured hands, remove the dough from the mixing bowl and shape it into a ball-ish shape.  Place it into the bowl and turn it to get butter on the bottom side, then flip it over. 


This helps to keep it from drying out while it rises.  Cover the bowl with a damp kitchen towel and leave it for about an hour.  When you come back, it should have nearly doubled in size.  Flour your surface, dump out the dough, and sprinkle it with more flour.  Deflate it with your knuckles. 


Flatten the dough and fold it into a packet/envelope like shape.  This makes it easy to divide the dough into mostly equal pieces without having to weigh them. 


My dough cutting tool of choice is a pizza wheel, but you could use a knife.  Cut the dough in half.

Cut the halves in half.  Cut the quarters in half. 


Take a piece of dough and flatten into a disk.

Fold the sides together, turn it a quarter turn and fold the opposite sides together.                                                                                                                     

Turn and fold.  Turn and fold. 


When they’re all pinched together, put your hand over the ball of dough like a loose cage and move it in little circles.  This will tighten everything up. 


Set the finished balls of dough aside and keep them covered with a damp towel. 

I doubled the recipe so that I would have leftovers, because they freeze beautifully, and this is where you would do that.  Any you don’t want to bake immediately, place on a parchment lined cookie sheet and place them in the freezer.  When they’re frozen (like 3 hours) drop them into freezer bags and freeze them until you want to use them.  When you’re ready, just thaw, and continue on from here. 


First we need to prep the oven.  Place a sheet pan upside down on the bottom rack, and remove any other racks.  Then heat your oven to 450°.


On a well floured surface, take one ball of dough and flatten it with your palm.  Then roll it with a rolling pin, turning a quarter turn between each pass to keep it from sticking.  It should be no more than ¼ inch thick.  Cover, once again with a damp towel until you’re ready to put them into the oven.


When the oven is hot, throw the disks of dough onto the sheet pan. 


Within a minute or two, something magical will happen and they’ll do this:


After about 5 minutes they should start to brown slightly.  Using a metal spatula, carefully remove them from the oven and place them on a cooling rack or plate. 


***Be very careful!  They are filled with extremely hot steam!


As they cool they’ll start to deflate.  You might have to help them along once they’ve cooled down if they’re still a little puffy.  Wrap in a kitchen towel to keep them soft, or serve them while they’re still warm.  Cut them into wedges and serve with hummus or as a side to chili or soup.  Or open them up and fill them with your favorite sandwich ingredients.  I like smoked turkey, shredded sharp cheddar, avocado and tons of sprouts. 


What’s your favorite thing to do with a pita?            

Page 1 ... 44 45 46 47 48